FIXONIC
SellSavedMy Fixonic
Official iFixit API visual reference

2005-2010 Scion tC Liftgate Support Strut Replacement

If your 2005-2010 Scion tC’s hatch no longer...

iFixit Library 2004–2010 Scion tC Easy 15 - 20 minutes Guide 137613
Open the authorised source
Licensed iFixit integration

This attributed iFixit guide is displayed through Fixonic's recorded commercial API permission. iFixit remains the independent source and author of the procedure.

Guide overview

Before you begin

If your 2005-2010 Scion tC’s hatch no longer stays open under its own power, use this guide to replace the liftgate support struts. The liftgate support struts provide tension which enable the hatch to lift and stay in the open position. Faulty liftgate support struts will not hold the weight of the trunk hatch without external help, causing inconvenience or complete loss of hatch use. This guide will take you step-by-step through the process of replacing faulty liftgate support struts with brand new ones. Before using this guide, ensure that you will have a second person available to help with this repair. Propping open the hatch with objects to replace the liftgate supports is not advisable, and can lead to serious injury and vehicle damage.

Step 1

Repair step

  • Open the trunk hatch of the vehicle and have another person hold it in the fully open position.
  • Propping open the hatch with objects to replace the liftgate support struts can lead to serious injury and vehicle damage.
Step 2

Repair step

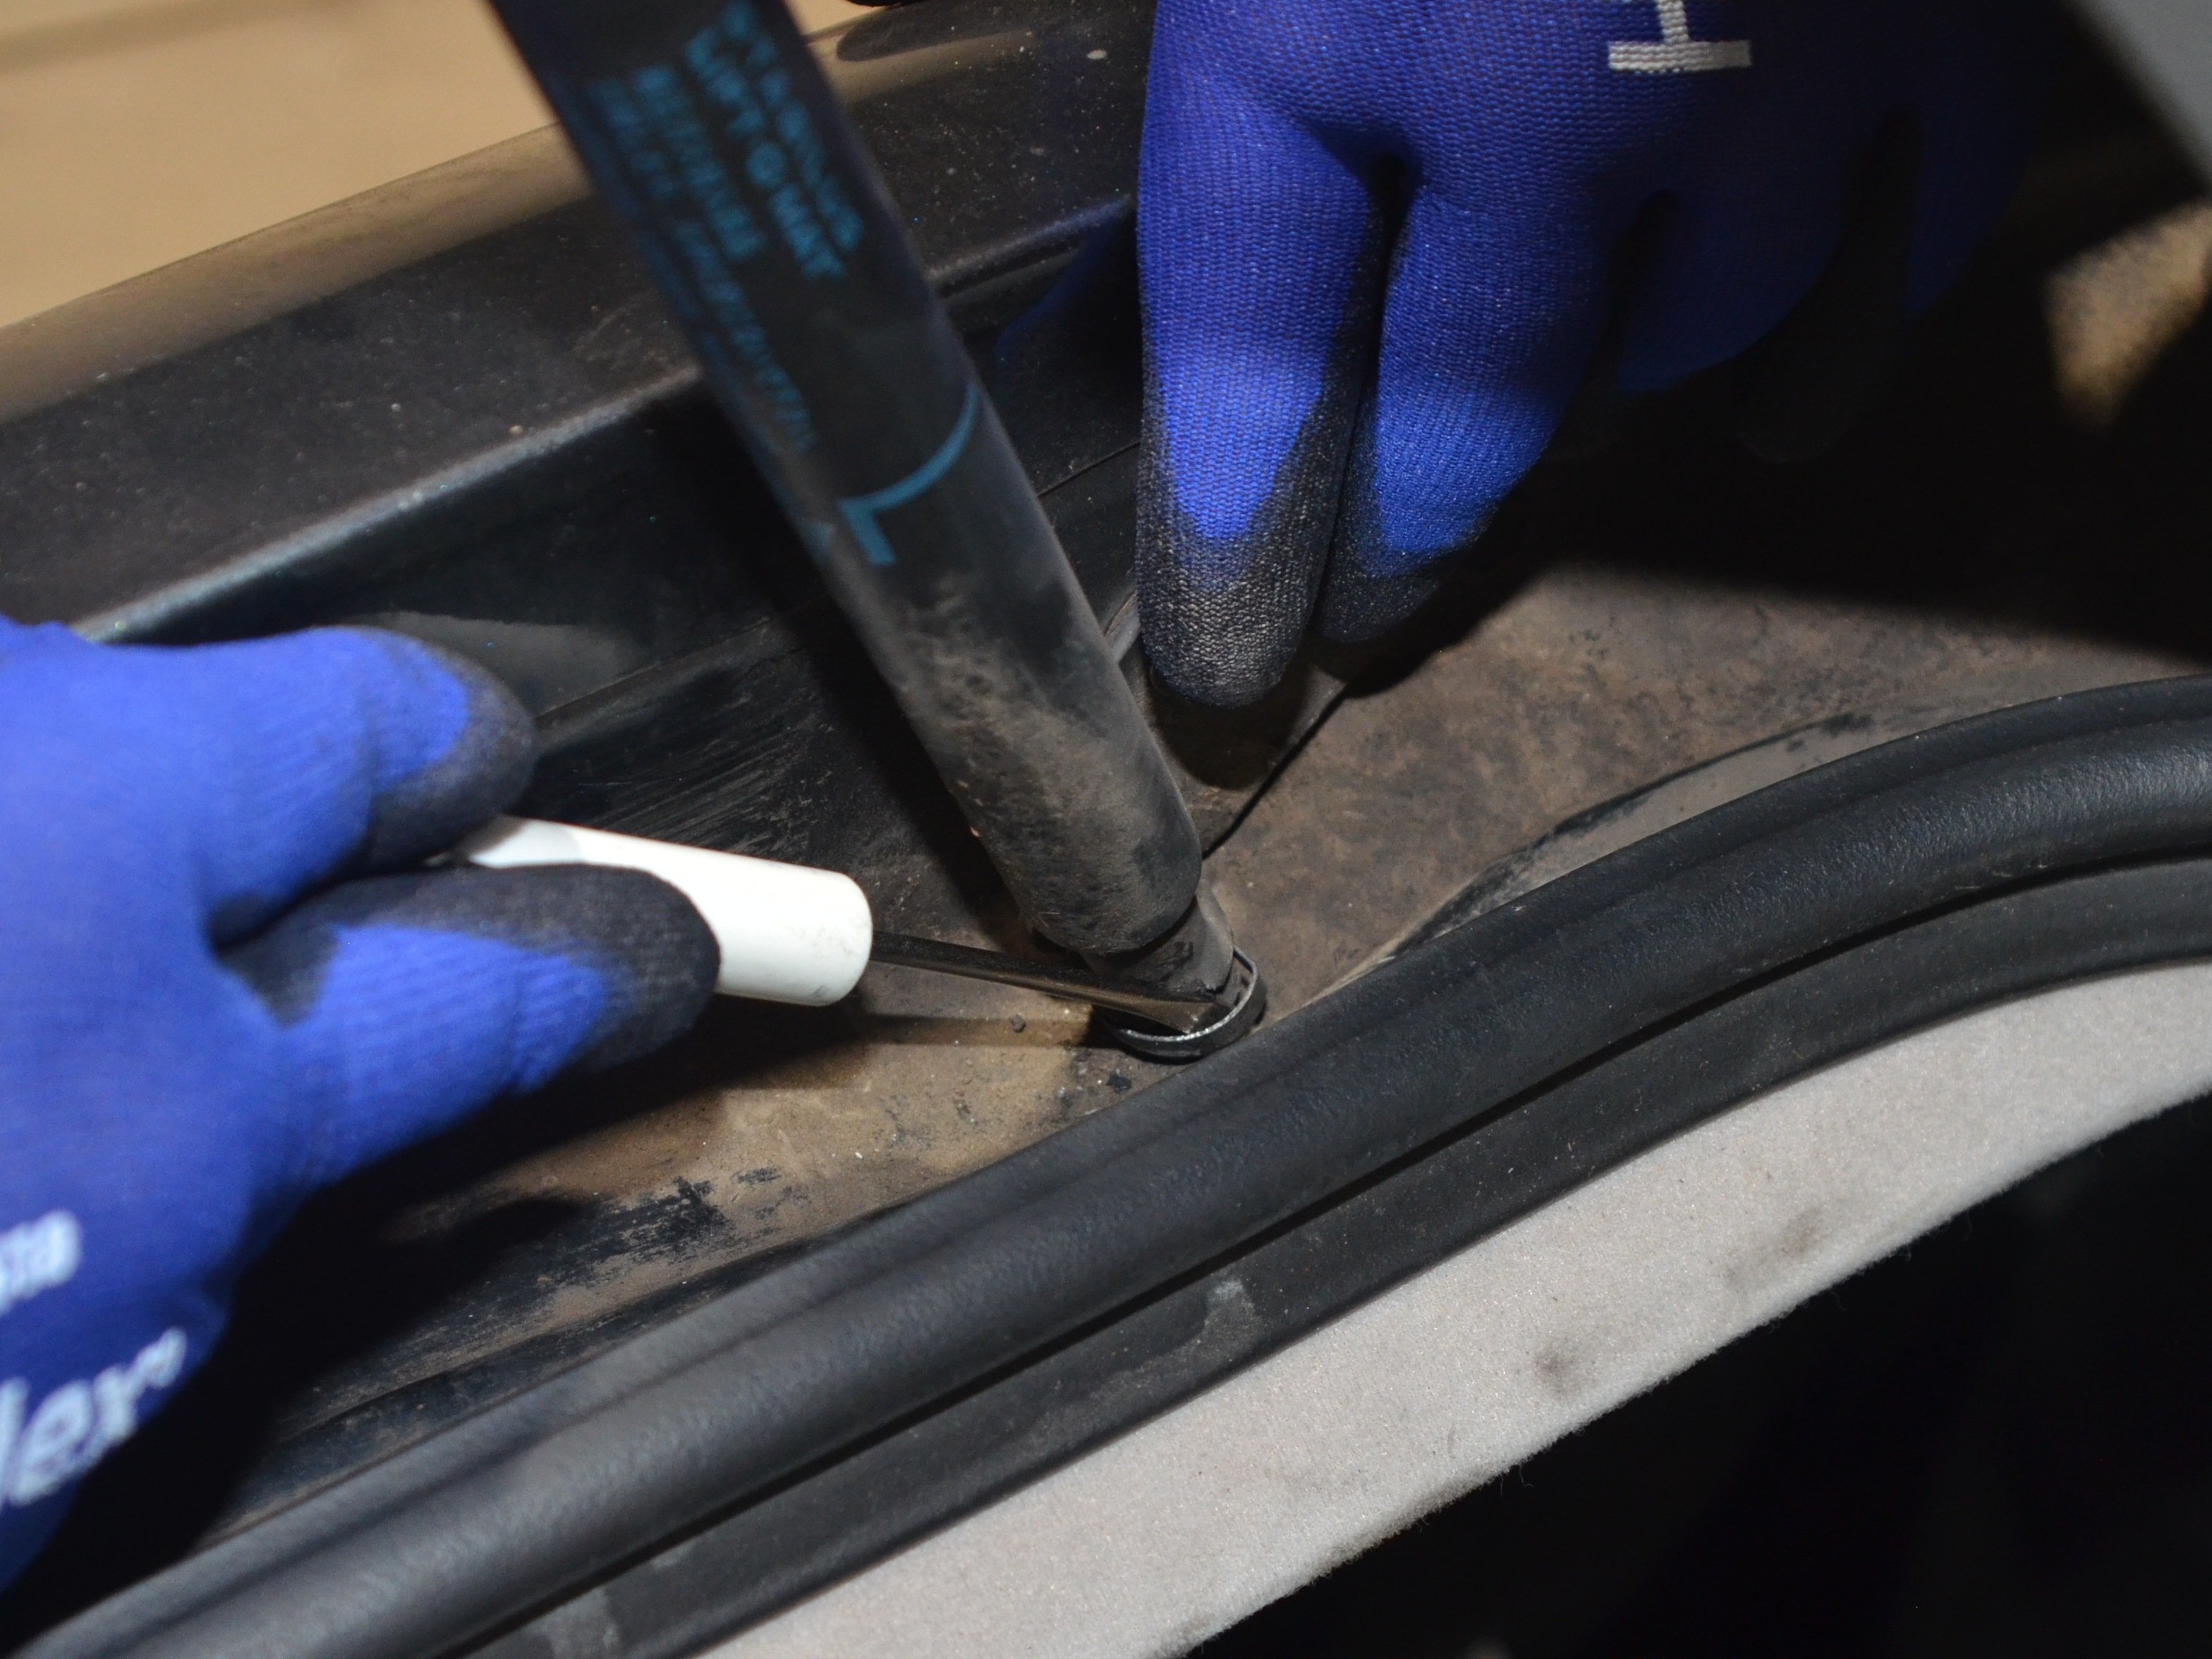
  • Insert the screwdriver underneath the clip located on the end of the strut connected to the hatch lid.
  • Pry the clip away from the strut.
  • Pull the strut to disconnect the socket from the ball joint on the hatch lid.
Step 3

Repair step

  • Insert the screwdriver underneath the clip located on the end of the strut connected to the vehicle body.
  • Pry the clip away from the strut.
  • Pull the strut to disconnect the socket from the ball joint.
Step 4

Repair step

  • Begin the installation of the replacement strut with the ball joint located on the vehicle.
  • Place the socket around the ball joint.
  • Push the socket onto the ball joint until the metal clip clicks into place.
Step 5

Repair step

  • Align the replacement strut with the hatch lid.
  • Place the socket around the ball joint.
  • Push the socket onto the ball joint until the metal clip clicks into place.