
FIXONIC
SellSavedMy Fixonic
Official iFixit API visual reference

2010-2014 Dodge Ram 1500 Headlight Replacement

Here is an easy step by step solution on how to...

iFixit Library 2009-Present Dodge Ram Moderate 45 minutes Guide 140908
Open the authorised source
Licensed iFixit integration

This attributed iFixit guide is displayed through Fixonic's recorded commercial API permission. iFixit remains the independent source and author of the procedure.

Guide overview

Before you begin

Here is an easy step by step solution on how to replace a 2010-2014 Dodge Ram 1500 headlight. If one or both of your headlights no longer turns on and you’ve determined that the bulbs have burnt out on your headlights, follow this guide for instructions on how to replace them. Following this will save you money and a trip to the mechanic shop.
Step 1

Repair step

  • Caution: Before beginning, make sure your truck is turned off and the engine has cooled.
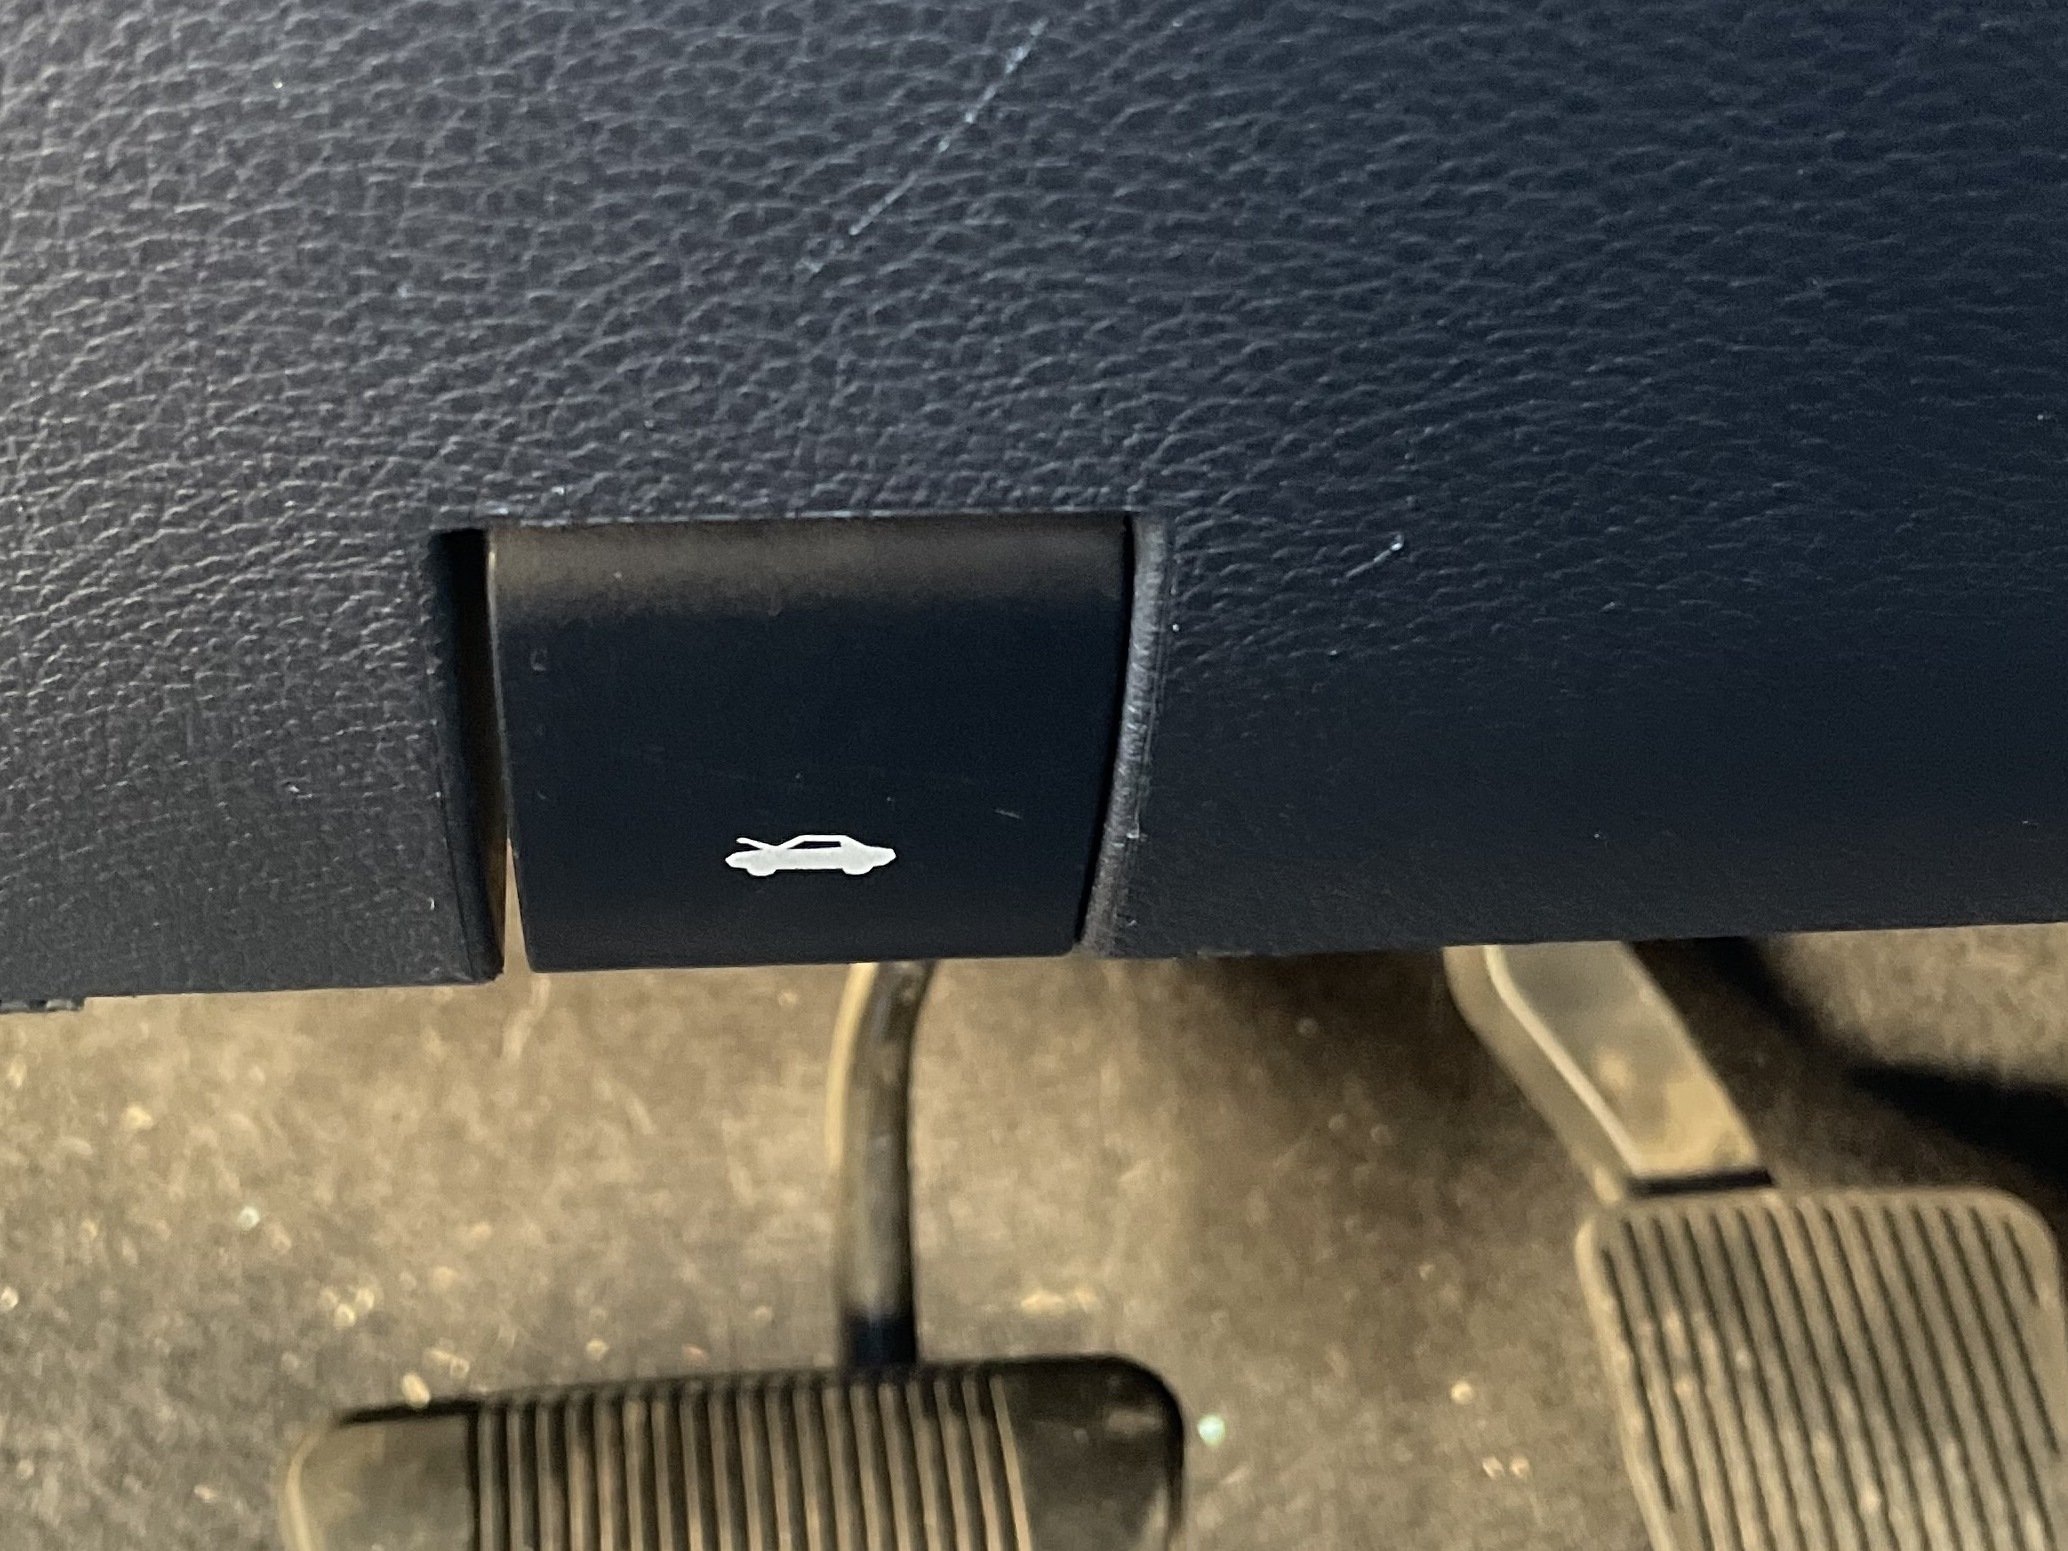
  • Pull the hood latch under the driver's steering wheel.
  • Positioning yourself at the hood of the truck in front of the logo, put two fingers under the hood to find the latch.
  • Push the latch to the left, hold, and lift the hood.
  • Use the support rod to keep the hood propped open.
Step 2

Repair step

  • Pull the four tabs around the plastic cover above the grille to reveal the four bolts underneath.
Step 3

Repair step

  • Pop up each of the four clips.
Step 4

Repair step

  • Remove the 4 bolts located along the top of the grill with the appropriately sized socket wrench.
Step 5

Repair step

  • Carefully pull out and up on the grill.
  • It will make a scary sound like you snapped it but it’ s okay, nothing broke.
Step 6

Repair step

  • Remove the two bolts on the inner side of the headlight's head with the appropriately sized socket wrench.
Step 7

Repair step

  • Pull the light towards you to get the lights out.
Step 8

Repair step

  • Turn the circular seals on the headlight counter-clockwise to release the cap.
  • There will be one on top (normal headlight) and one on the bottom (brights).
  • If you are looking on the inside of the headlight cover you will see a wire connected to the headlight.
  • Detach the cable by lifting up the tab on the top and pulling.
Step 9

Repair step

  • Unscrew and dispose of the old lightbulb and screw the new one in.
Step 10

Repair step

  • Plug the wire back into the new headlight to give it power.
  • Reseal the circular cap on the headlight by turning it clockwise.
  • Place the whole headlight back into its original spot.
Step 11

Repair step

  • Put the headlight in the original slot. Push in towards the truck until you feel it click into place.
  • Replace the two bolts on the inner side of the headlight.
Step 12

Repair step

  • Snap the grill back in by pushing the two bottom corners in and then pushing in from the middle.
  • Just as in step 4 and 5, this will cause a scary sound.
Step 13

Repair step

  • Replace the four bolts along the top of the grill to secure the grill back in place.
  • Shake the grill to make sure it's fully secured.
Step 14

Repair step

  • Push the four button clips on the engine cover into the corresponding holes.
Step 15

Repair step

  • Shut the hood, you're all done!