FIXONIC
SellSavedMy Fixonic
Official iFixit API visual reference

2006 Toyota Tundra Side Mirror Replacement

Side door mirrors are one of the biggest safety...

iFixit Library Toyota Tundra 1st Generation (2000-2006) Moderate 25 - 35 minutes Guide 146003
Open the authorised source
Licensed iFixit integration

This attributed iFixit guide is displayed through Fixonic's recorded commercial API permission. iFixit remains the independent source and author of the procedure.

Guide overview

Before you begin

Side door mirrors are one of the biggest safety factors when operating a vehicle, given this information it is always important to take care of your mirrors! The mirrors can easily be damaged but just as easily the damage can happen so can the repair. This repair is needed because without a side mirror it is illegal to drive! And instead of taking your vehicle to a dealership and waiting days for a simple repair you can do it in the comfort of your own drive way in under 30 minutes! Completing this process takes little to no experience with any vehicle. There are no special requirements to be able to do this task, following this guide step by step is all that you need! Hazard wise is also very minimal, dealing with tools you must always be cautious to make sure nothing bad may occur. No matter how experienced one may be, approach this task with caution to make sure damage is not done to the vehicle and to oneself. With the repair you will need one flat head screw driver and on 10mm wrench, a long with your side mirror replacement. Once the repair is finished be sure that your mirror is stiff in its place and can still be adjusted for safe driving!

Step 1

Repair step

  • Remove the plastic piece covering from the mirror bolts.
  • Place the flat head screwdriver behind the plastic covering for leverage.
  • Pop off the plastic piece to uncover all the hidden bolts.
Step 2

Repair step

  • Remove the first bolt.
  • Use the 10mm wrench to loosen the three bolts.
  • Loosen the bolts to the end but do not take the bolts off completely.
Step 3

Repair step

  • Remove the bolts by hand.
  • Place all the bolts in a secure location such as your pocket.
Step 4

Repair step

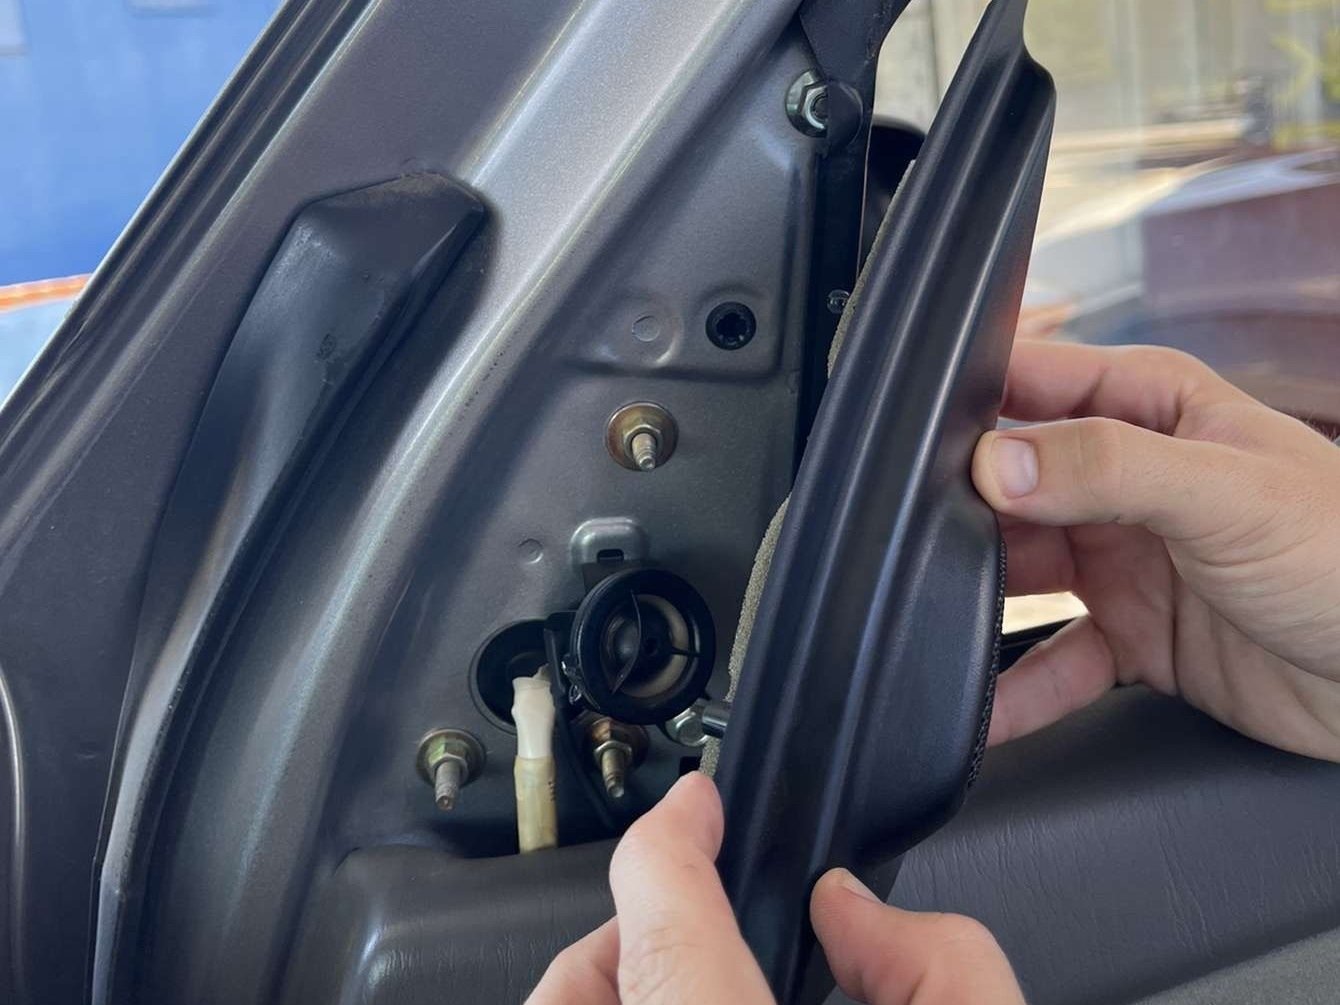
  • Once all the bolts are off, approach the other plastic mirror covering from the outside door.
  • Slowly pop off the plastic covering using your hands.
  • This process should be almost effortless to remove the piece.
Step 5

Repair step

  • Once the mirror is off, push the plastic covering back on.
  • Pinch the plastic covering from both sides with one hand to make sure it is in place.
  • Make sure to keep your window rolled down for this step.
Step 6

Repair step

  • Grab the bolts that were taken off on the second step and with your hands tighten the bolts as much as possible.
  • Repeat this step for all three bolts.
Step 7

Repair step

  • Grab the 10mm wrench and tighten the bolts till they cannot anymore.
  • Repeat this step for all three bolts.
Step 8

Repair step

  • From the first step, grab the first plastic covering that was taken off.
  • Align the piece with all three bolts (it should fit just like a puzzle piece).
  • Snap your plastic piece back in and give it a nice hit to make sure it is locked in till you hear a snap.