FIXONIC
SellSavedMy Fixonic
Official iFixit API visual reference

2013-2017 Honda Accord Coupe Rear Tail Light Assembly Replacement

This guide will walk you through how to replace...

iFixit Library 2013-2017 Honda Accord Moderate 40 minutes - 1 hour Guide 148469
Open the authorised source
Licensed iFixit integration

This attributed iFixit guide is displayed through Fixonic's recorded commercial API permission. iFixit remains the independent source and author of the procedure.

Guide overview

Before you begin

This guide will walk you through how to replace the rear tail light assembly on your 2013-2017 Honda Accord Coupe. With a broken tail light assembly, the chances of an accident occurring or getting a traffic ticket increase significantly. After following this guide, you will have your car road-ready again in no time. Instead of spending hundreds of dollars to have the replacement done at a repair shop, simply follow these steps to do it yourself! Be sure to power off the ignition and engage the parking brake before beginning this repair.

Step 1

Repair step

  • Pull the trunk release lever or hold the trunk release button on the remote to open the trunk.
  • The trunk release lever is located on the left side of the driver's side floor board.
Step 2

Repair step

  • Remove the plastic fasteners for the trunk interior trim using the fastener removal tool.
  • Pull the clips out when the fastener has been loosened enough.
  • The fastener in the last image has a hook that goes behind it.
Step 3

Repair step

  • Remove the four 8mm bolts using the socket wrench.
Step 4

Repair step

  • Push the tail light assembly out from the inside to unclip it.
  • Push the tail light assembly in the direction that the arrow faces. You may have to push firmly or slightly wiggle the assembly side to side, if it does not immediately come out.
  • Be careful not to cut yourself or any wires on any metal edges.
Step 5

Repair step

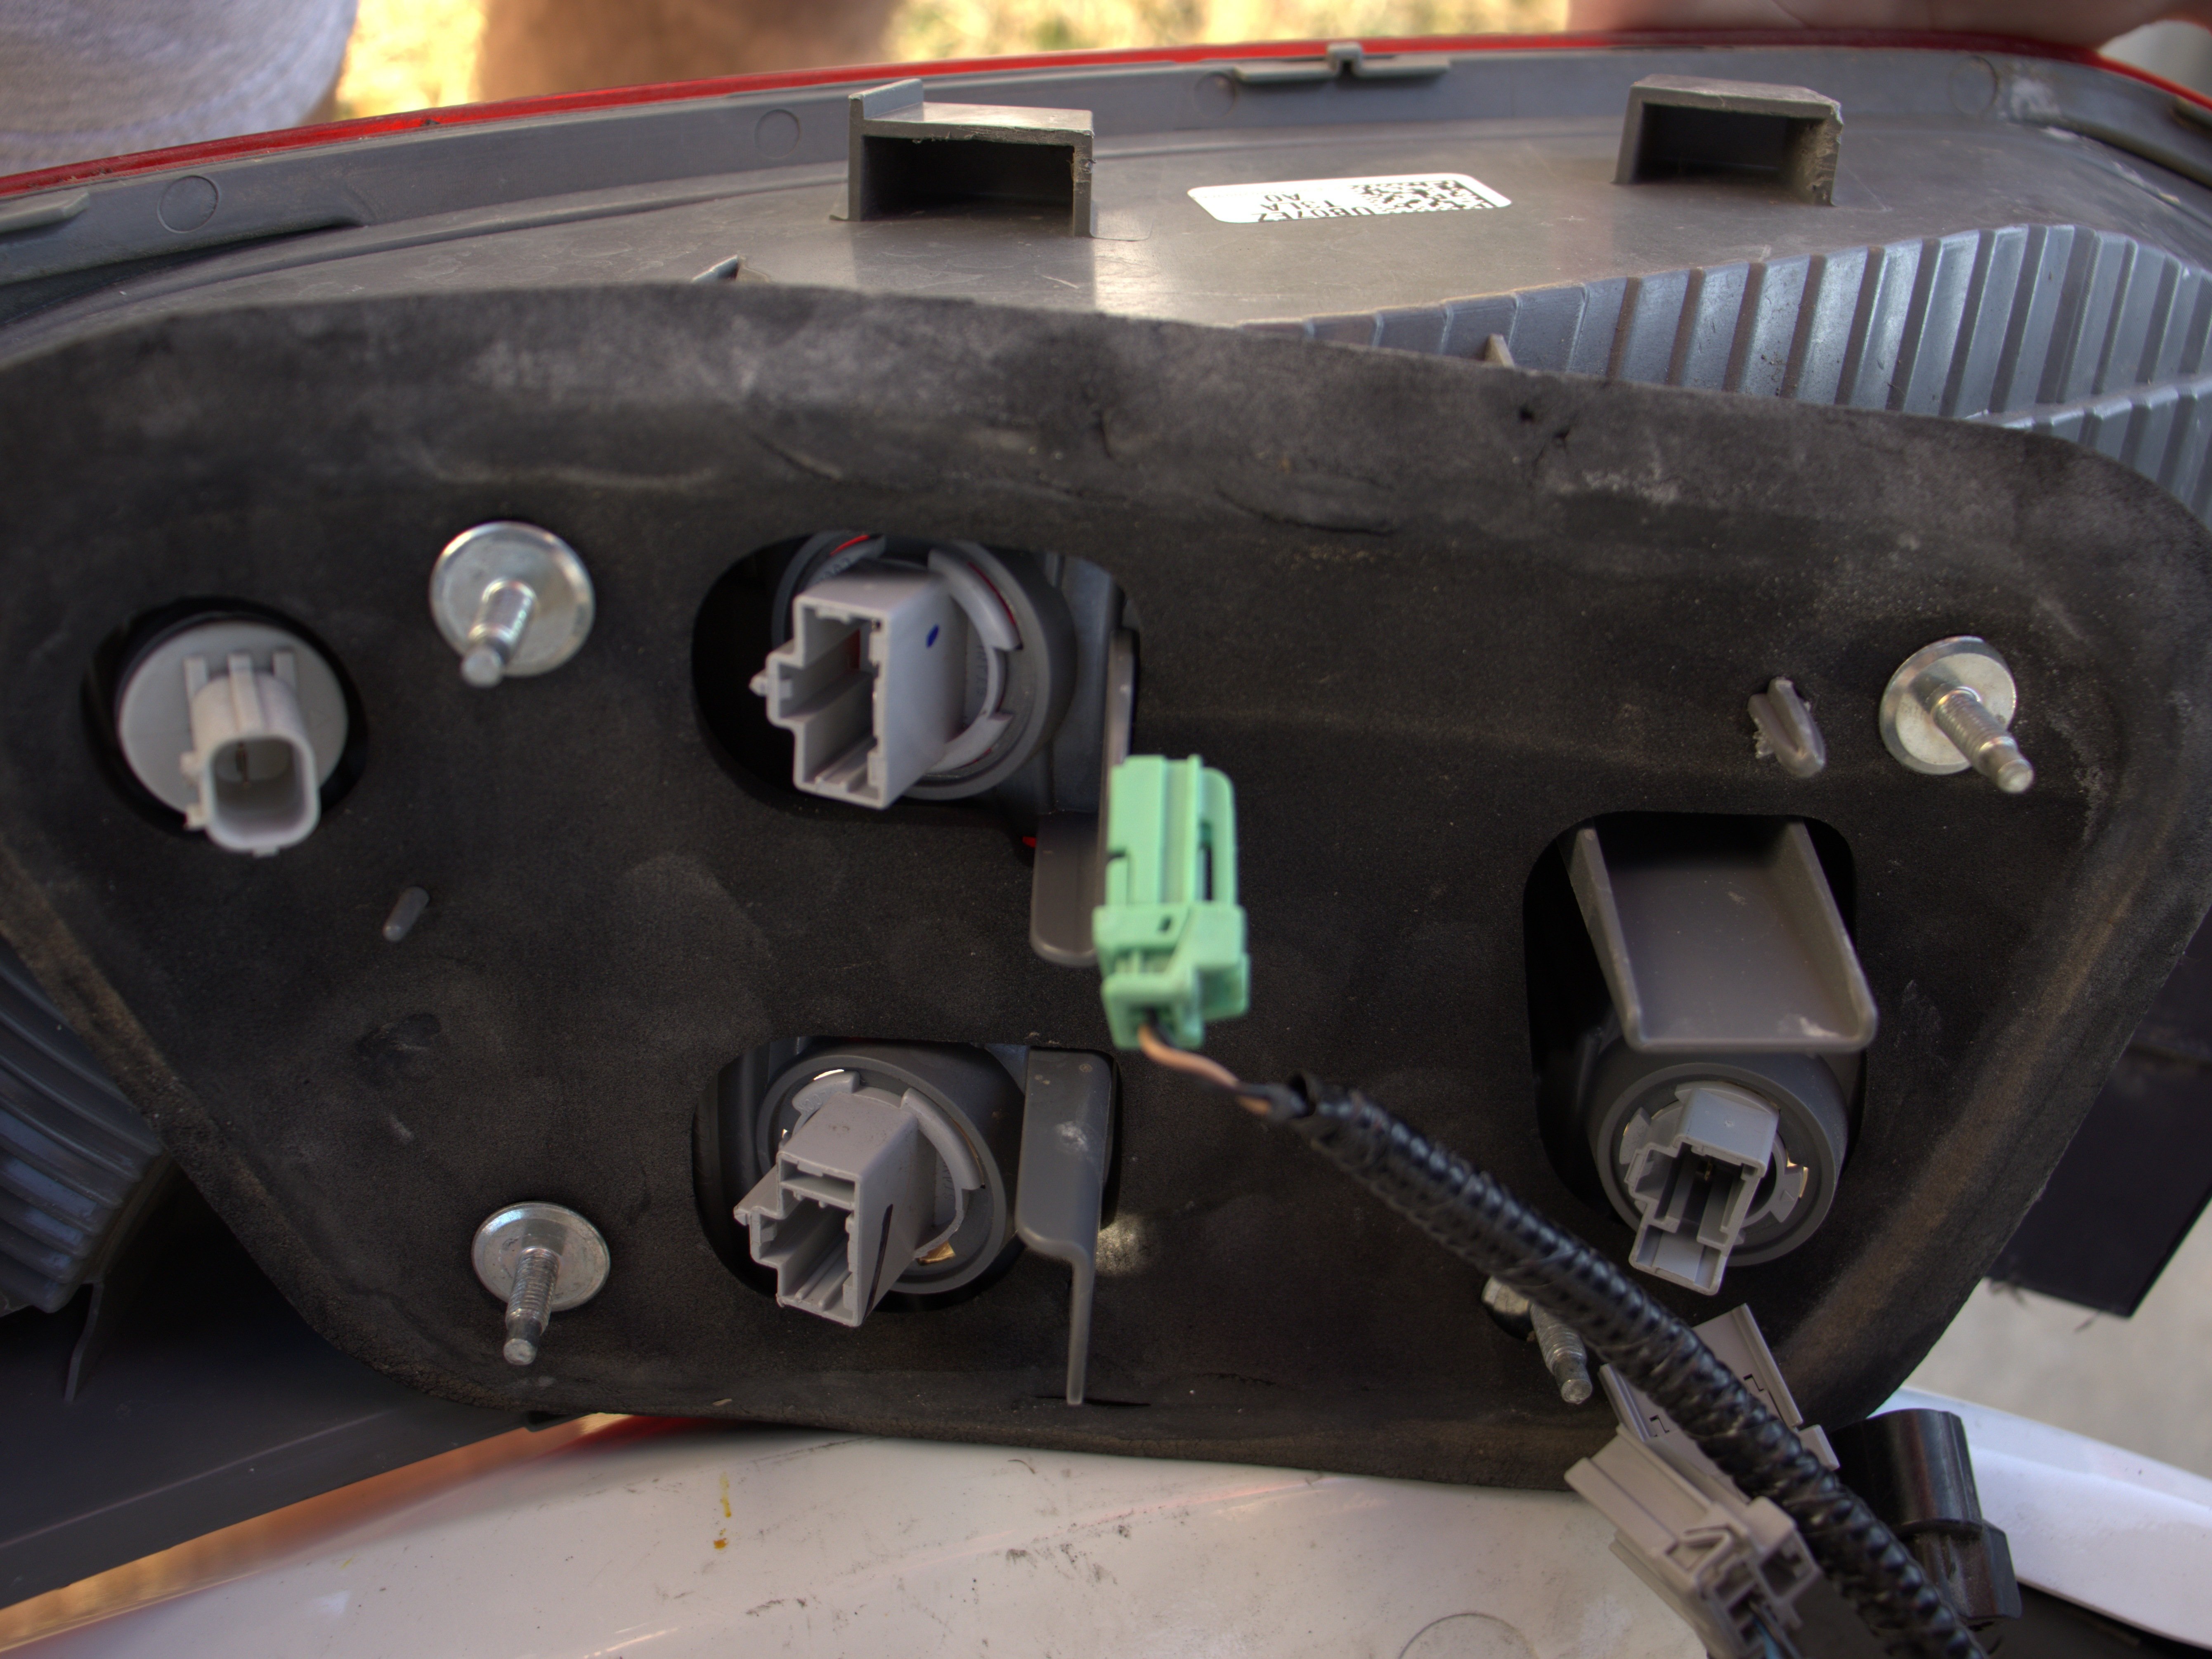
  • Remove each of the four connectors from the tail light assembly.
  • Do not worry about remembering the connection spots as each male connector has a unique shape corresponding to a female connector.
  • Do not pull hard on the wiring harness when disconnecting the connectors as it will damage the harness and potentially electrocute your hands.
Step 6

Repair step

  • Plug the four connectors into their corresponding ports of the replacement tail light assembly.
Step 7

Repair step

  • Push the replacement tail light assembly into its original position until it clicks.
Step 8

Repair step

  • Tighten the 8mm nuts that were removed during Step 3 using the 8mm socket wrench.
Step 9

Repair step

  • Reattach the plastic fasteners that were removed from the trunk interior in Step 2.
  • The fastener tool is not needed to reattach the fasteners. Simply press them back into place with your thumb until they click into place.