FIXONIC
SellSavedMy Fixonic
Official iFixit API visual reference

2007–2021 Toyota Tundra Charging Port Replacement

If one or both of the charging ports (also...

iFixit Library 2007–2021 Toyota Tundra Difficult 45 minutes - 2 hours Guide 165713
Open the authorised source
Licensed iFixit integration

This attributed iFixit guide is displayed through Fixonic's recorded commercial API permission. iFixit remains the independent source and author of the procedure.

Guide overview

Before you begin

If one or both of the charging ports (also known as USB-C ports) in your second-generation Toyota Tundra (2007-2013) aren't charging the devices, use this guide to replace them. The charging port allows you to plug a USB-C connector into your car to use for things such as charging your devices. However, over time it can break from use and will eventually need to be replaced. Before using this guide make sure to clean out the inside of the charging port, typically a buildup of dust can be removed through an ESD-safe brush or small dust blower. Be sure to test the charging port with several different cords to make sure that the charging port is what is actually broken. Step nine will require you to strip the cover off of some wire. Step 12 will require you to solder two wires together. Additionally, step 13 will require you to utilize heat shrink tubing. Before beginning, put your car in park, turn on the emergency brake, and turn off your car. For additional safety measures, it's a good idea to disconnect the car battery.

Step 1

Repair step

  • Remove the switch cover on the left side of the radio by turning it to the "2WD" mode and pulling it straight out.
Step 2

Repair step

  • Use the plastic pry tool to separate the part of the dashboard behind the steering wheel from the rest of the vehicle.
  • Disconnect the connectors between the panel and the rest of the dashboard.
Step 3

Repair step

  • Use your hand to pull out the furthest panel under the radio.
Step 4

Repair step

  • Disconnect the wires on the auxiliary power outlets and set the panel aside.
  • You may have to wiggle the connector to get it loose enough to pull it off.
Step 5

Repair step

  • Use your hand to pull out the panel directly under the radio.
Step 6

Repair step

  • Use the pry tool to push in the tab on the top from behind and remove the charging port.
  • The tab will be very stiff. It is necessary to use a decent amount of force.
Step 7

Repair step

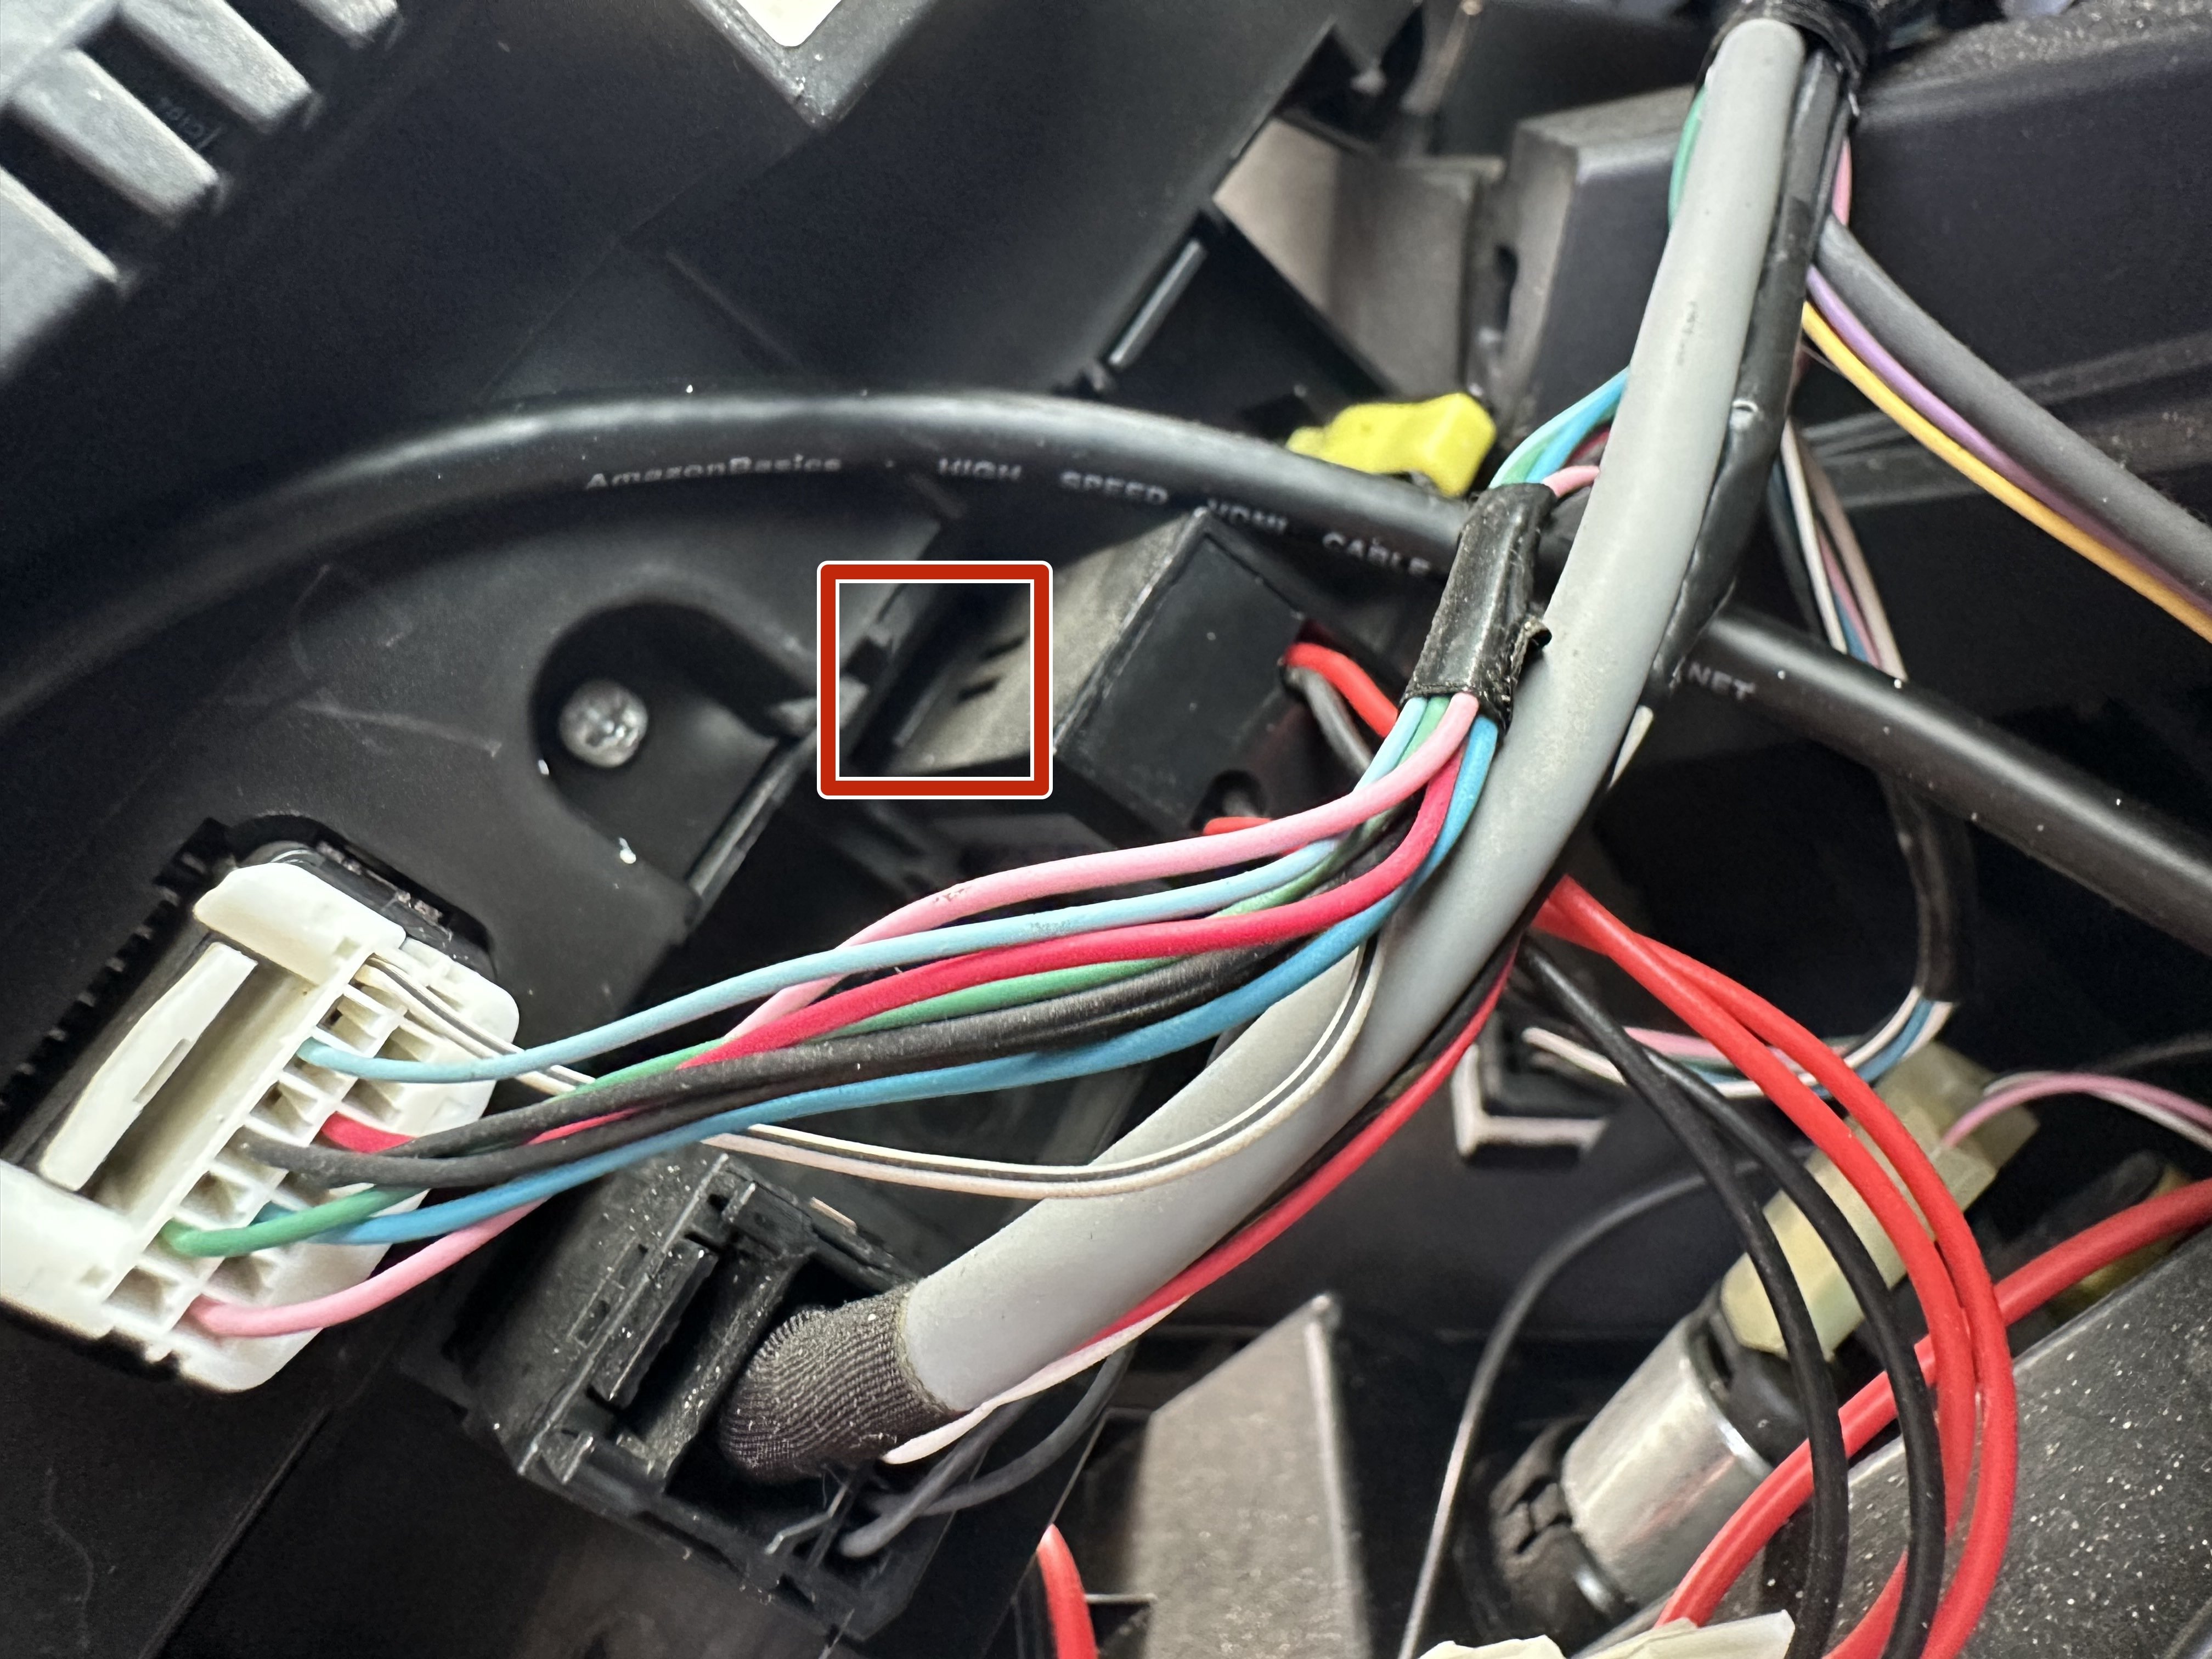
  • Disconnect the wires from the rest of the vehicle by pushing in all of the tabs simultaneously and pulling them apart.
  • In reassembly, first feed the wire through the slot of the charging port.
Step 8

Repair step

  • Remove the cloth surrounding the wires on the old charging port.
  • Cut the wires near the base of the old charging port.
Step 9

Repair step

  • Use a wire stripper to strip the cover from the ends of all of the wires.
  • Twist the same colored wires and put heat shrink over them.
Step 10

Repair step

  • Take some thin heat shrink, cut it in half and put one half on each of the new wires.
Step 11

Repair step

  • Twist the old and new corresponding wires together securely.
Step 12

Repair step

  • Solder the old and new wires together so that the black wires are soldered together and the red wires are soldered together.
  • Handle the Soldering iron with caution or you could burn yourself.
Step 13

Repair step

  • Put the small heat shrink over the exposed wire and warm it with the heat gun so that it cinches the wires.
  • Do the same with the larger heat shrink.