FIXONIC
SellSavedMy Fixonic
Official iFixit API visual reference

2009-2014 Ford F-150 Tail Light Replacement

After about 40,000 miles of driving, your tail...

iFixit Library 2009-2014 Ford F-150 Easy 10 minutes Guide 167651
Open the authorised source
Licensed iFixit integration

This attributed iFixit guide is displayed through Fixonic's recorded commercial API permission. iFixit remains the independent source and author of the procedure.

Guide overview

Before you begin

After about 40,000 miles of driving, your tail lights might begin to burn out, so they must be replaced. This guide demonstrates how to replace the tail light of a 2009-2014 Ford F150 tail light so you can maintain your own safety and the safety of those around you. Gather your materials: A ratchet, ratchet extension, and 8mm socket to help remove and replace the bolts, a Sylvania Long Life Mini Bulb 4057LL to replace the one that is currently burnt out, and some latex gloves. Please note that latex gloves are optional but will reduce the amount of oil transferred from your skin to the bulb's surface, which could help the bulb last longer.

Step 1

Repair step

  • Park on a flat surface with no incline.
  • Open the bed of your truck.
Step 2

Repair step

  • Use a ratchet and 8 mm socket to remove the 2 bolts securing the taillight assembly.
Step 3

Repair step

  • Carefully remove the taillight assembly from the truck by pulling it out towards you.
  • Twist the bulb sockets counterclockwise to remove them from the assembly.
Step 4

Repair step

  • Set the taillight assembly aside.
Step 5

Repair step

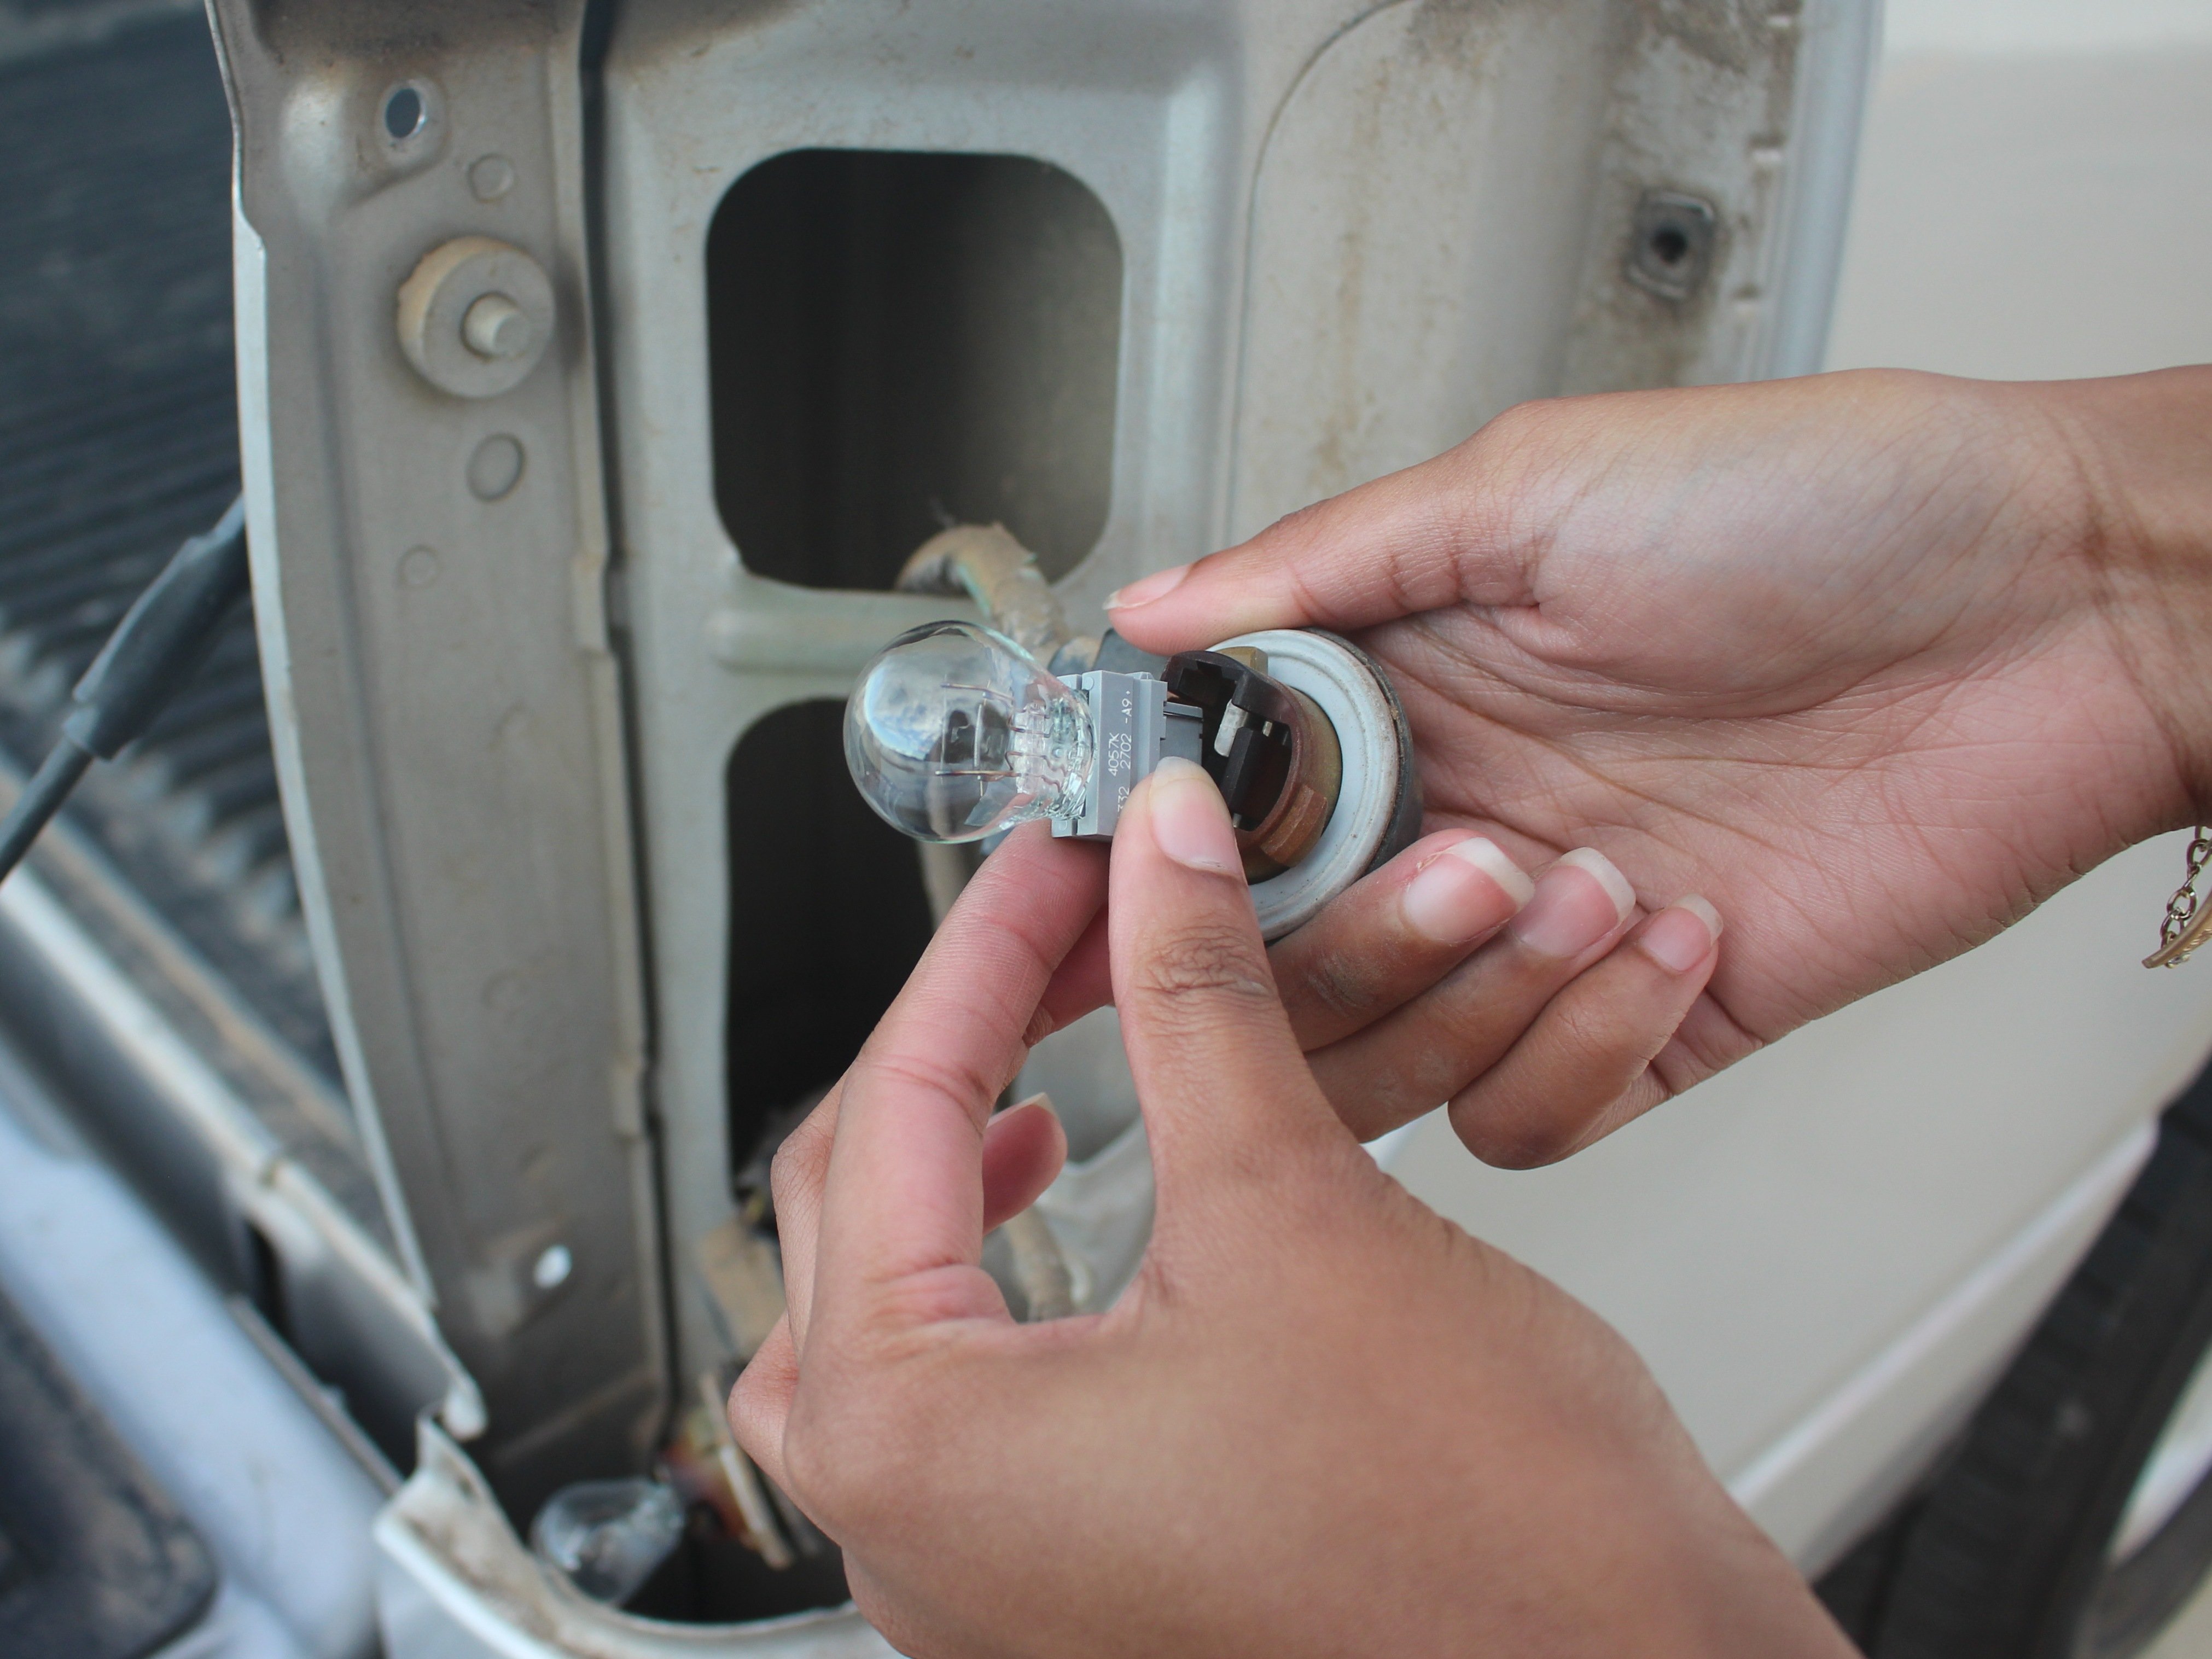
  • Remove the bulb you need to replace from the wire harness by pulling it straight out; set it down.
  • Remove the new bulb from the packaging, while being careful not to touch the bulb with your bare hands, and push it into the wire socket.
Step 6

Repair step

  • Turn the bulb sockets clockwise into the assembly to secure them.
Step 7

Repair step

  • Carefully push the assembly back into your truck by aligning the plastic tabs.
Step 8

Repair step

  • Replace the two bolts you removed in step 2 with the ratchet and tighten well.