FIXONIC
SellSavedMy Fixonic
Official iFixit API visual reference

2011-2016 Chevrolet Sonic A/C Refrigerant Gas Recharge

If you've noticed your Chevy Sonic 2012's air...

iFixit Library 2011-2016 Chevrolet Sonic Very easy 15 - 20 minutes Guide 168400
Open the authorised source
Licensed iFixit integration

This attributed iFixit guide is displayed through Fixonic's recorded commercial API permission. iFixit remains the independent source and author of the procedure.

Guide overview

Before you begin

If you've noticed your Chevy Sonic 2012's air conditioning system isn't performing up to par—blowing warm air or lacking the cooling efficiency it once had—it might be time for an A/C gas recharge. This step-by-step guide will walk you through the process in nine steps, ensuring you can restore your car's A/C system to optimal performance. While all of the steps are necessary to execute this guide successfully, there is an emphasis on steps 2, 6, and 7, as these let the reader know of the safety precautions one should take to avoid exposure to the R134a gas. Despite the simplicity of this guide, it is necessary to be aware that exposure to R134a gas can lead to temporary central nervous system depression, with narcosis, lethargy and anesthetic effects, severe pain and cornea damage in the eyes, and more. Finally, it's important to mention that if after finishing this guide, your A/C car system is still not working, there might be a bigger problem going on, so it might be necessary to consult a mechanic.

Step 1

Repair step

  • Obtain a R134a refrigerant can, available at most auto parts stores, and an adaptor hose designed to connect the can to the car's air conditioning system.
  • Any R134a refrigerant can work well for this project.
Step 2

Repair step

  • Attach the adaptor hose to the R134a refrigerant can by securely screwing it onto the can's appropriate opening.
  • Properly screwing the hose to the can is important. Failing in this can be dangerous when transferring the gas, as it could leak.
Step 3

Repair step

  • Start your car's engine and set the air conditioner to its maximum cooling setting with the lowest temperature.
Step 4

Repair step

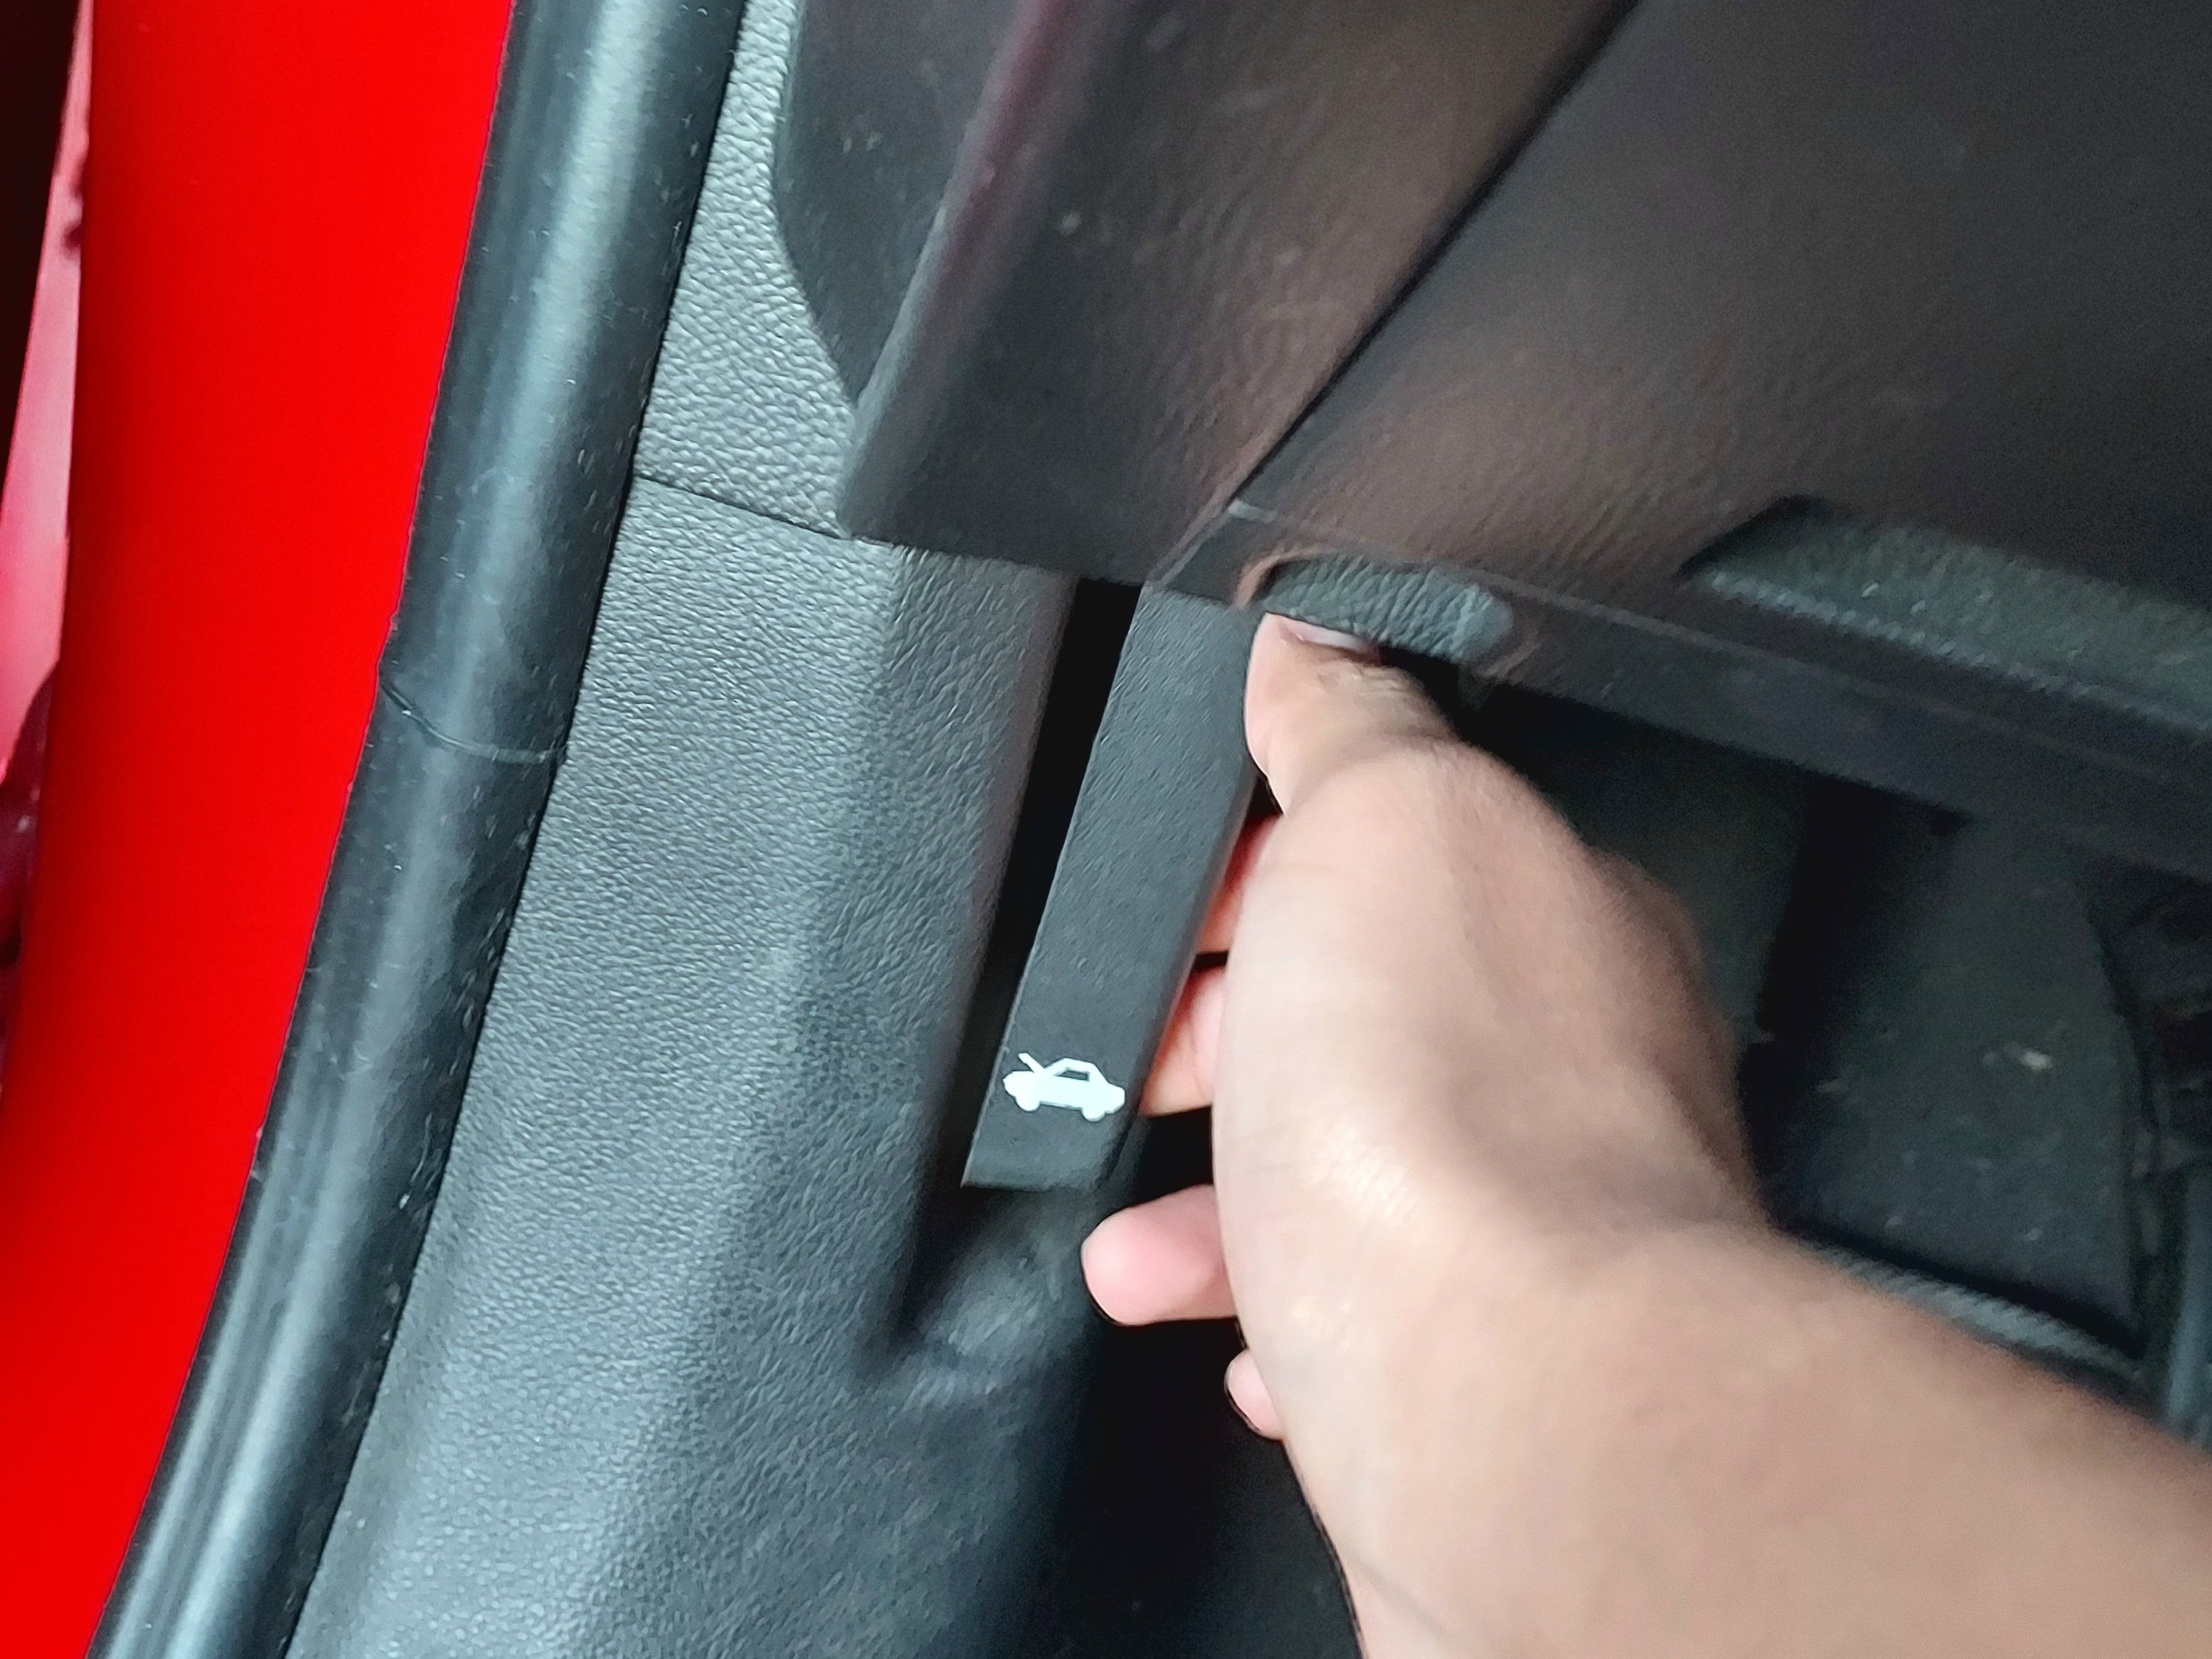
  • Open the hood and identify the air conditioner system hoses. There will be two; choose the one positioned lower than the other.
  • Accurate identification is crucial to avoid connecting the hose to the wrong opening, which could be hazardous.
Step 5

Repair step

  • Carefully plug the trigger end of the R134a hose into the identified A/C system hose.
Step 6

Repair step

  • Proceed to turn on the faucet.
  • Make sure there is no leak in any place of the hose, as leaks can be highly dangerous.
Step 7

Repair step

  • After approximately 30 seconds, close the faucet on the R134a hose to stop the flow of gas. Disconnect the hose from the A/C system hose.
  • It is necessary to turn the gas faucet off first, then unplug it from the car, as this can help reduce the chance of exposure to the gas.
Step 8

Repair step

  • Close the hood of the car and let the engine, and A/C run for 5 to 7 minutes. This allows the newly added refrigerant to circulate within the system properly.
Step 9

Repair step

  • Once the engine has run for the recommended duration, the process is complete. Your A/C system should now be adequately recharged, and it's safe to operate the vehicle.
  • It's essential to handle refrigerant with care and adhere to safety guidelines outlined by the Environmental Protection Agency (EPA) to prevent any risks or mishaps during this procedure.