FIXONIC
SellSavedMy Fixonic
Official iFixit API visual reference

2011 Chevrolet Aveo Power Steering Fluid Replacement

Attributed iFixit repair guide for 2002-2011 Chevrolet Aveo.

iFixit Library 2002-2011 Chevrolet Aveo Easy 2 hours Guide 172798
Open the authorised source
Licensed iFixit integration

This attributed iFixit guide is displayed through Fixonic's recorded commercial API permission. iFixit remains the independent source and author of the procedure.

Step 1

2011 Chevrolet Aveo (Europe) Power Steering Fluid Replacement

  • 2011 Chevrolet Aveo (Europe) Power Steering Fluid Replacement. The fluid is quite dark and is due for a change based on mileage. This is a very simple task to perform on this specific vehicle as the reservoir is completely accessible.
  • ATTENTION, THIS TASK IS PERFORMED BY THE VEHICLE OWNER. I AM NOT A PROFESSIONAL MECHANIC. I am just an enthusiast who does everything I can on my vehicles with the limited mechanical knowledge I have. Therefore, a professional may possibly observe some flaws.
  • Other guides dedicated to this vehicle can be found at: 2002-2011 Chevrolet Aveo
Step 2

Repair step

  • Replacing the power steering fluid in this vehicle is very simple to do, as the reservoir is fully accessible at the front of the vehicle.
  • Most of the oil removal can be done using a turkey baster—the kind typically used in baking (pastry)—or a large syringe. I use a stainless steel tray for convenience, but you can use a jug to store the extracted oil.
Step 3

Repair step

  • Draining process.
Step 4

Repair step

  • To drain the remaining oil, we must tilt the reservoir; to do so, you must loosen its 2 front nuts and the rear screw using an 11 mm nut driver.
  • Once the reservoir is loose, unhook it, then proceed to pry open and move the clamp on one of the tubes using tongue-and-groove pliers.
  • I personally recommend loosening the one on the thick tube, as it is easier to handle. The tube will be hardened and stuck to the reservoir, so by loosening the thick one, we can apply more force to detach it. Be careful, however, as if we force the plastic, it is aged and we could break the tube on the reservoir.
Step 5

Repair step

  • My first attempt was with the thin tube as seen in photo 1, but since it is thinner and I saw that it could break, I opted to release the thick tube as observed in photo 2.
  • With the reservoir tilted, we can continue extracting the oil.
Step 6

Repair step

  • To get all the oil out, we must turn the key in the ignition to the first position, WITHOUT STARTING THE ENGINE, and turn the steering wheel left and right several times.
  • Be careful to place an absorbent cloth in front of the reservoir, as moving the steering wheel will cause the remaining oil to be expelled from the tube under slight pressure, which can dirty the engine.
  • Once this operation has been repeated several times and you can see that no more oil remains in the reservoir, we can clean the exterior of the reservoir to reinstall it.
Step 7

Repair step

  • Before inserting the reservoir onto its 2 chassis posts, replace the hose that you removed and replace its clamp.
  • Reattach the reservoir.
Step 8

Repair step

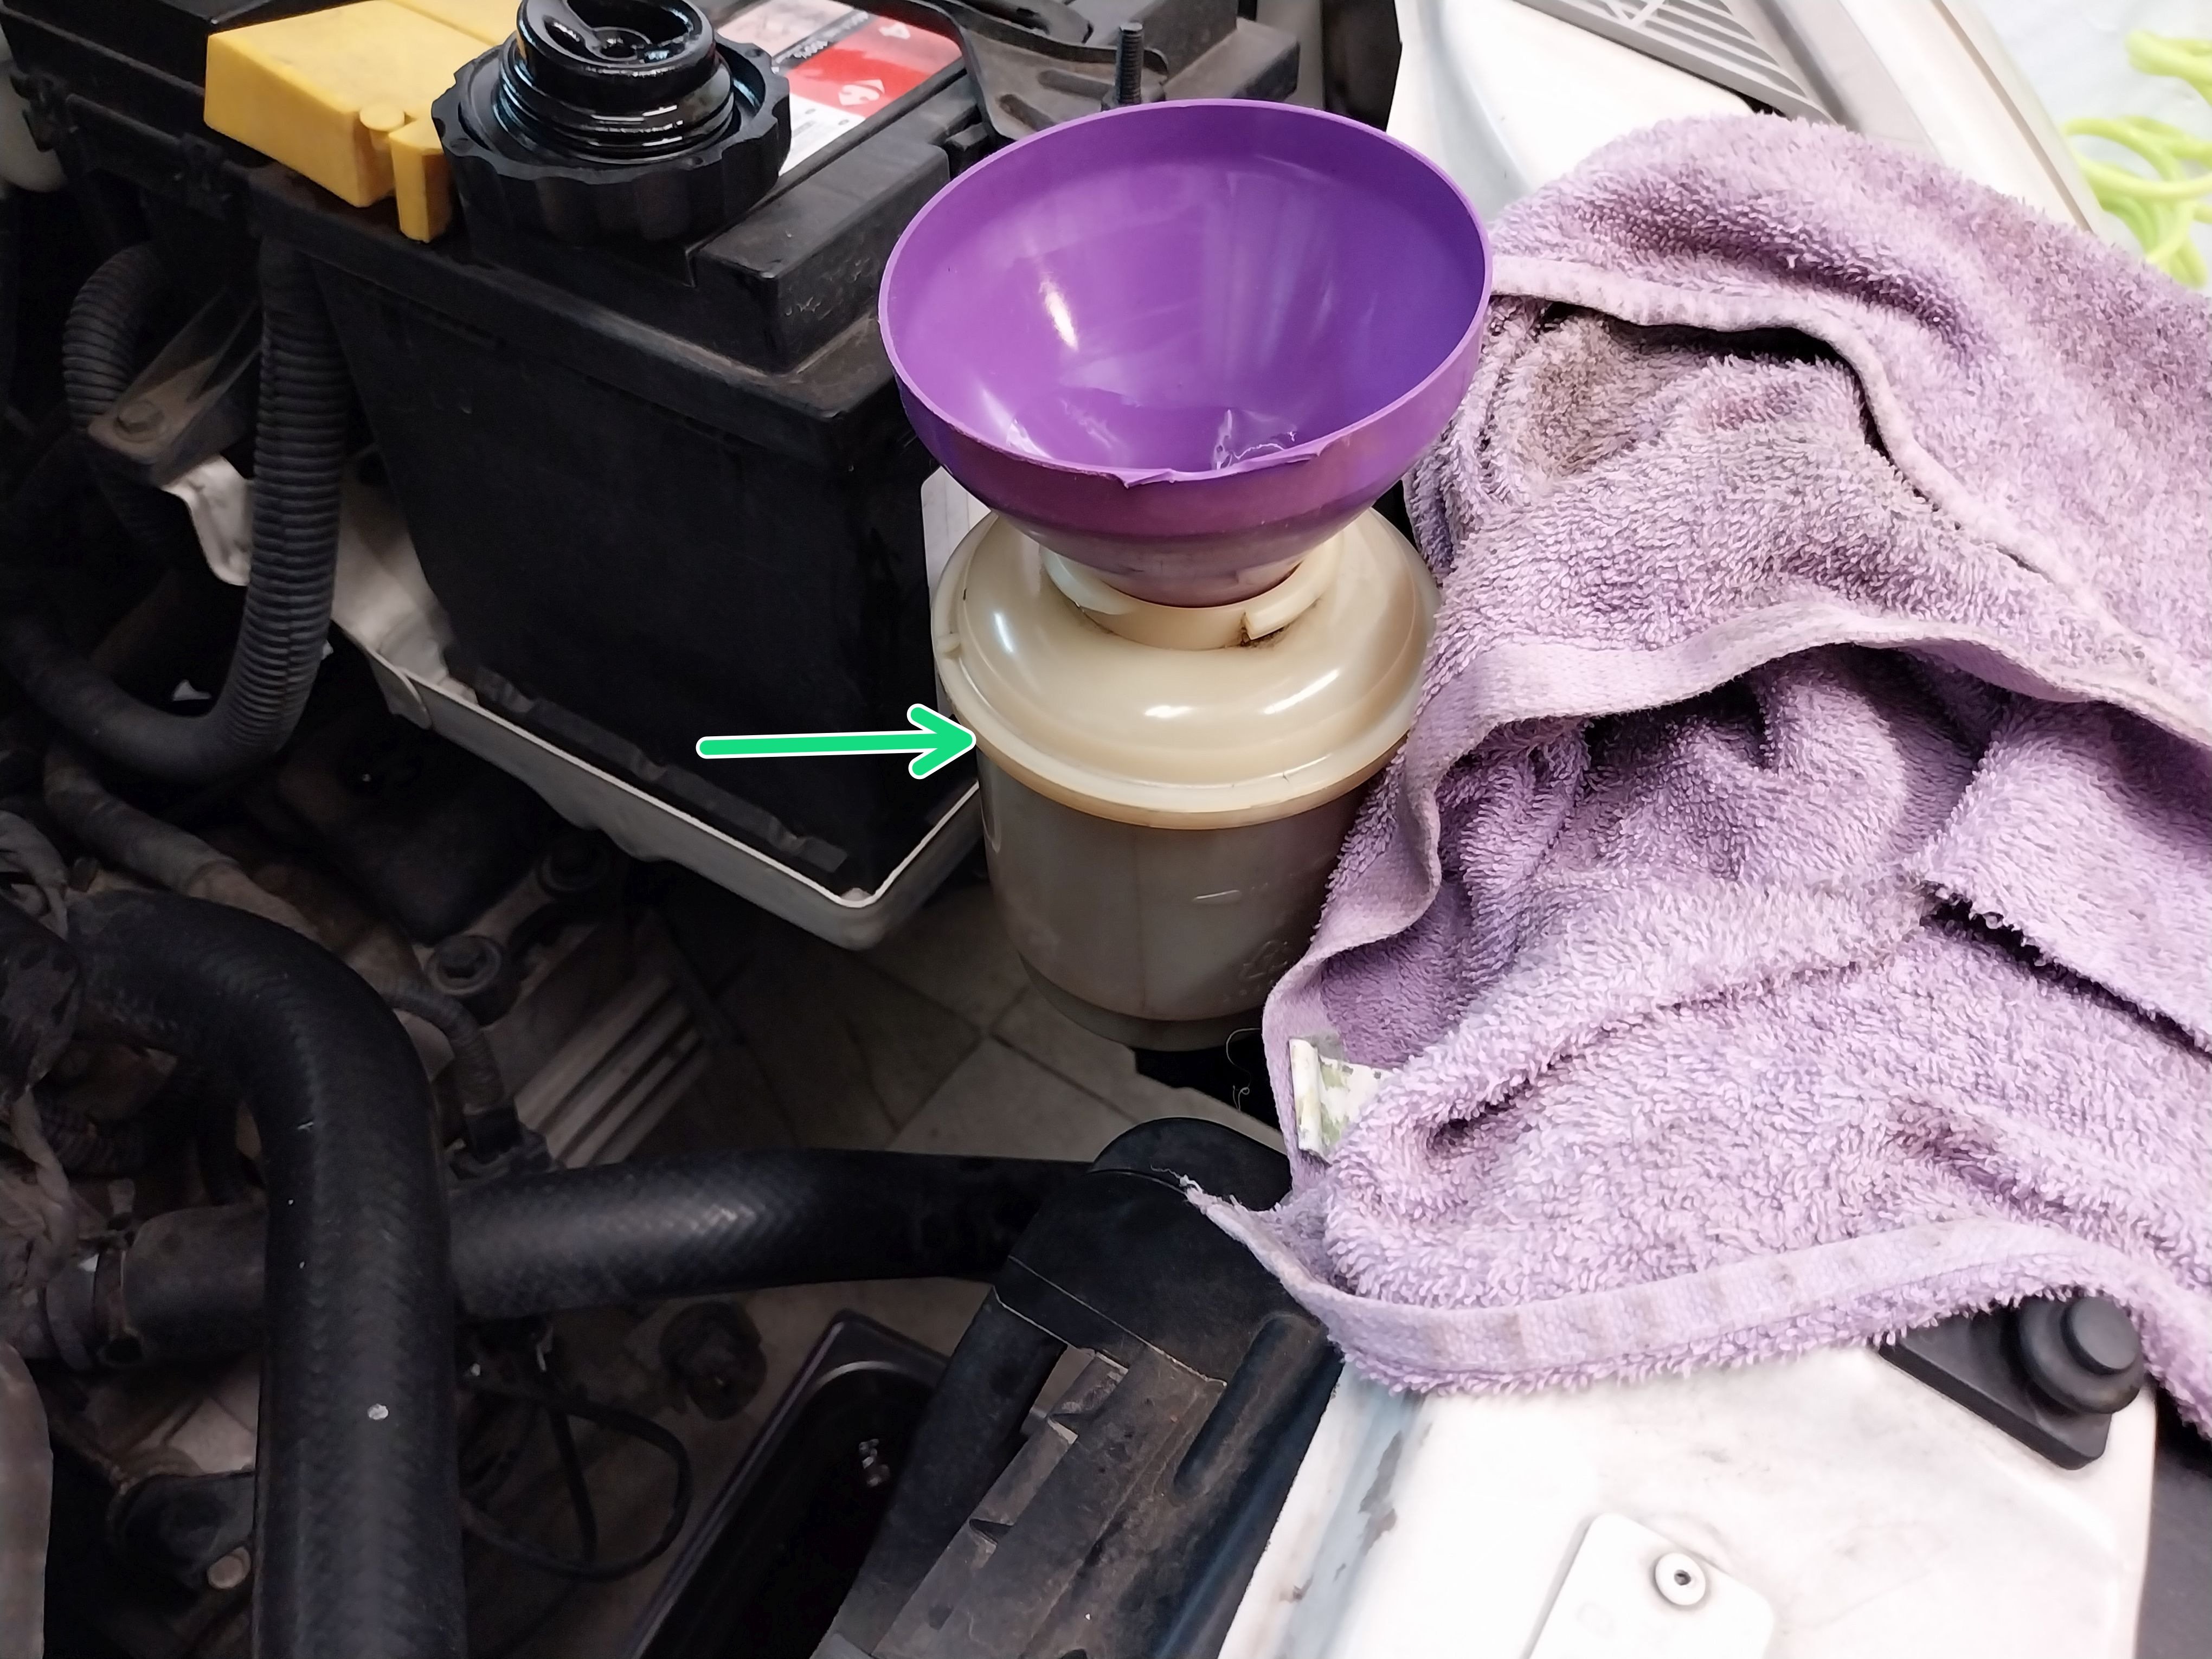
  • Fill the power steering fluid reservoir to the top; I recommend using a wide-mouth funnel.
Step 9

Repair step

  • With the reservoir full, turn the ignition to the first position, WITHOUT STARTING THE VEHICLE, and turn the steering wheel all the way to the left and right so that the fluid enters the circuit and all the air is bled out.
  • The reservoir level will naturally drop. Refill it again to the maximum level.
  • Repeat the steering wheel movement.
Step 10

Repair step

  • Replace the reservoir cap to prevent any risk of splashing, start the vehicle's engine, wait a couple of minutes, and turn the steering wheel all the way to the left and right so that the pump circulates the oil.
  • Leave the vehicle running for 5 minutes and move the steering wheel left and right again. video of the oil in recirculation
  • Turn off the engine.
  • Check the oil level again and top it off if necessary.
  • END of the guide.