
FIXONIC
SellSavedMy Fixonic
Official iFixit API visual reference

1994-1999 Toyota Celica GT-Four Engine Control Unit (ECU) Replacement

Attributed iFixit repair guide for 1994-1999 Toyota Celica GT-Four.

iFixit Library 1994-1999 Toyota Celica GT-Four Moderate 45 minutes Guide 175355
Open the authorised source
Licensed iFixit integration

This attributed iFixit guide is displayed through Fixonic's recorded commercial API permission. iFixit remains the independent source and author of the procedure.
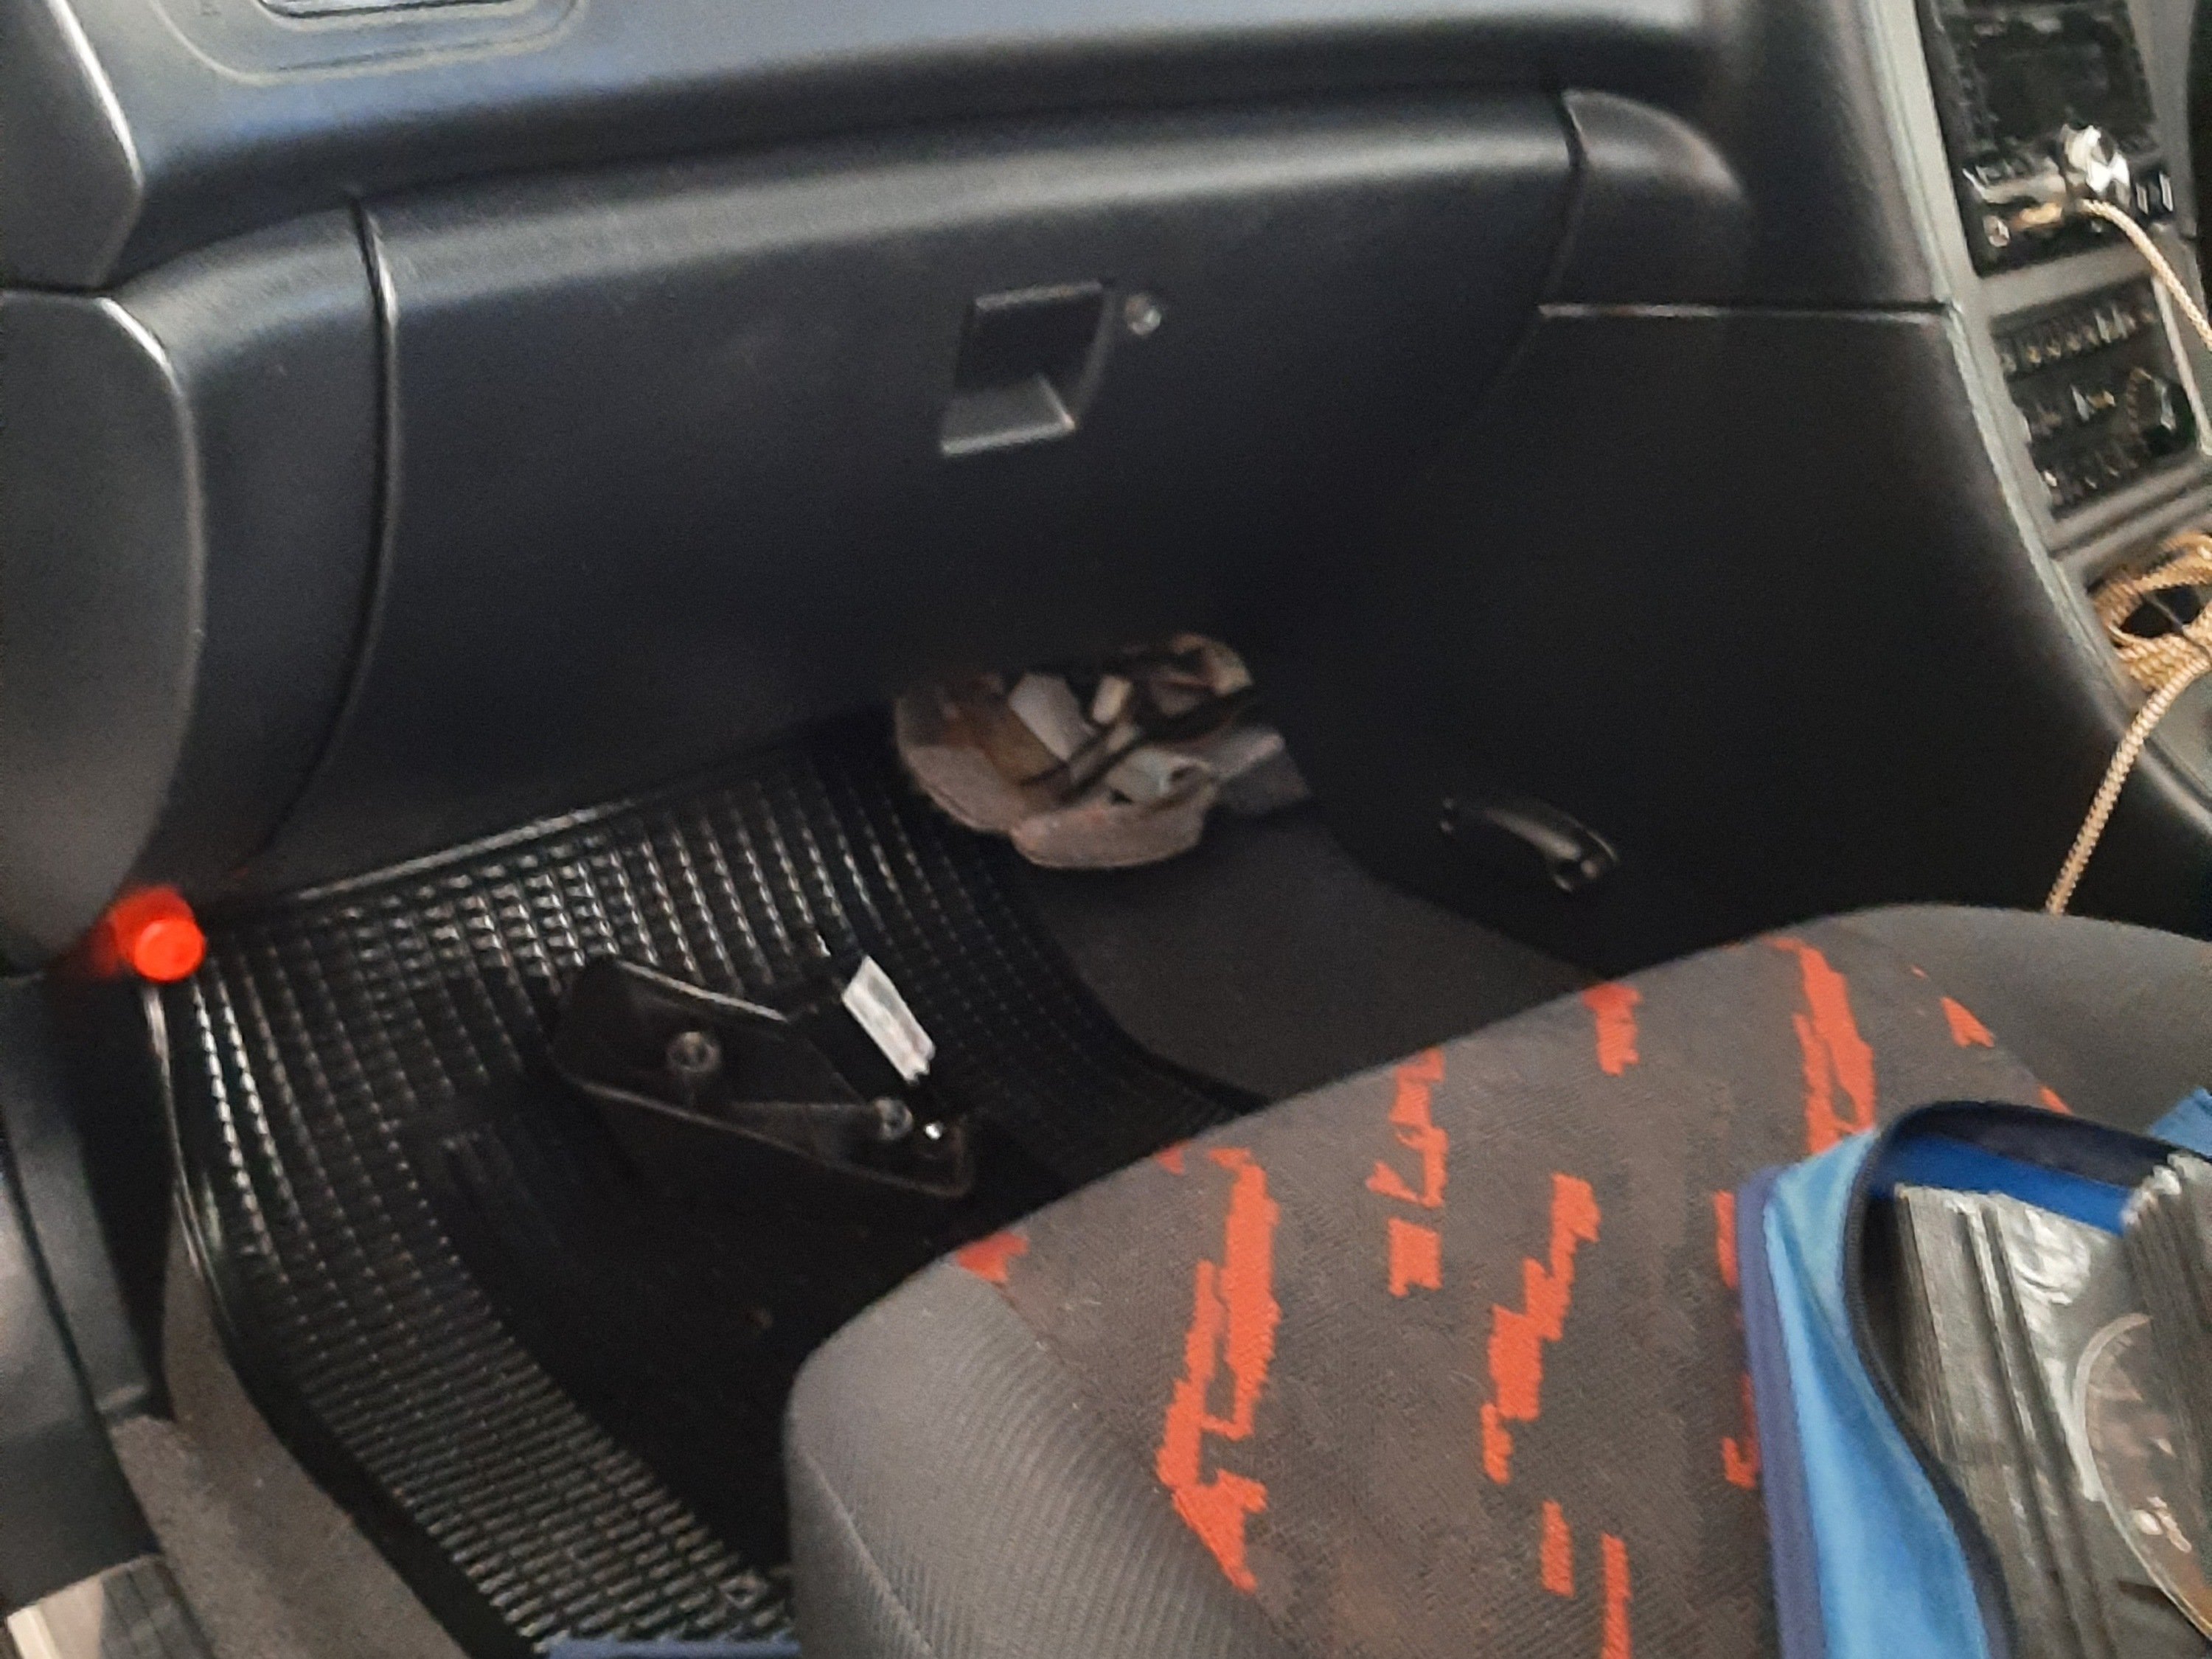
Step 1

Repair step

  • This is the inspection process for blown capacitors in the 1994-1999 Celica GT-Four. First, disconnect the battery to avoid damaging the ECU during removal.
Step 2

Repair step

  • The ECU is bolted to the area under the center dash by at least three bolts and needs to be reached from both footwells. You will probably need to remove the clutch footrest to reach the two bolts on the drivers side. Passenger side (pictured) has at least one bolt and is easier.
Step 3

Repair step

  • The nut over the white bolt is what you remove. This is the passenger side. There are two more on the opposite side making a triangle attaching the ECU frame in at three of its corners.
Step 4

Repair step

  • This plug that is connected onto the right side of the ECU housing also needs to be undone. Its just that one tab on the right but needed a lot of pressure in my case.
Step 5

Repair step

  • With the ECU out, unscrew it from its housing. Then remove the plastic cover and the four screws (two pictured here)
Step 6

Repair step

  • Remove the four screws holding the daughter board on, so that you can tip it back and inspect the motherboard.
Step 7

Repair step

  • Should be able to pull back the daughterboard without unplugging it.
  • Then look carefully at each capacitor for cracks, signs of liquid or damage around the base (or the top in the case of daughter board capacitors which are upside down when mounted). A damaged capacitor would be leaking acid onto the board which should be visible.
  • As there were no leaks when I did this, I couldnt get you a picture of what a damaged capacitor looks like this time.