 FIXONIC
Official iFixit API visual reference
Open the authorised source
iPhone 16 Screen Removal
Attributed iFixit repair guide for iPhone 16.
Apple iPhone 16
Moderate
45 minutes - 1 hour
Guide 180991
Licensed iFixit integration
This attributed iFixit guide is displayed through Fixonic's recorded commercial API permission. iFixit remains the independent source and author of the procedure.


Tape over any cracks


Remove the pentalobe screws


Mark your opening picks


Screen information

- To avoid damaging your screen in the next steps, note the following:
- There's a plastic bezel on the underside of the screen. Your opening pick will go underneath this bezel.
- There's a seam between the plastic bezel and the display panel. Don't insert your pick here or you'll separate the two.
Heat the bottom edge


Insert an opening pick

- Apply a suction handle to the bottom edge of the screen.
- While supporting the frame with one hand, pull up on the handle with a strong, steady force to create a gap between the screen and the frame.
- Insert the tip of an opening pick into the gap.
Screen information

- Two delicate cables connecting the screen to the phone—one just above the Action button and the other about halfway between the volume down button and the bottom of the phone.
- Multiple spring contacts around the perimeter of the phone.
Heat the right edge
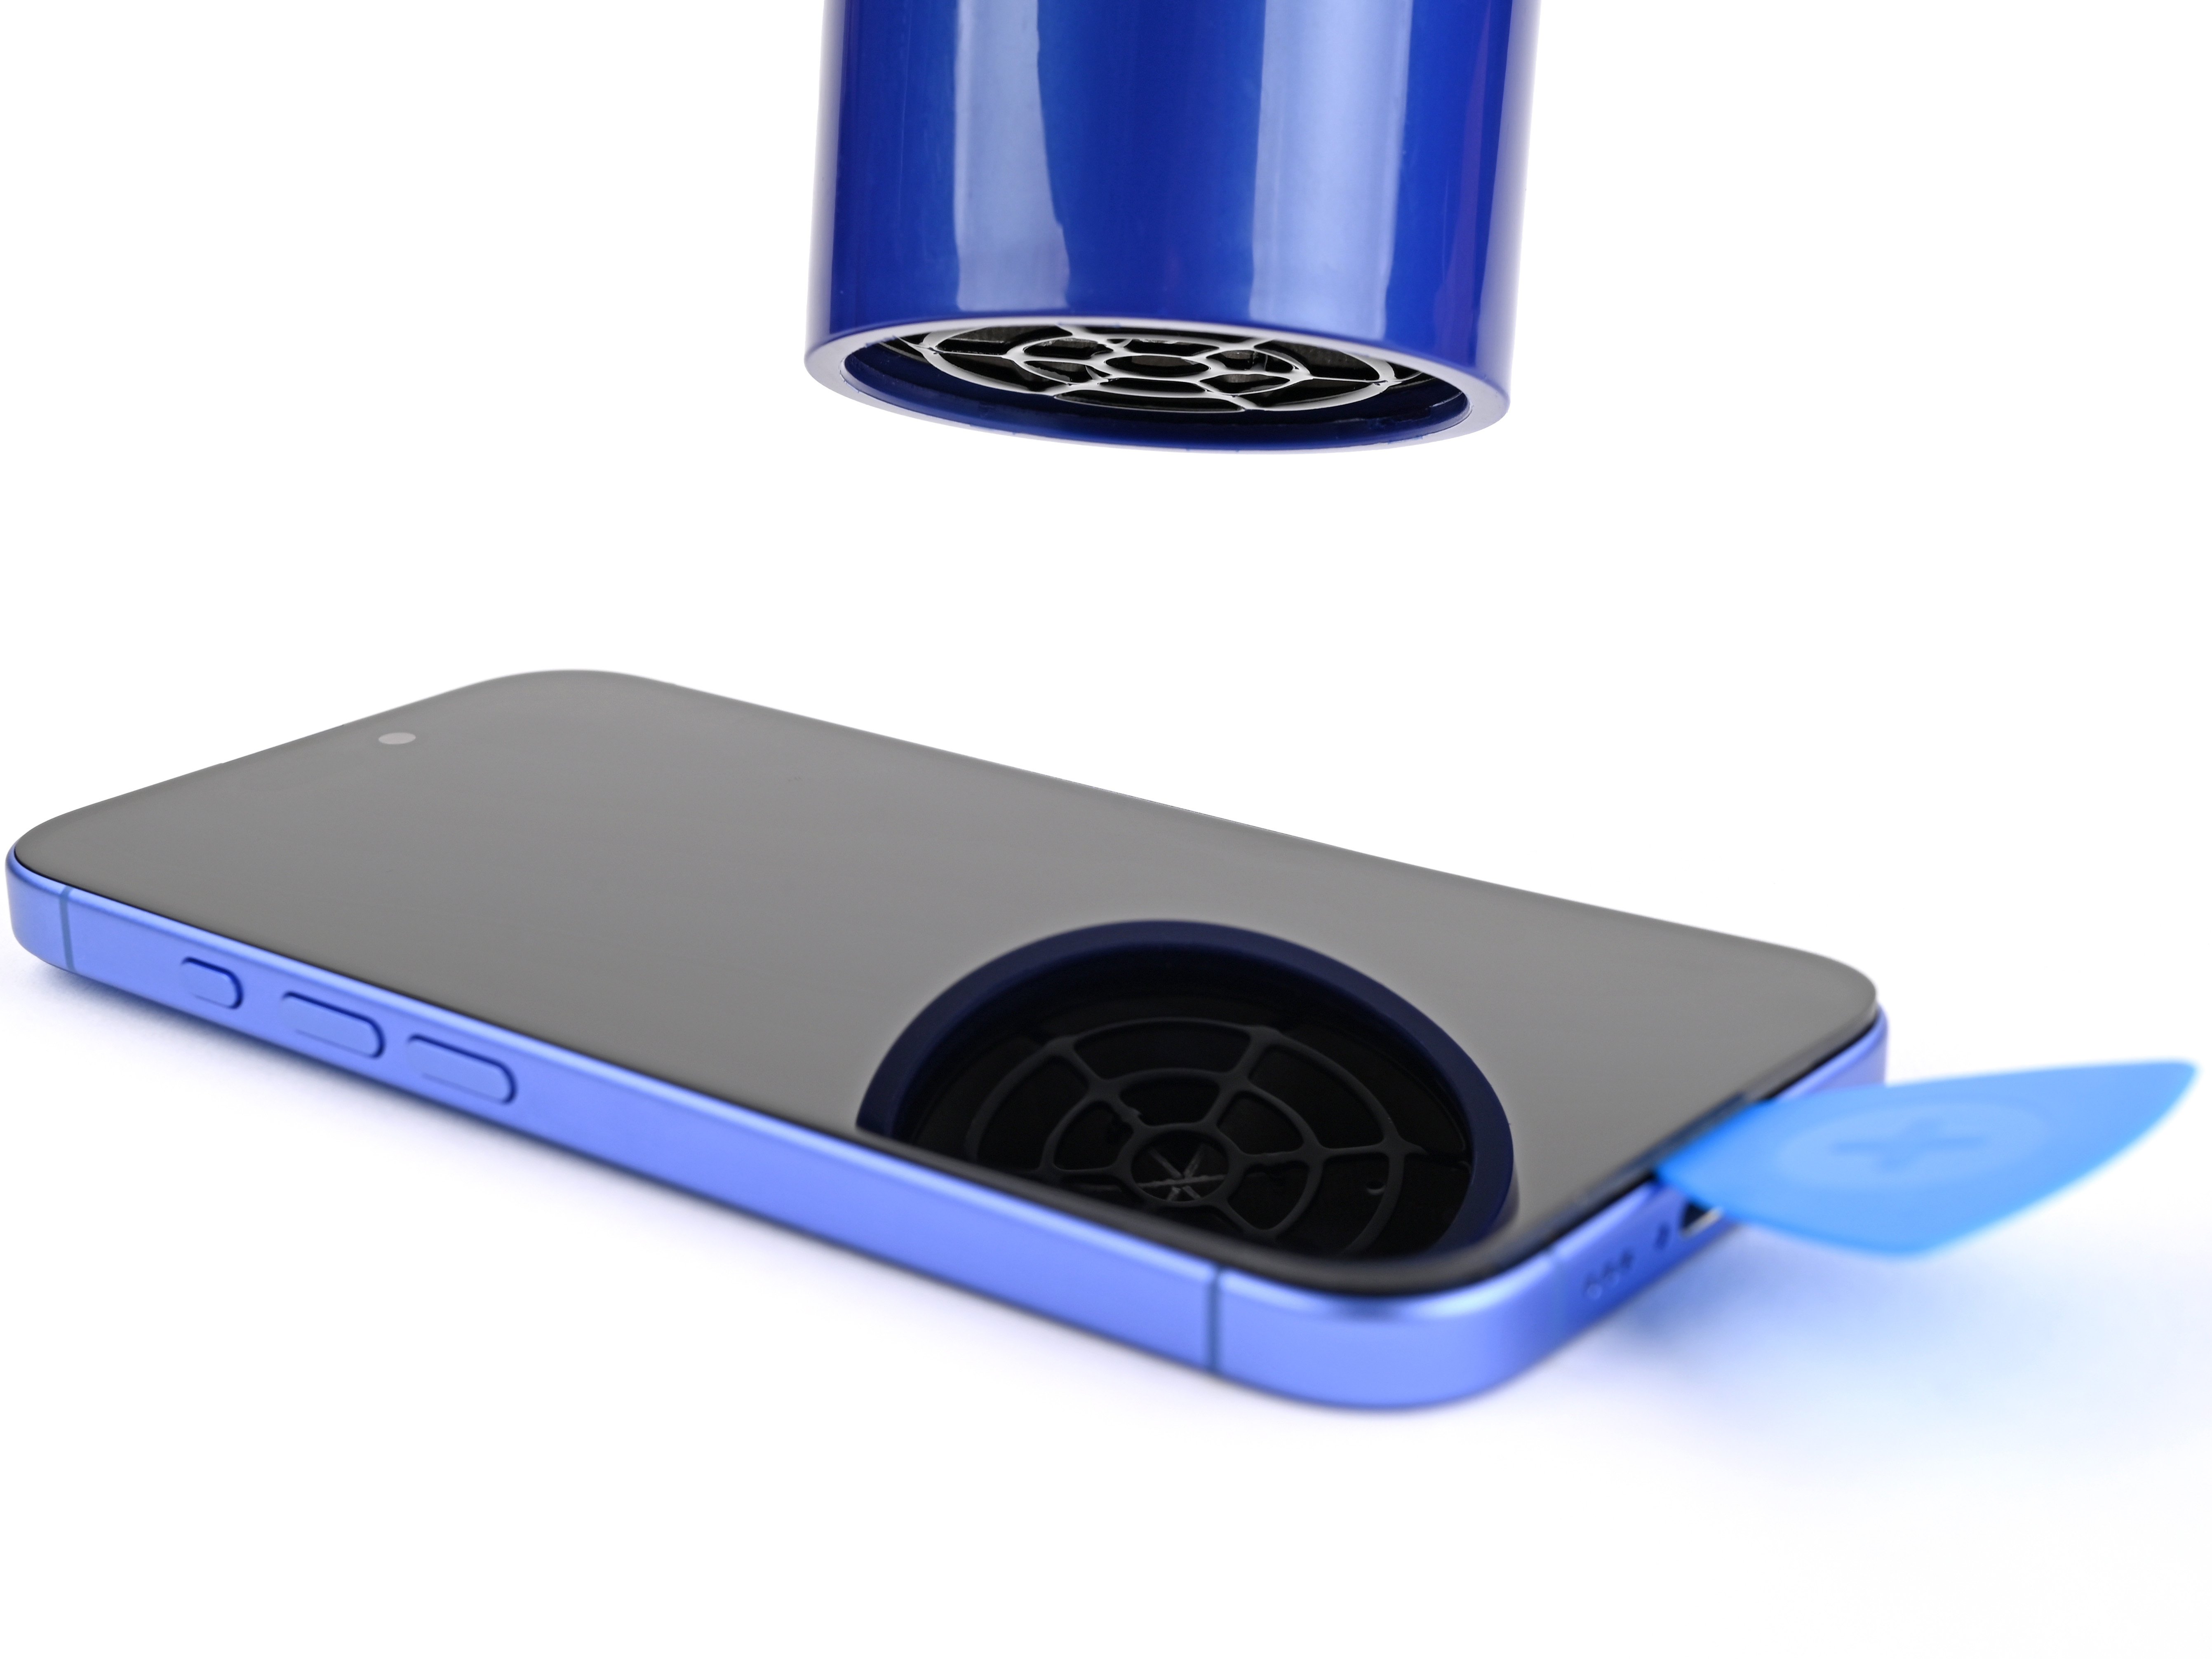
Separate the right adhesive

- Slide your opening pick around the bottom right corner and up the right edge of the screen to separate the adhesive and release the metal clip.
Heat the top edge

Separate the top adhesive

- Continue sliding your pick around the top right corner and across the top edge to separate the adhesive and release the two metal clips.
Heat the left edge

Separate the left adhesive

- Slide the opening pick down the left edge of the screen to separate the remaining adhesive and release the last two metal clips.
Prop up the screen

Remove the connector covers

- Use a tri-point Y000 driver to remove the two 0.9 mm‑long screws securing the front sensor and screen connector covers.
Repair step

- Use tweezers, or your fingers, to lift the front sensor cover to a 90-degree angle and unhook it from its slot in the logic board.
- Lift the cover out of its slot and remove it.
Repair step

- Use tweezers, or your fingers, to lift the screen connector cover at a slight angle to unhook it from its slot in the logic board.
- Lift the cover out of its slot and remove it.
Disconnect the screen

Remove the screen

- Lift the screen off the frame and remove it.
Remove the ambient light sensor bracket

- Use a Phillips screwdriver to remove the 1.3 mm‑long screw securing the ambient light sensor bracket.
- Use a pair of tweezers or your fingers to lift and remove the ambient light sensor bracket.
Pry up the ambient light sensor


- Use a hair dryer, heat gun, or heated iOpener to soften the adhesive under the ambient light sensor and ambient light sensor cable.
- Use an opening pick to pry up the ambient light sensor.
Reposition the ambient light sensor cable

Peel up the ambient light sensor cable

- Gently slide an opening pick under the ambient light sensor cable, starting near the sensor and moving to the opposite corner.
Remove the ambient light sensor

- Continue slowly sliding the opening pick under the ambient light sensor cable until the cable is free from the screen.
- Use a pair of tweezers to lift the ambient light sensor off of the screen.