FIXONIC
SellSavedMy Fixonic
Official iFixit API visual reference

iPhone 13 WiFi Chip Replacement

Due to Apple's part pairing system, Wi-Fi...

Apple iPhone 13 Difficult 30 minutes - 1 hour Guide 181962
Open the authorised source
Licensed iFixit integration

This attributed iFixit guide is displayed through Fixonic's recorded commercial API permission. iFixit remains the independent source and author of the procedure.

Guide overview

Before you begin

Due to Apple's part pairing system, Wi-Fi repairs on iPhone 12 or later models were impossible for independent repair shops for years. But now, REWA Tech has found a groundbreaking solution. This is the first time we've made such a huge breakthrough in iPhone repairs since the iPhone 12 release. This guide will show you how to perform a Wi-Fi chip repair on an iPhone 13. This method can be applied to iPhone 12 and later models, however. iPhone WiFi Chip Repair Solution
Step 1

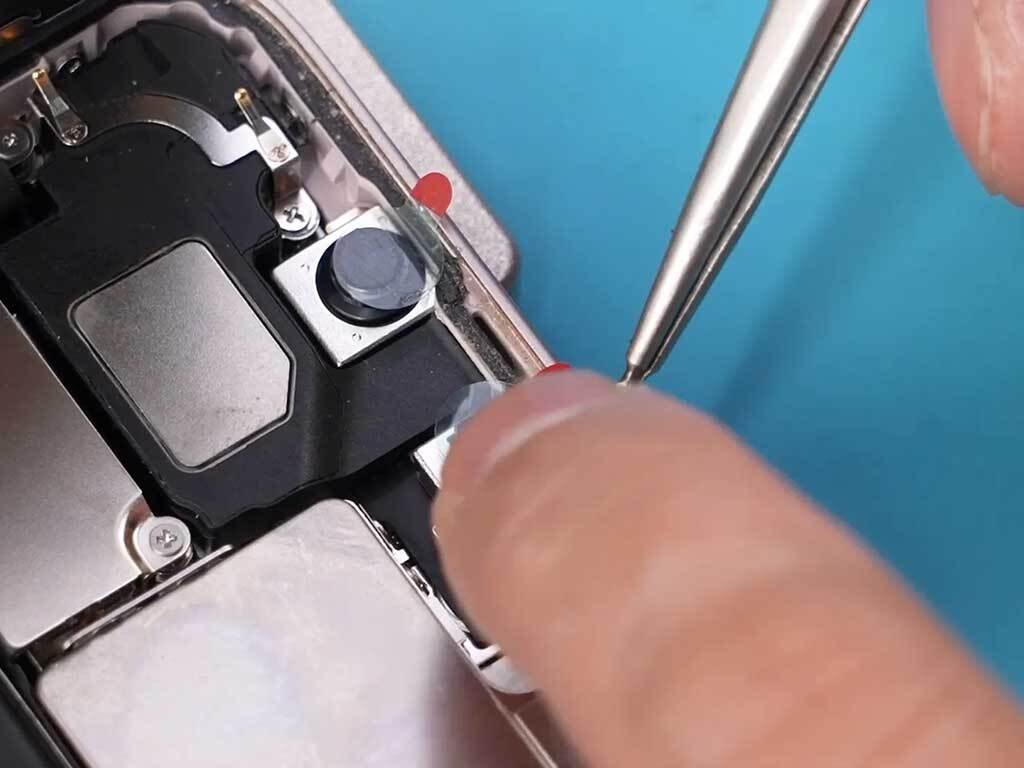
Disassemble the iPhone 13

  • Cover the cameras with protection stickers.
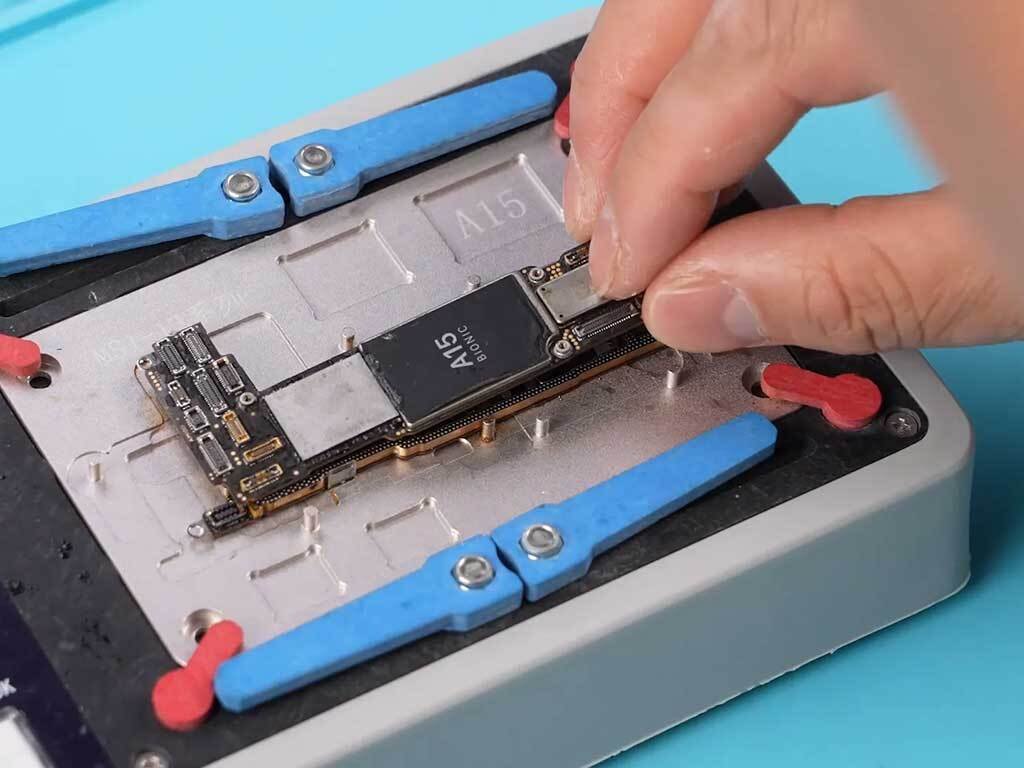
  • Remove the motherboard and split it.
Step 2

Test the Wi-Fi Circuits

  • Test the circuits related to the Wi-Fi module to verify that they are normal.
Step 3

Remove the NAND Chip

  • It is not possible to read the Wi-Fi serial number (SN) simply by connecting the iPhone to the programming software. Therefore, we will remove the NAND chip.
  • Heat the NAND chip evenly with a hot air gun at 420°C and airflow 80.
  • Pry the NAND chip up.
  • Apply some flux to the soldering pad of the NAND chip.
  • Remove the tins from the soldering pad using braid and a soldering iron.
Step 4

Use the Luban Programmer

  • Place the NAND chip in a Luban programmer.
  • Connect the programmer to a PC and open the programming software.
  • Click "Check Factory Data" to read the EcID of the iPhone.
  • Read the EcID from the NAND chip.
Step 5

Write New Wi-Fi SN Data

  • Place a new Wi-Fi module into the Luban programmer to write in the Wi-Fi SN.
  • Copy the EcID and select WiFi Operations on the navigation menu.
  • Paste the EcID and click "Check now."
  • Then click "Write now."
  • The Wi-Fi SN has been written into the new Wi-Fi module.
Step 6

Replace the Wi-Fi Module

  • Place the signal board onto a fixture.
  • Cover some other components with Kapton tape for protection.
  • Heat the Wi-Fi module with a hot air gun and use a pry knife to remove the edge adhesives.
  • Pry up the Wi-Fi module.
  • Apply some flux to the soldering pad of the Wi-Fi module.
Step 7

Solder the New Wi-Fi Module

  • Remove the tins from the soldering joints of the signal board.
  • Remove the tins from the soldering joints of the logic board.
  • Align the new Wi-Fi module carrying the SN to the soldering pad.
  • Solder the new Wi-Fi module with a hot air gun at 380°C and airflow 60.
Step 8

Solder the NAND Chip

  • Solder the NAND chip with a hot air gun at 380°C and airflow 60.
Step 9

Testing

  • Put the logic board and the signal board into a motherboard-layered test fixture.
  • Connect the iPhone 13 screen cable and the power cable.
  • Use a pair of tweezers to trigger the power-on.
  • The iPhone 13 should power on properly.
  • Go to settings to check if the Wi-Fi function toggle is resumed.
Step 10

Reassemble and Done

  • Solder the signal board with the logic board.
  • Assemble the iPhone 13 and test the Wi-Fi function.
  • Test and Wi-Fi should be restored and connected properly.