FIXONIC
SellSavedMy Fixonic
Official iFixit API visual reference

2011 Honda Civic Engine Air Filter Replacement

This guide will show you how to replace a dirty...

iFixit Library 2006-2011 Honda Civic Easy 5 - 15 minutes Guide 190675
Open the authorised source
Licensed iFixit integration

This attributed iFixit guide is displayed through Fixonic's recorded commercial API permission. iFixit remains the independent source and author of the procedure.

Guide overview

Before you begin

This guide will show you how to replace a dirty engine air filter in a 2011 Honda Civic, but it should apply to the 8th-generation, 2006-2011 Civic. A clean air filter helps your engine run and improves fuel economy. Replace your engine air filter once a year or every 12,000 miles, depending on your driving conditions. Before you begin this repair, make sure your car is off and the engine has cooled if you've driven recently.

Step 1

Repair step

  • Open the air filter.
Step 2

Repair step

  • Pull the hood release lever inside the car. It will be on the bottom left of the driver side footwell, beneath the dashboard.
  • Go to the front of the car and lift the hood by releasing the safety latch.
  • Prop the hood up.
Step 3

Repair step

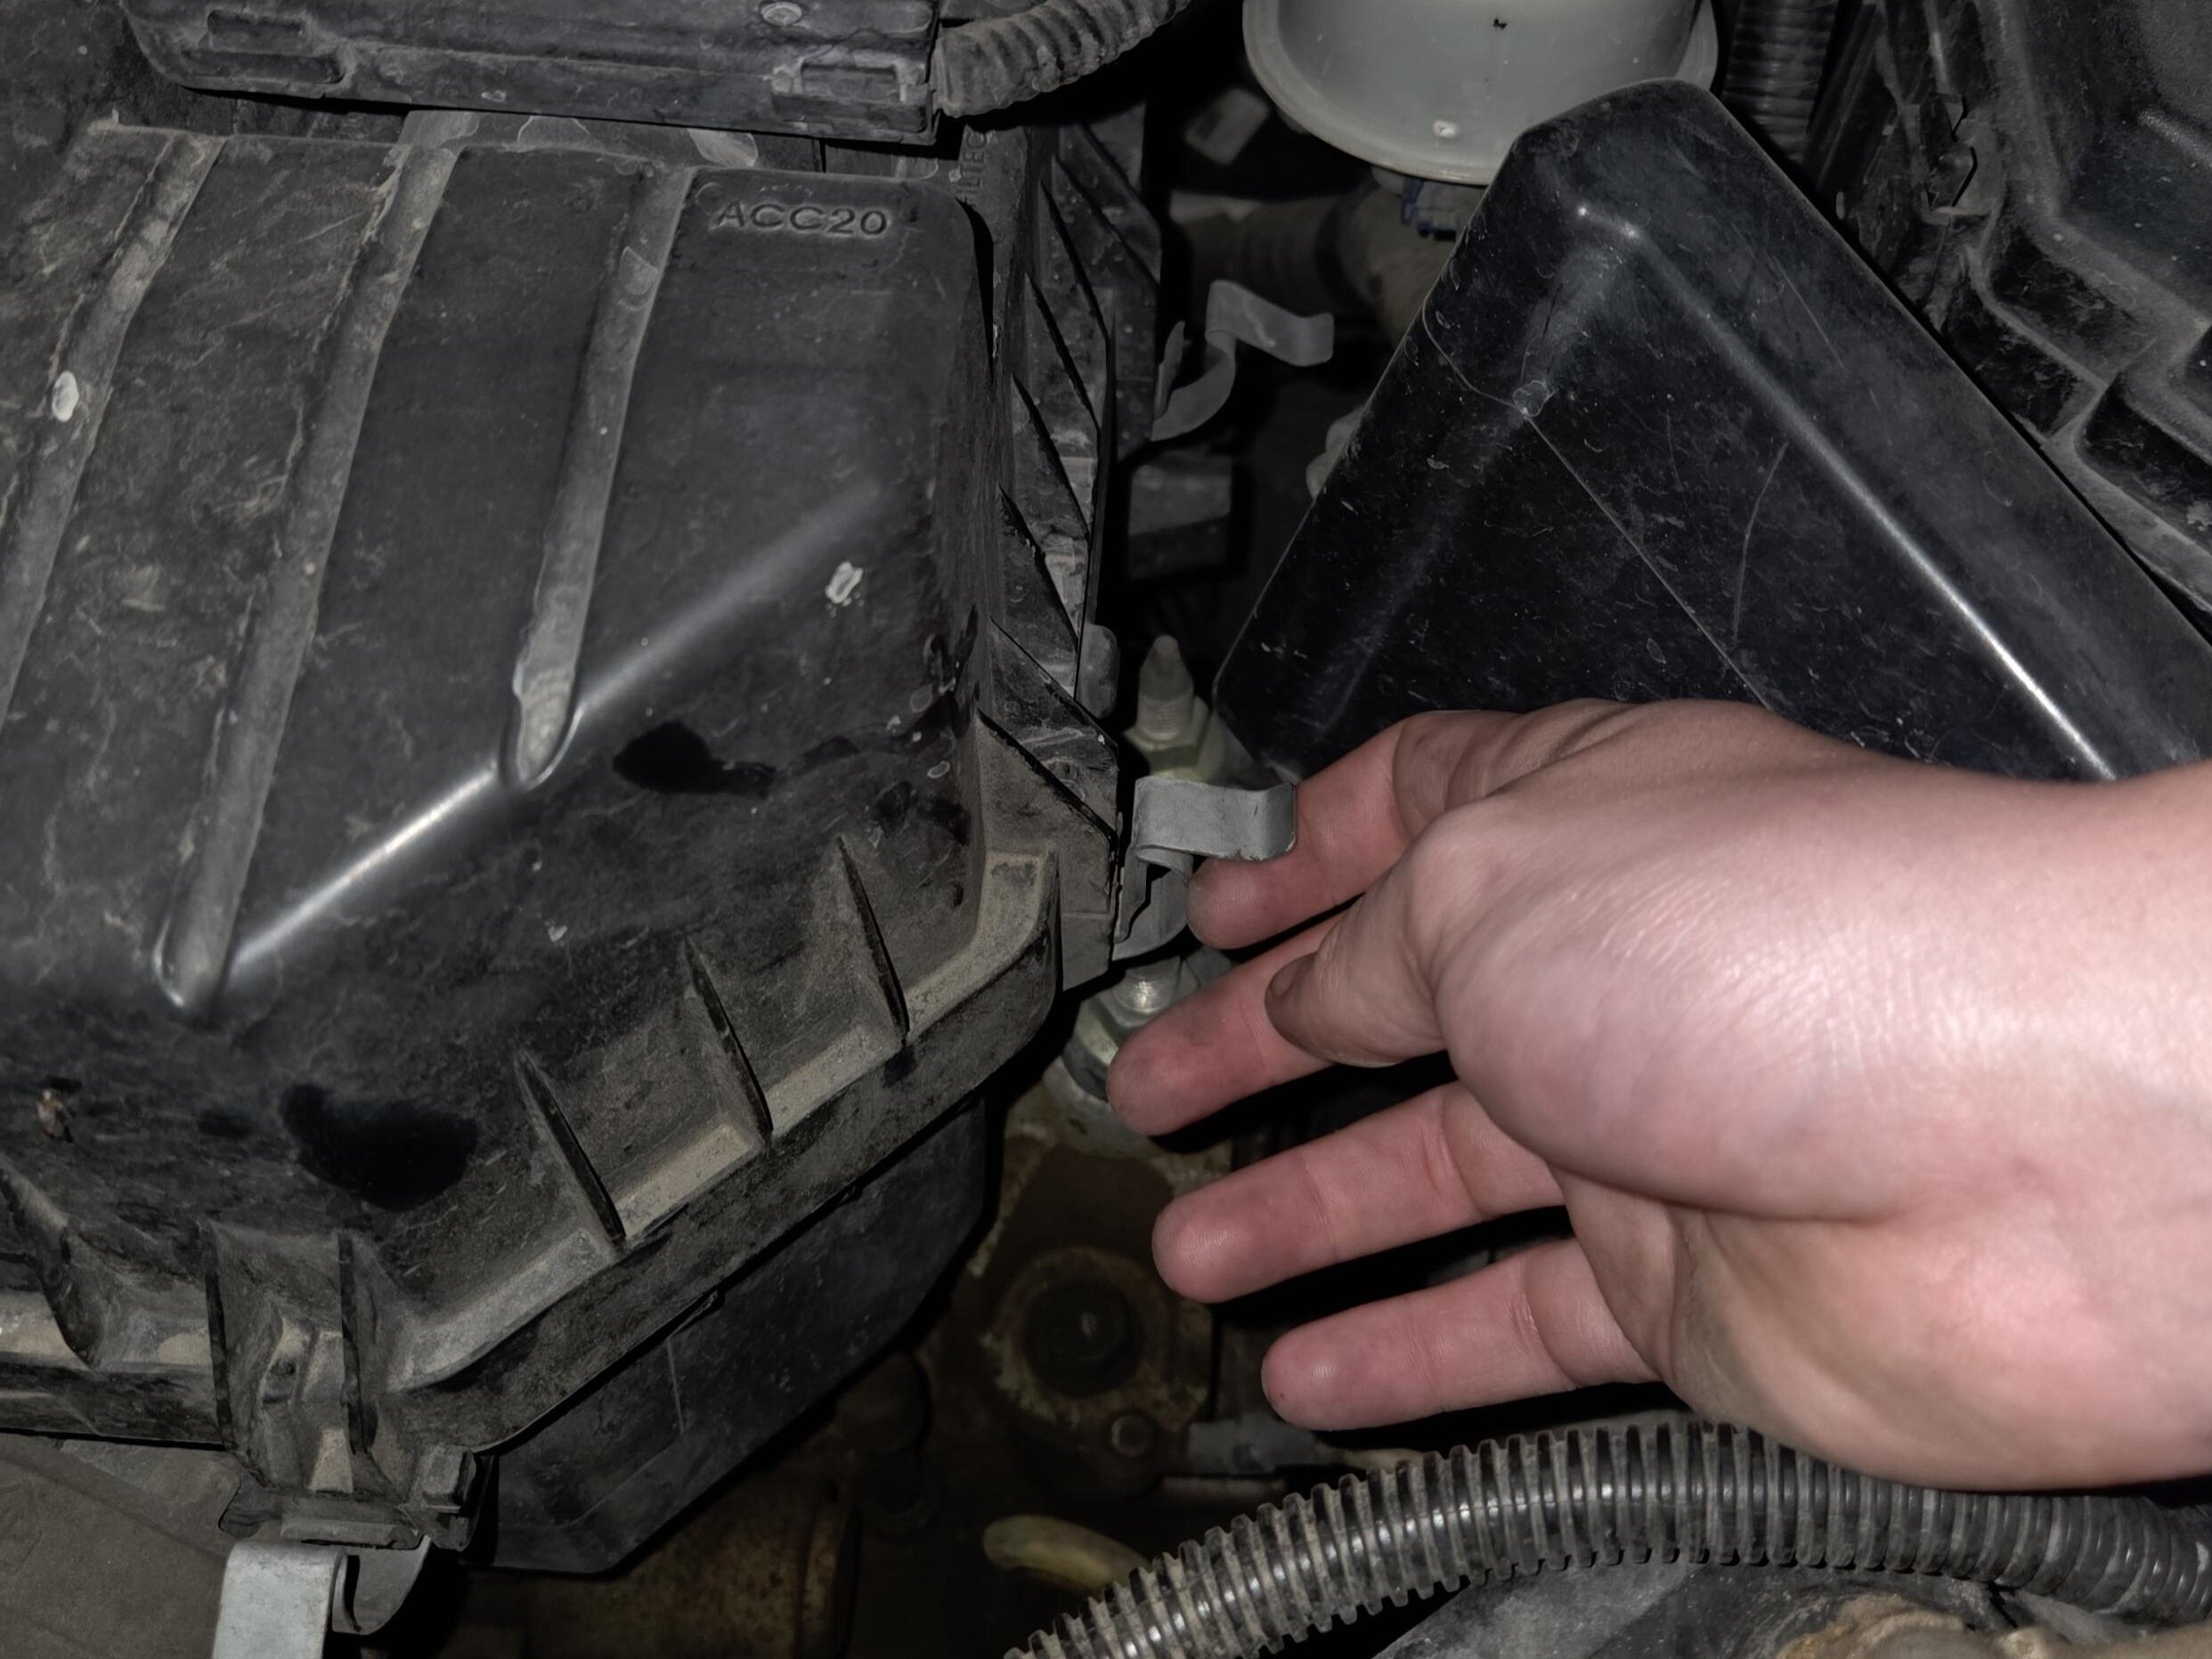
  • Find the black plastic air filter box near the top of the engine bay. It is rectangular and has metal clips on the side.
Step 4

Repair step

  • By hand, unclip all three metal fasteners holding the lid in place.
  • Lift the lid of the air filter box and set it aside carefully.
Step 5

Repair step

  • Note the orientation of the old filter so the new one can be put in the same way.
  • Take out the dirty engine air filter and dispose of it.
Step 6

Repair step

  • Place the new air filter into the box. Make sure it is snug and facing the same direction as the old one.
Step 7

Repair step

  • Lower the lid back into place and secure all clips.
Step 8

Repair step

  • All done! Close the hood and you're ready to be back on the road.