FIXONIC
SellSavedMy Fixonic
Official iFixit API visual reference

2003-2007 Honda Accord Highbeam Headlight Replacement

The high beams are an essential part of any...

iFixit Library 2003-2007 Honda Accord Easy 20 minutes Guide 198659
Open the authorised source
Licensed iFixit integration

This attributed iFixit guide is displayed through Fixonic's recorded commercial API permission. iFixit remains the independent source and author of the procedure.

Guide overview

Before you begin

The high beams are an essential part of any motor vehicle. They allow you to see in poorly-lit areas, such as country roads, mountains, etc. Over time, the life of the bulb runs out, leading to potential endangerment whilst in these areas of travel. This guide will show and explain, step-by-step, how to replace the high beam headlights on a 2003-2007 Honda Accord, to working order for your safety. If the car has recently been driven, wait AT LEAST an hour for the engine to cool down to avoid burning yourself.

Step 1

Repair step

  • Turn the engine off, put the e-brake on, and wear gloves (recommended, not required).
Step 2

Repair step

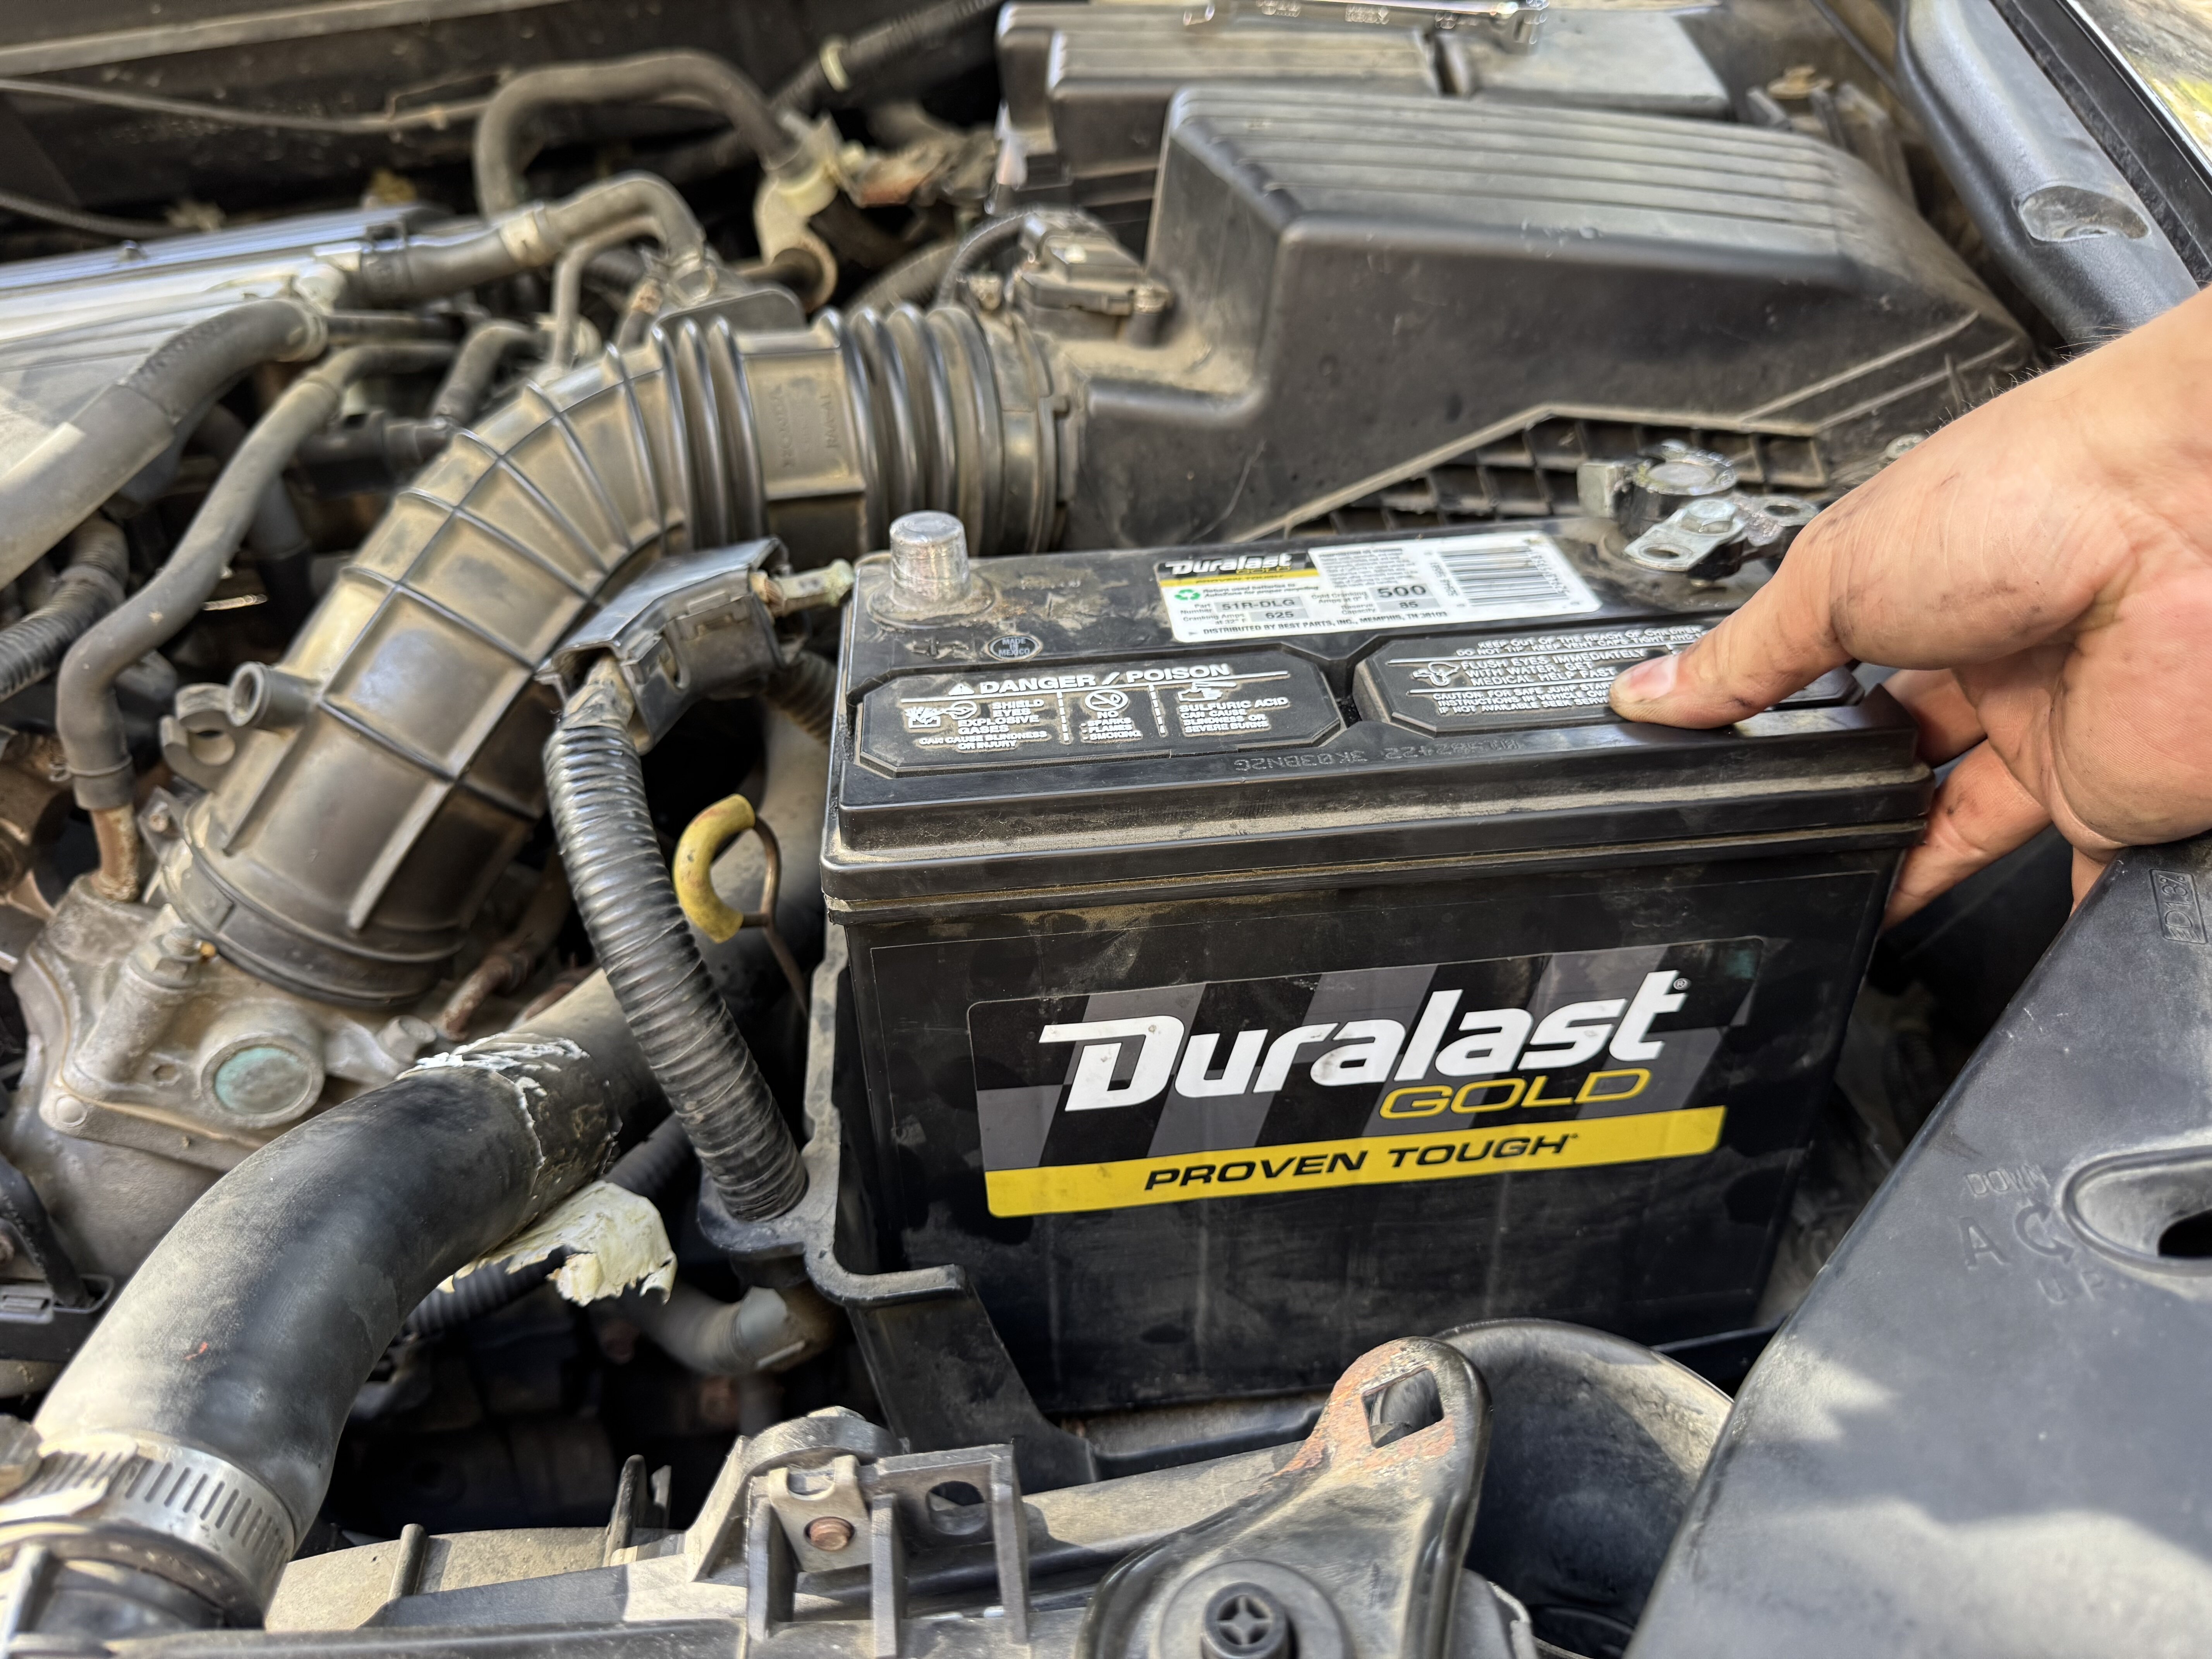
  • Loosen and remove both the positive and negative connectors before lifting and removing the battery.
  • Always remove the negative terminal first.
Step 3

Repair step

  • Remove the cover next to the battery to reveal the connector by pulling out the pin(s).
  • Depending on the year of your Honda Accord, there may be 2-3 little pins holding the cover in place.
Step 4

Repair step

  • The passenger side connector will be more accessible, found straight down from the headlight.
  • The driver’s side is accessible after removal of the battery and cover. It is also found straight behind the headlight.
  • We will be showing the removal and replacement of the passenger high beam. The same steps apply to the driver's side.
Step 5

Repair step

  • Turn the old bulb counterclockwise and pull out to remove it.
Step 6

Repair step

  • To remove the connector, press the tab, wiggle side to side, and pull down until it detaches.
  • These things can get stuck pretty good, so don’t give up!
Step 7

Repair step

  • Align the connector and new bulb, and push it into the port.
  • You should hear a clicking noise.
  • Avoid touching the bulb with your hands, as the oil on your hands can be damaging and cause the bulb to fail prematurely.
Step 8

Repair step

  • Insert the bulb back into the slot, and turn clockwise to lock in place. When the bulb is in, you will hear a click, and it should stay in place.
  • Repeat steps 5 through 8 for the driver's side.
  • You want to insert the bulb at a 45-degree angle, so when you turn it clockwise, it will stand up straight.
Step 9

Repair step

  • Place the battery back, attach the terminals back in place, and fasten with a wrench (10 mm).
  • Attach the positive terminal first to minimize the risk of sparks or a short circuit!
Step 10

Repair step

  • Place the cover back on over the driver’s side that was removed previously.
Step 11

Repair step

  • Turn on the car, flash the bulbs, and if they work, you are done!