
FIXONIC
SellSavedMy Fixonic
Official iFixit API visual reference

2010 Volvo C70 Trunk 12V Auxillary Power Outlet Replacement

This guide will show you how to replace the 12...

iFixit Library Volvo Easy 10 - 30 minutes Guide 206910
Open the authorised source
Licensed iFixit integration

This attributed iFixit guide is displayed through Fixonic's recorded commercial API permission. iFixit remains the independent source and author of the procedure.

Guide overview

Before you begin

This guide will show you how to replace the 12 Volt accessory power outlet in the trunk of a 2010 Volvo C70. We used a Waterproof Male 12V Accessory Outlet in this guide, but any male type 12V accessory power outlet or cigarette lighter socket should work. This part allows you to power devices near the rear of the vehicle through plugging it into its outlet. This outlet would not power any devices plugged into it. The fuse for the trunk was intact and the socket showed signs of water damage in the form of rusting of the interior receptacle. Since this deals with an electronic component, it is important to remove all sources of power via turning the car off and disconnecting the battery before working on it.
Step 1

Repair step

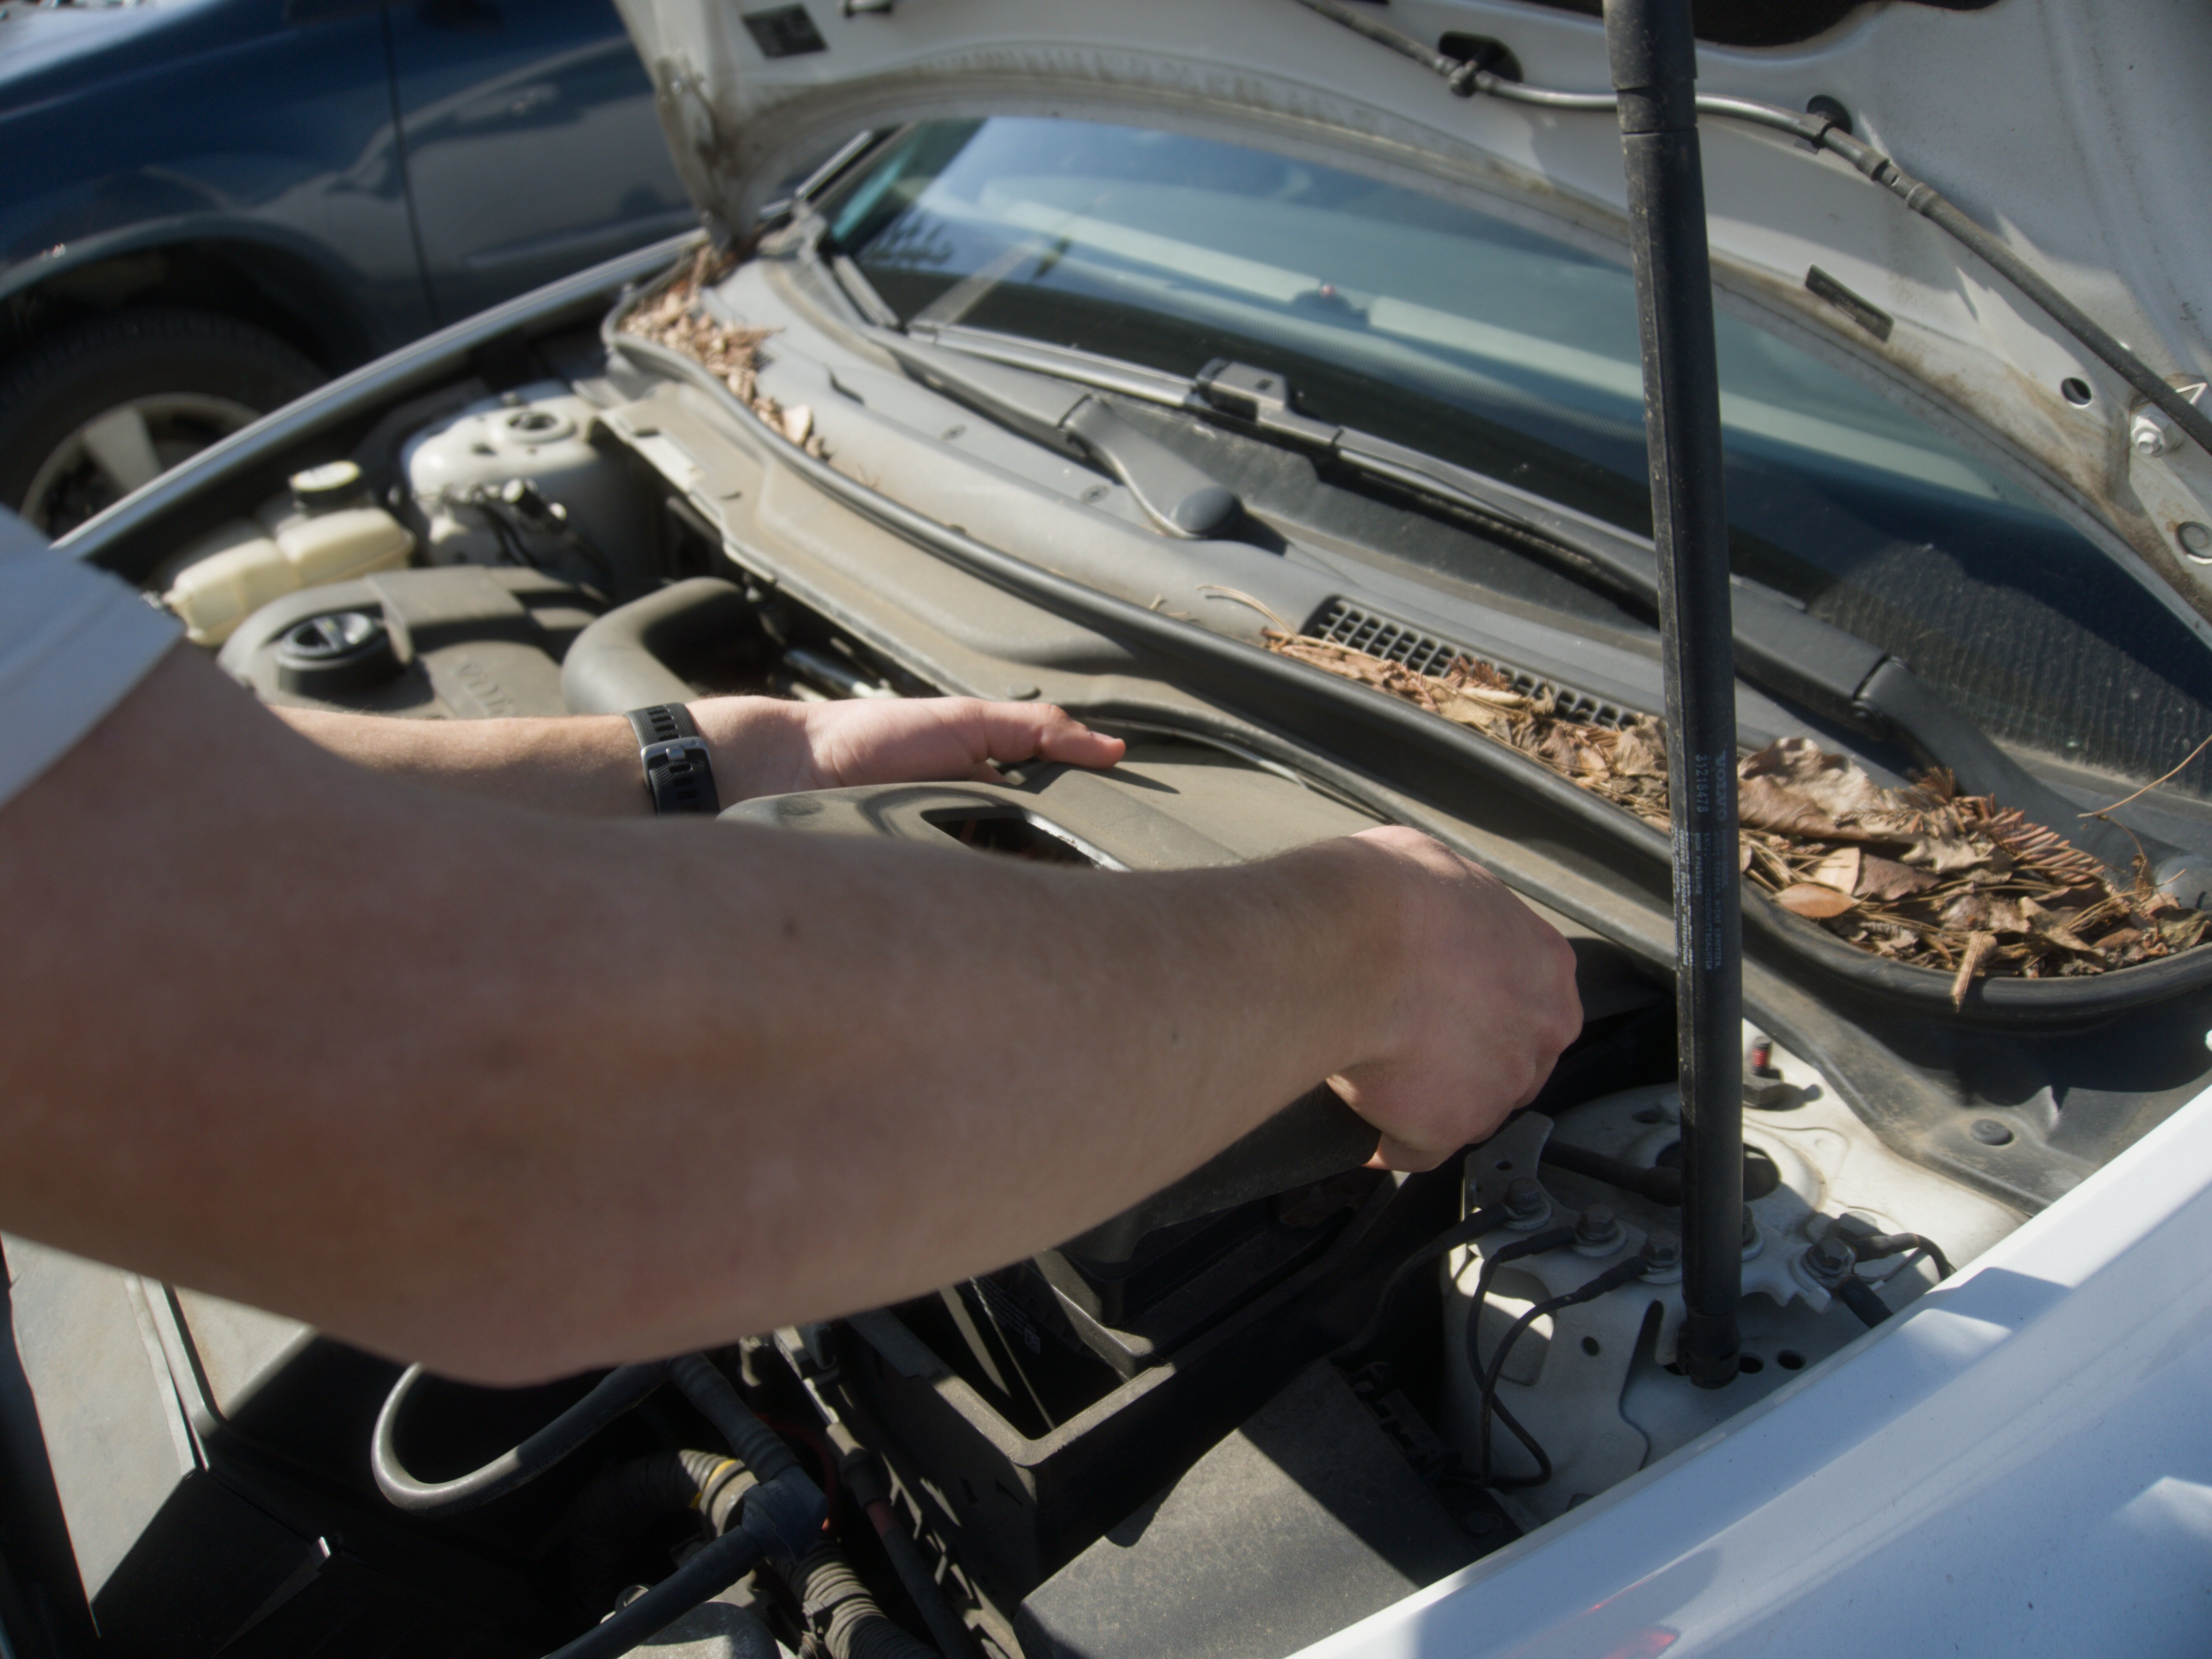
  • Remove the battery cover found on the driver-side of the hood.
  • Disconnect the negative-black (-) nut terminal using an appropriate wrench size turning counter-clockwise.
  • Once disconnected, set the negative wire aside to prevent possible re-connection and store the nut terminal in a safe place.
  • When removing the battery nut terminal, ensure the wrench does not come into contact with both posts to avoid possible shock.
Step 2

Repair step

  • Moving to the trunk, use a flat-head screwdriver to "lift" the black weatherstrip which is tucked under the rear plastic trim (scuff panel).
  • Gently pry to lift the right side of the scuff panel, revealing two plastic, rivet-style clip fasteners.
  • Plastic trims, with age, become brittle. Make sure to pry the scuff panel with care to prevent cracking.
  • With the screwdriver, gently pry the center head of the two clip fasteners to disengage their locking mechanism.
  • Though the scuff panel contains more clip fasteners, only the two right side fasteners need to be disengaged for access to the auxiliary power outlet.
  • The right side of the scuff panel can now be pushed aside.
Step 3

Repair step

  • Locating the rear end of the auxiliary power outlet (located to the left of the right-side trunk light), disconnect the female lead wires from the power outlet by gently pulling on the wires.
  • The male wire component of the auxiliary outlet should now be revealed (two metal prongs).
Step 4

Repair step

  • Unscrew the non-functioning 12V Accessory Outlet and remove.
Step 5

Repair step

  • Insert new 12V Accessory Outlet into hole.
  • Plug male 12V Accessory Outlet into the female connector.
Step 6

Repair step

  • Pull the plastic casing back into place.
  • Line up the lock cable clips with the holes they were removed from.
  • Push the plastic casing into the holes, ensuring the plastic is all in place.
Step 7

Repair step

  • Reconnect the negative-black (-) terminal.