FIXONIC
SellSavedMy Fixonic
Official iFixit API visual reference

1967-68 Mustang Kick Panel Speaker Replacement

Most people aren't happy when a speaker blows...

iFixit Library Ford Mustang Moderate 25 - 40 minutes Guide 50357
Open the authorised source
Licensed iFixit integration

This attributed iFixit guide is displayed through Fixonic's recorded commercial API permission. iFixit remains the independent source and author of the procedure.

Guide overview

Before you begin

Most people aren't happy when a speaker blows out in their car. Old cars can be intimidating because working on them may be difficult at times. This is the perfect Fast Fix guide for anyone who has that problem with their classic Mustang.

Step 1

Repair step

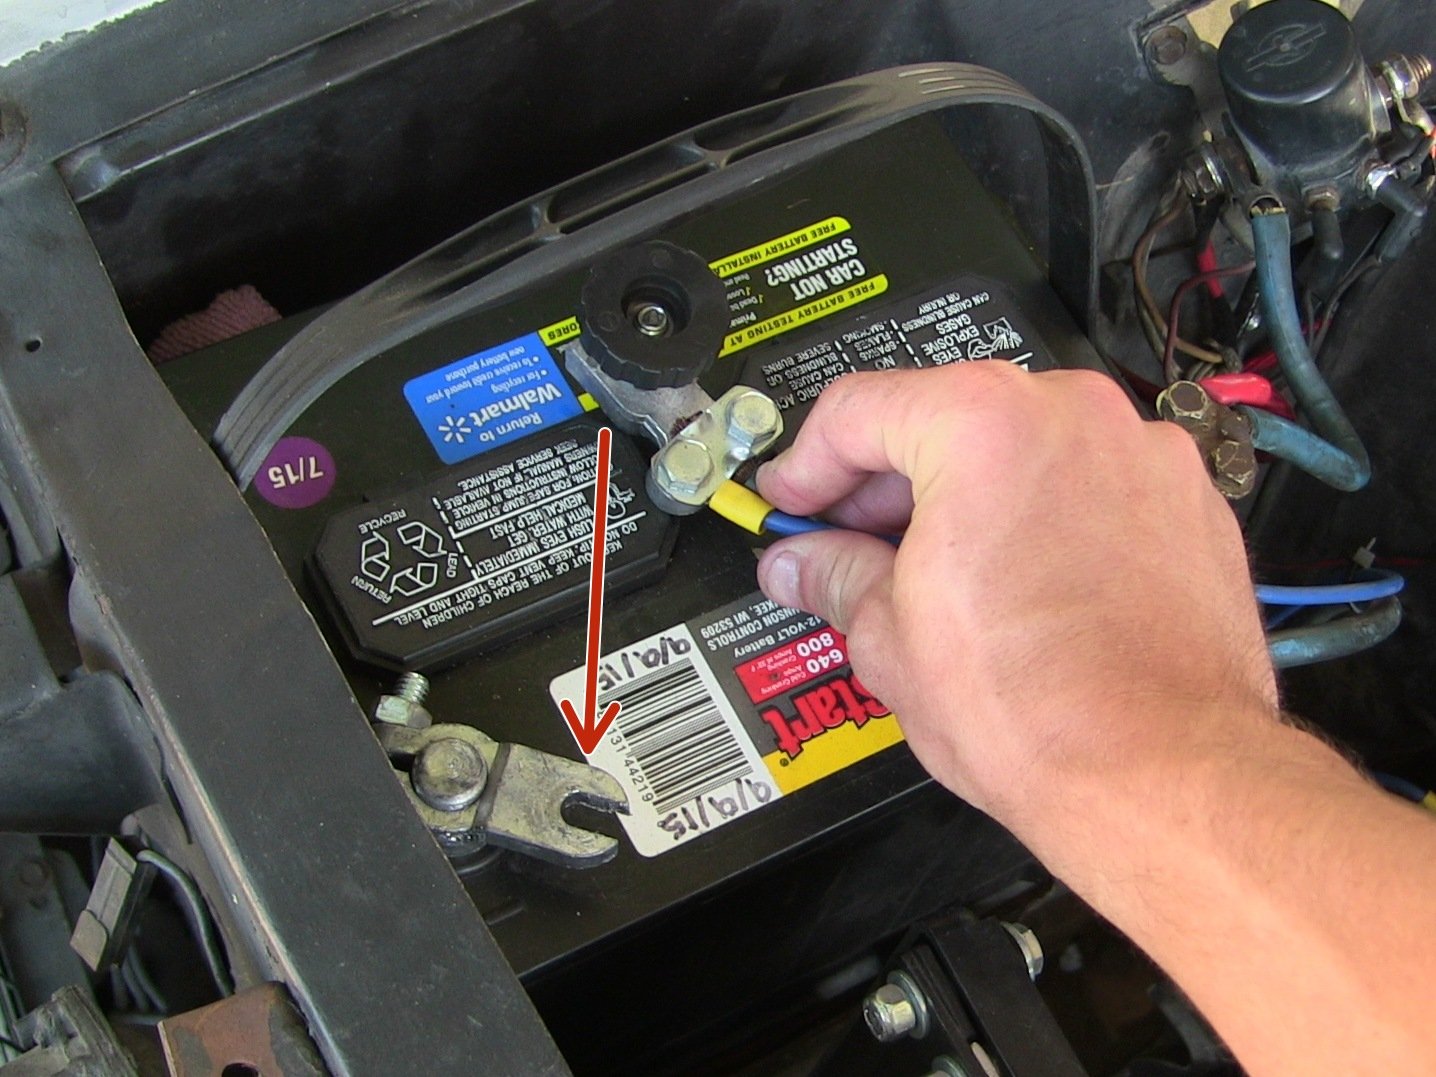
  • Find the car battery under the hood.
  • On the battery locate the black negative battery terminal.
  • Next unscrew the knob on the disconnect.
  • Lastly move the negative lead away from the batter terminal.
  • Make sure not to cross the battery leads.
Step 2

Repair step

  • Locate the kick panel speaker that needs to be replaced.
Step 3

Repair step

  • Locate the two top screws as well as the two bottom screws for the speaker.
  • Check the kind of screws that were used to hold the speaker in place.
Step 4

Repair step

  • You are now ready to start replacing the speaker.
  • A philips head screwdriver will be needed.
  • Do not use a socket in this situation because it may mess up the speaker guard.
  • Lastly make sure to remove the screw completely without stripping out the screw hole.
Step 5

Repair step

  • The speaker guard and speaker are now ready to be removed.
  • Be careful when removing the speaker. Do not pull the wires tight.
Step 6

Repair step

  • Locate the wires on the back of the broken speaker.
  • Remove both the positive and negative wires.
Step 7

Repair step

  • Now locate the new speaker.
  • Slide the positive and negative wires onto the speaker terminals.
Step 8

Repair step

  • Place the speaker back into the kick panel housing.
  • Line up the speaker holes with the existing holes in the kick panel.
  • Be careful not to pinch the speaker wires.
  • This would be a good time to replace the speaker wires if needed
Step 9

Repair step

  • Place the speaker guard back over the speaker.
  • Screw in all four screws
  • Do not over tighten the screws or the holes will strip out.
Step 10

Repair step

  • Reconnect the negative battery terminal.
  • Screw the knob until it is snug.