FIXONIC
SellSavedMy Fixonic
Official iFixit API visual reference

2013 Subaru Impreza WRX Mud Flaps Replacement

Are your mud flaps cracked or broken? Use this...

iFixit Library Subaru Easy 20 minutes Guide 50516
Open the authorised source
Licensed iFixit integration

This attributed iFixit guide is displayed through Fixonic's recorded commercial API permission. iFixit remains the independent source and author of the procedure.

Guide overview

Before you begin

Are your mud flaps cracked or broken? Use this guide to replace your mud flaps to look brand new.

Step 1

Repair step

  • Always make sure your car is off, the parking break is applied, and you are in a safe area free from other passing cars.
Step 2

Repair step

  • Turn the wheels all the way towards the side you will be working on.
  • This will create easier access to the inside of the wheel well when you are replacing the mud flap.
Step 3

Repair step

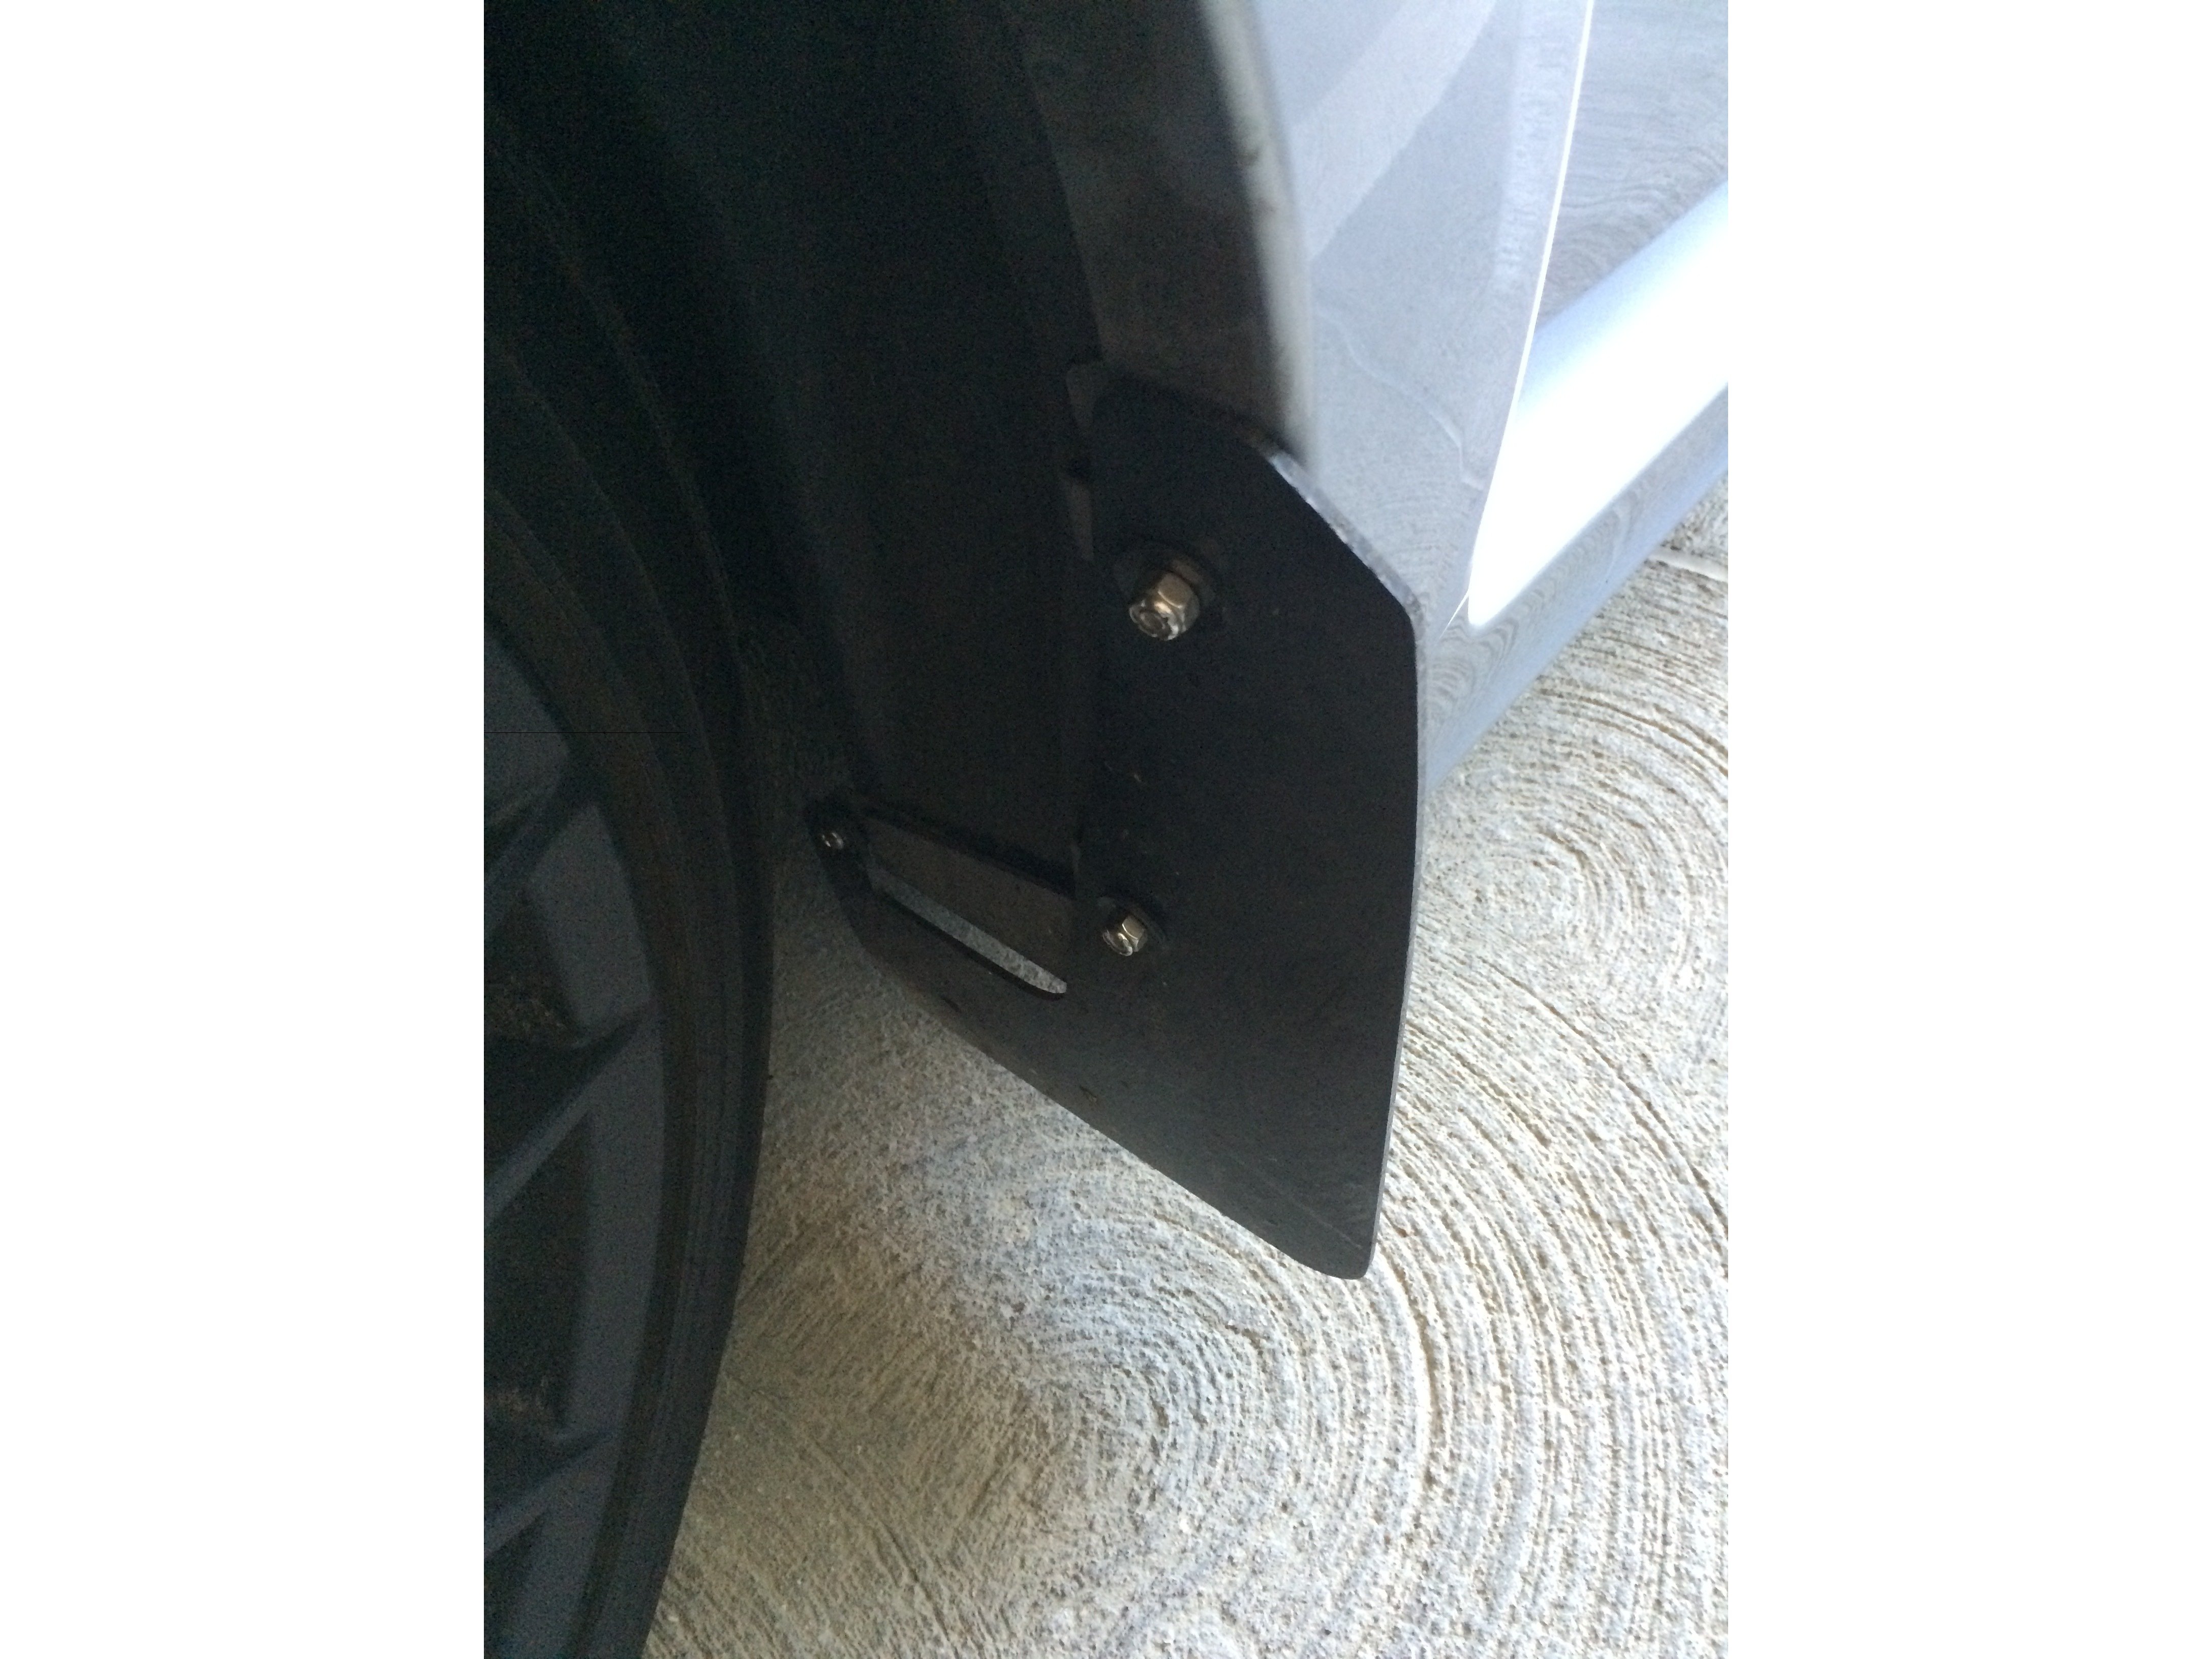
  • Start with the front mud flaps.
  • Attach the 7/16th size socket piece to the wrench and begin removing the 7/16th diameter nuts.
Step 4

Repair step

  • Use your Philips Head screwdriver to unscrew the farthest #6 3/4" Stainless Philips Screw.
  • Be careful not to loose the rubber gasket attached to the screw.
Step 5

Repair step

  • Once the old mud flap is removed, grab your new mud flap and reattach it in the same manner as how you removed the old or broken one.
  • Repeat for opposite front mud flap.
Step 6

Repair step

  • For the back two mud flaps you will need to use a slightly different technique due to the limited space you will be working in.
  • Use your hands and the 10mm wrench piece to unbolt the mud flap.
  • Once you have removed the nuts, you can move on to the #6 3/4" Philips Head Screw.
  • This step will be aided by the use of an extra small Philips screwdriver.
Step 7

Repair step

  • Replace both back mud flaps and fasten all pieces back in place.
Step 8

Repair step

  • Make sure the mud flaps are all properly tightened and positioned before driving your car again.
  • Enjoy your brand new mud flaps.