FIXONIC
SellSavedMy Fixonic
Official iFixit API visual reference

1986-1993 Volvo 240 Tie Rods Replacement

This guide will walk you through replacing the...

iFixit Library 1986-1993 Volvo 240 Moderate No estimate Guide 8388
Open the authorised source
Licensed iFixit integration

This attributed iFixit guide is displayed through Fixonic's recorded commercial API permission. iFixit remains the independent source and author of the procedure.

Guide overview

Before you begin

This guide will walk you through replacing the inner and outer tie rods on your Volvo 240. You may replace only the outer tie rods (tie rod ends) if you wish; this is a very common repair. If you are planning on replacing just the inner tie rods, though, we recommend that you consider replacing the outer tie rods as well.

Step 1

Repair step

  • Jack up the front of the car and place it on jack stands.
  • Never work on or underneath a car that is only supported by a jack. The jack may slip or fail, resulting in serious injury or even death.
  • Use an impact wrench or lug wrench to remove the five 19 mm lug nuts from the front wheel.
  • The wheel lug nuts should be torqued to 85 ft-lbs when the wheels are put back on the car.
  • Pull the front wheel off the wheel lugs and set it aside.
Step 2

Repair step

  • Use an impact wrench to remove the 19 mm tie rod end nut near the brake rotor.
Step 3

Repair step

  • Use a pair of pliers to remove the zip tie or clamp securing the inner tie rod boot.
Step 4

Repair step

  • Unscrew the inner tie rod from the steering rack. It may be necessary to use a large pair of groove joint pliers to loosen it.
  • Remove the tie rod assembly once it is free from the steering rack.
Step 5

Repair step

  • Before installing the new tie rod assembly, you must adjust it to the correct length. Keep one tie rod assembly together while assembling the other one.
  • The outer tie rod simply screws onto the inner rod and can be removed by unscrewing it.
  • Screw the outer tie rod onto the inner tie rod.
  • Adjust the length of the tie rod assembly by spinning the outer tie rod so that it is the same length as the existing assembly. Once it is the correct length, use the back-in nut to secure the outer tie rod in place.
  • Repeat this process for the other tie rod assembly, using the new assembly as your guideline for the proper length.
Step 6

Repair step

  • Install the inner tie rod end into the steering rack and tighten it with groove joint pliers.
Step 7

Repair step

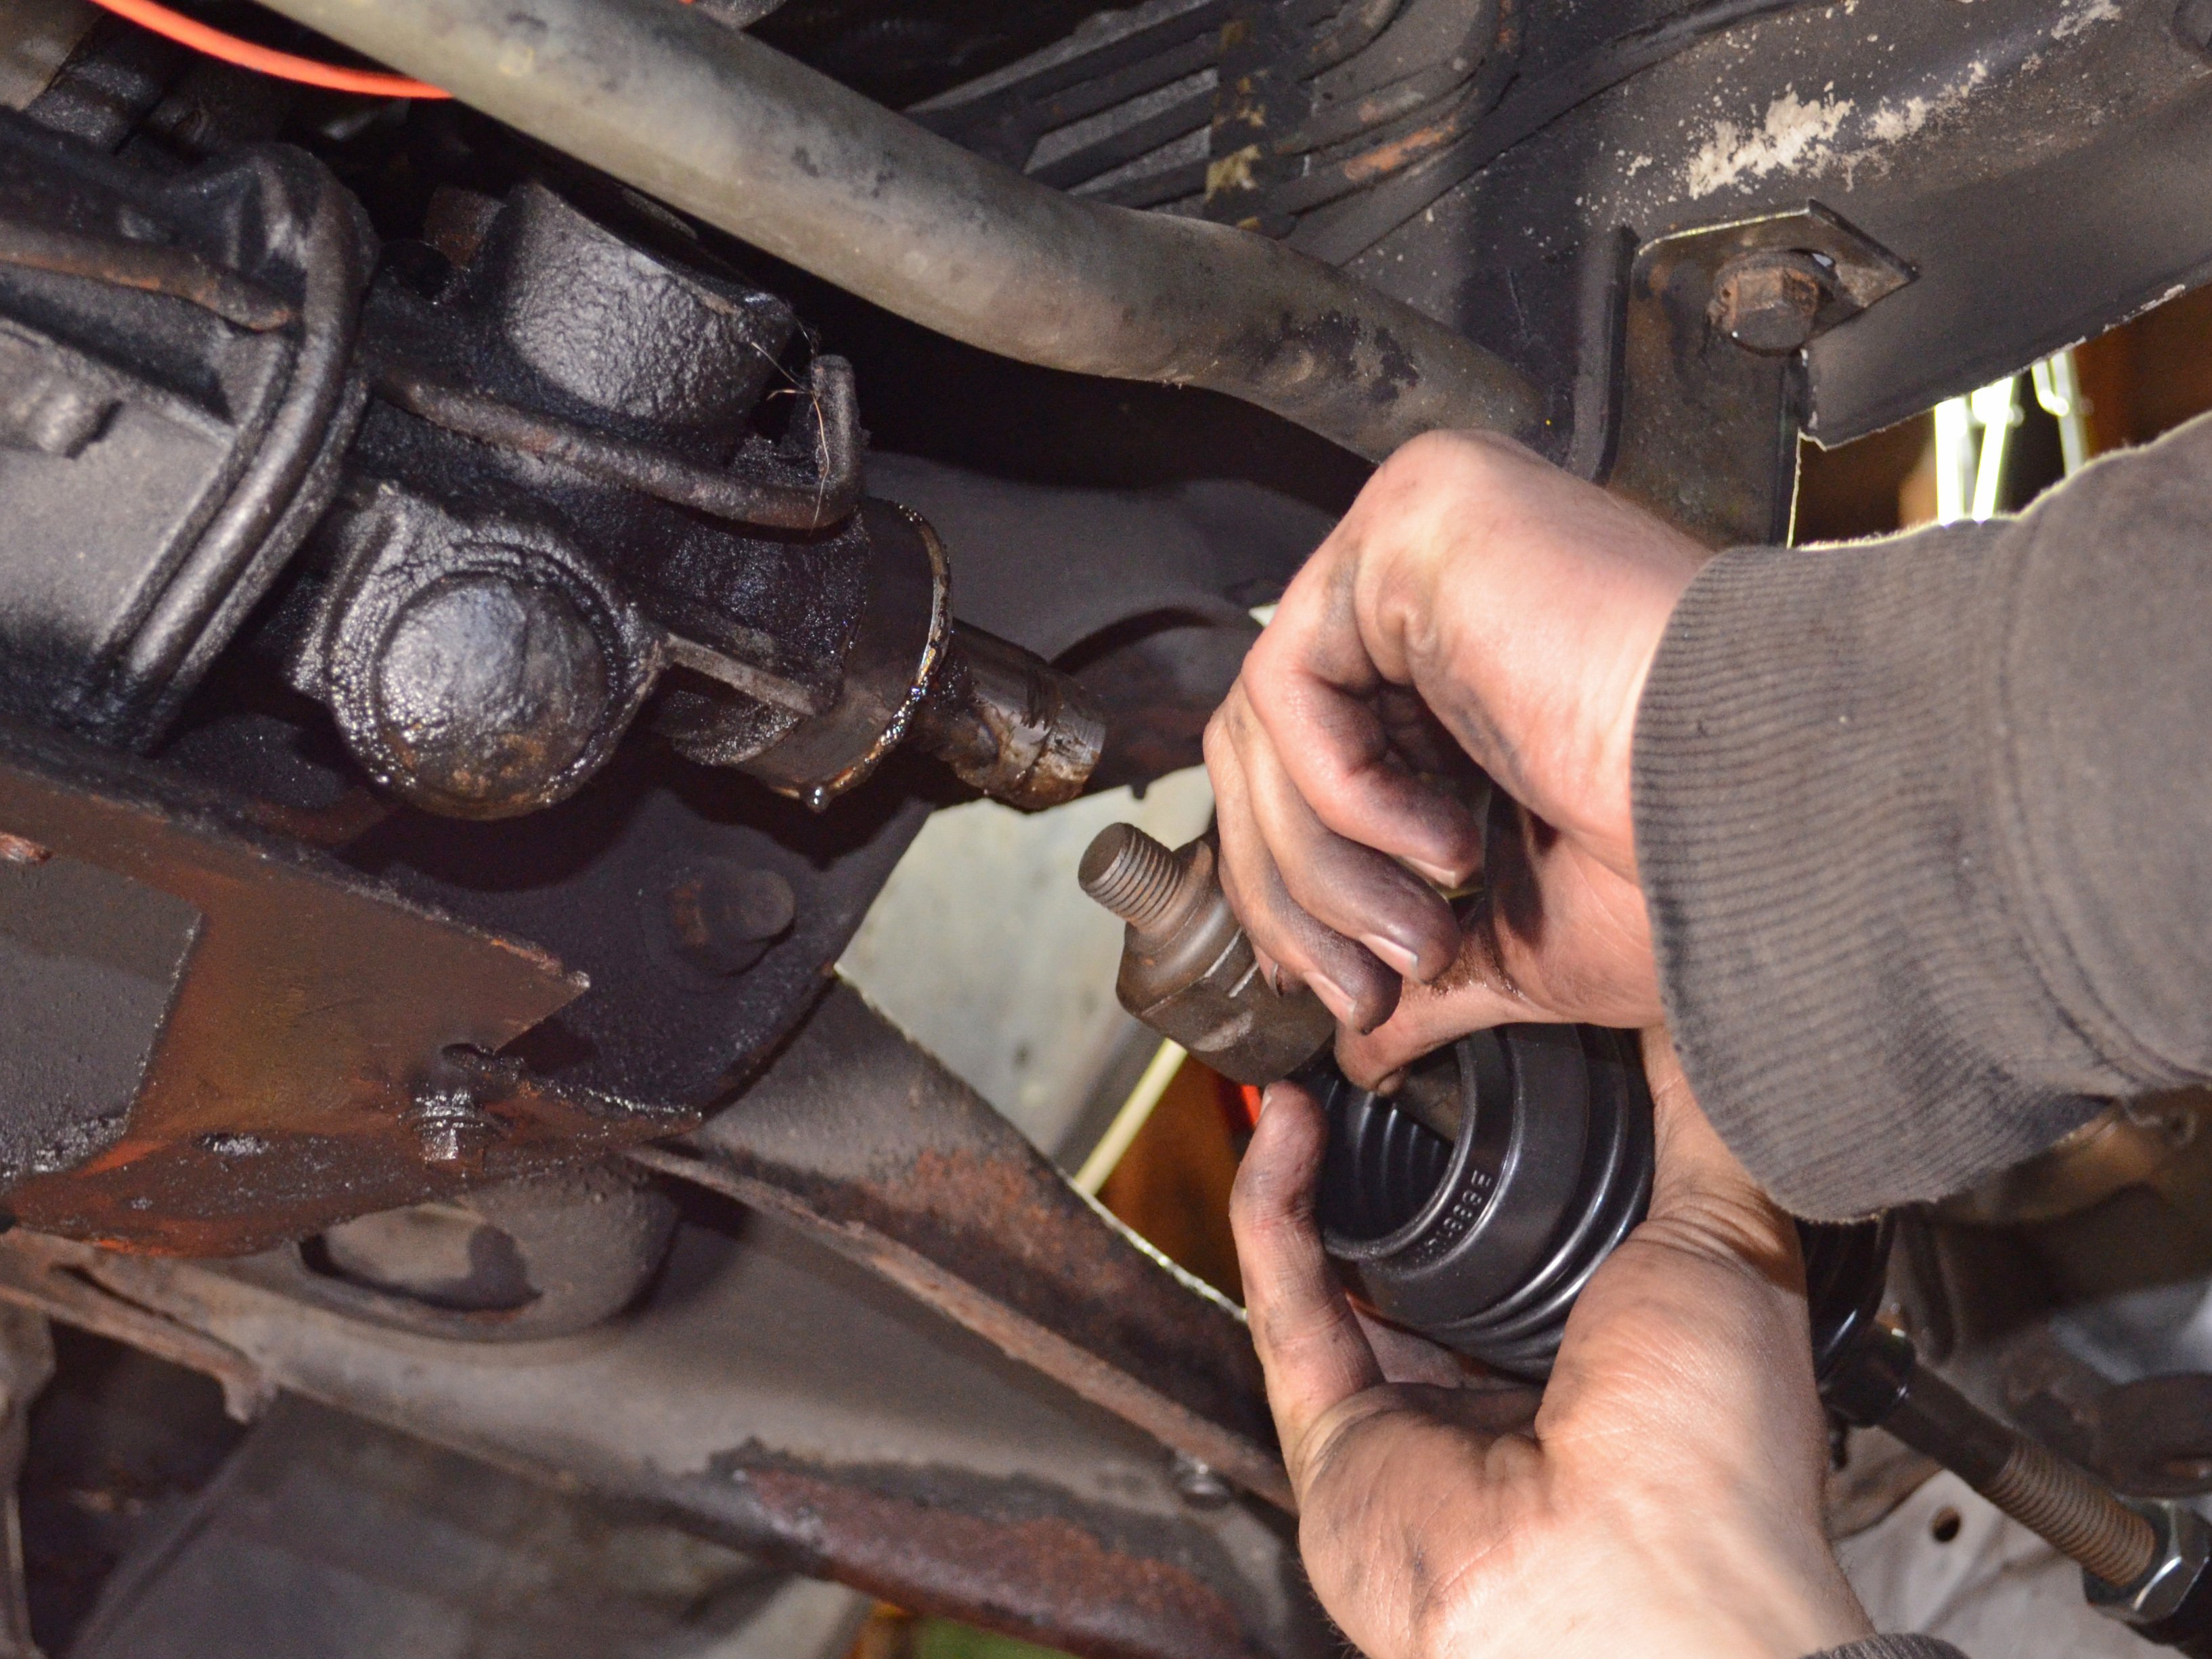
  • Pull the inner tie rod boot completely over the inner tie rod and onto the steering rack.
  • Secure the boot in place with whatever hardware came with your new tie rods.
  • If your new tie rods did not include hardware for the boot, a zip tie will work just fine.
Step 8

Repair step

  • Place the tie rod end through its hole next to the brake rotor.
  • Install the tie rod end nut and tighten it to 44 ft-lbs with a torque wrench or impact gun.