
FIXONIC
SellSavedMy Fixonic
Official iFixit API visual reference

2013-2015 Chevrolet Malibu Factory BackUp Camera Replacement

This guide demonstrates how to replace a...

iFixit Library Chevrolet Malibu Moderate 30 minutes - 1 hour Guide 93262
Open the authorised source
Licensed iFixit integration

This attributed iFixit guide is displayed through Fixonic's recorded commercial API permission. iFixit remains the independent source and author of the procedure.

Guide overview

Before you begin

This guide demonstrates how to replace a factory-installed backup camera in a 2013 Chevy Malibu. This guide is different than most because this camera is already installed, the cables are all routed already and that makes the guide that much simpler. Remember to work safely when dealing with any exposed wires, and work with the car off (keys out of ignition). Since no technology lasts forever, even factory-installed technology can fail. If the OEM backup camera in your 2013-2015 Chevrolet Malibu stops working, follow this guide to replace it.

Step 1

Repair step

  • Mount the new camera in the space provided.
  • The camera routes through the bumper of the car and not the license plate.
Step 2

Repair step

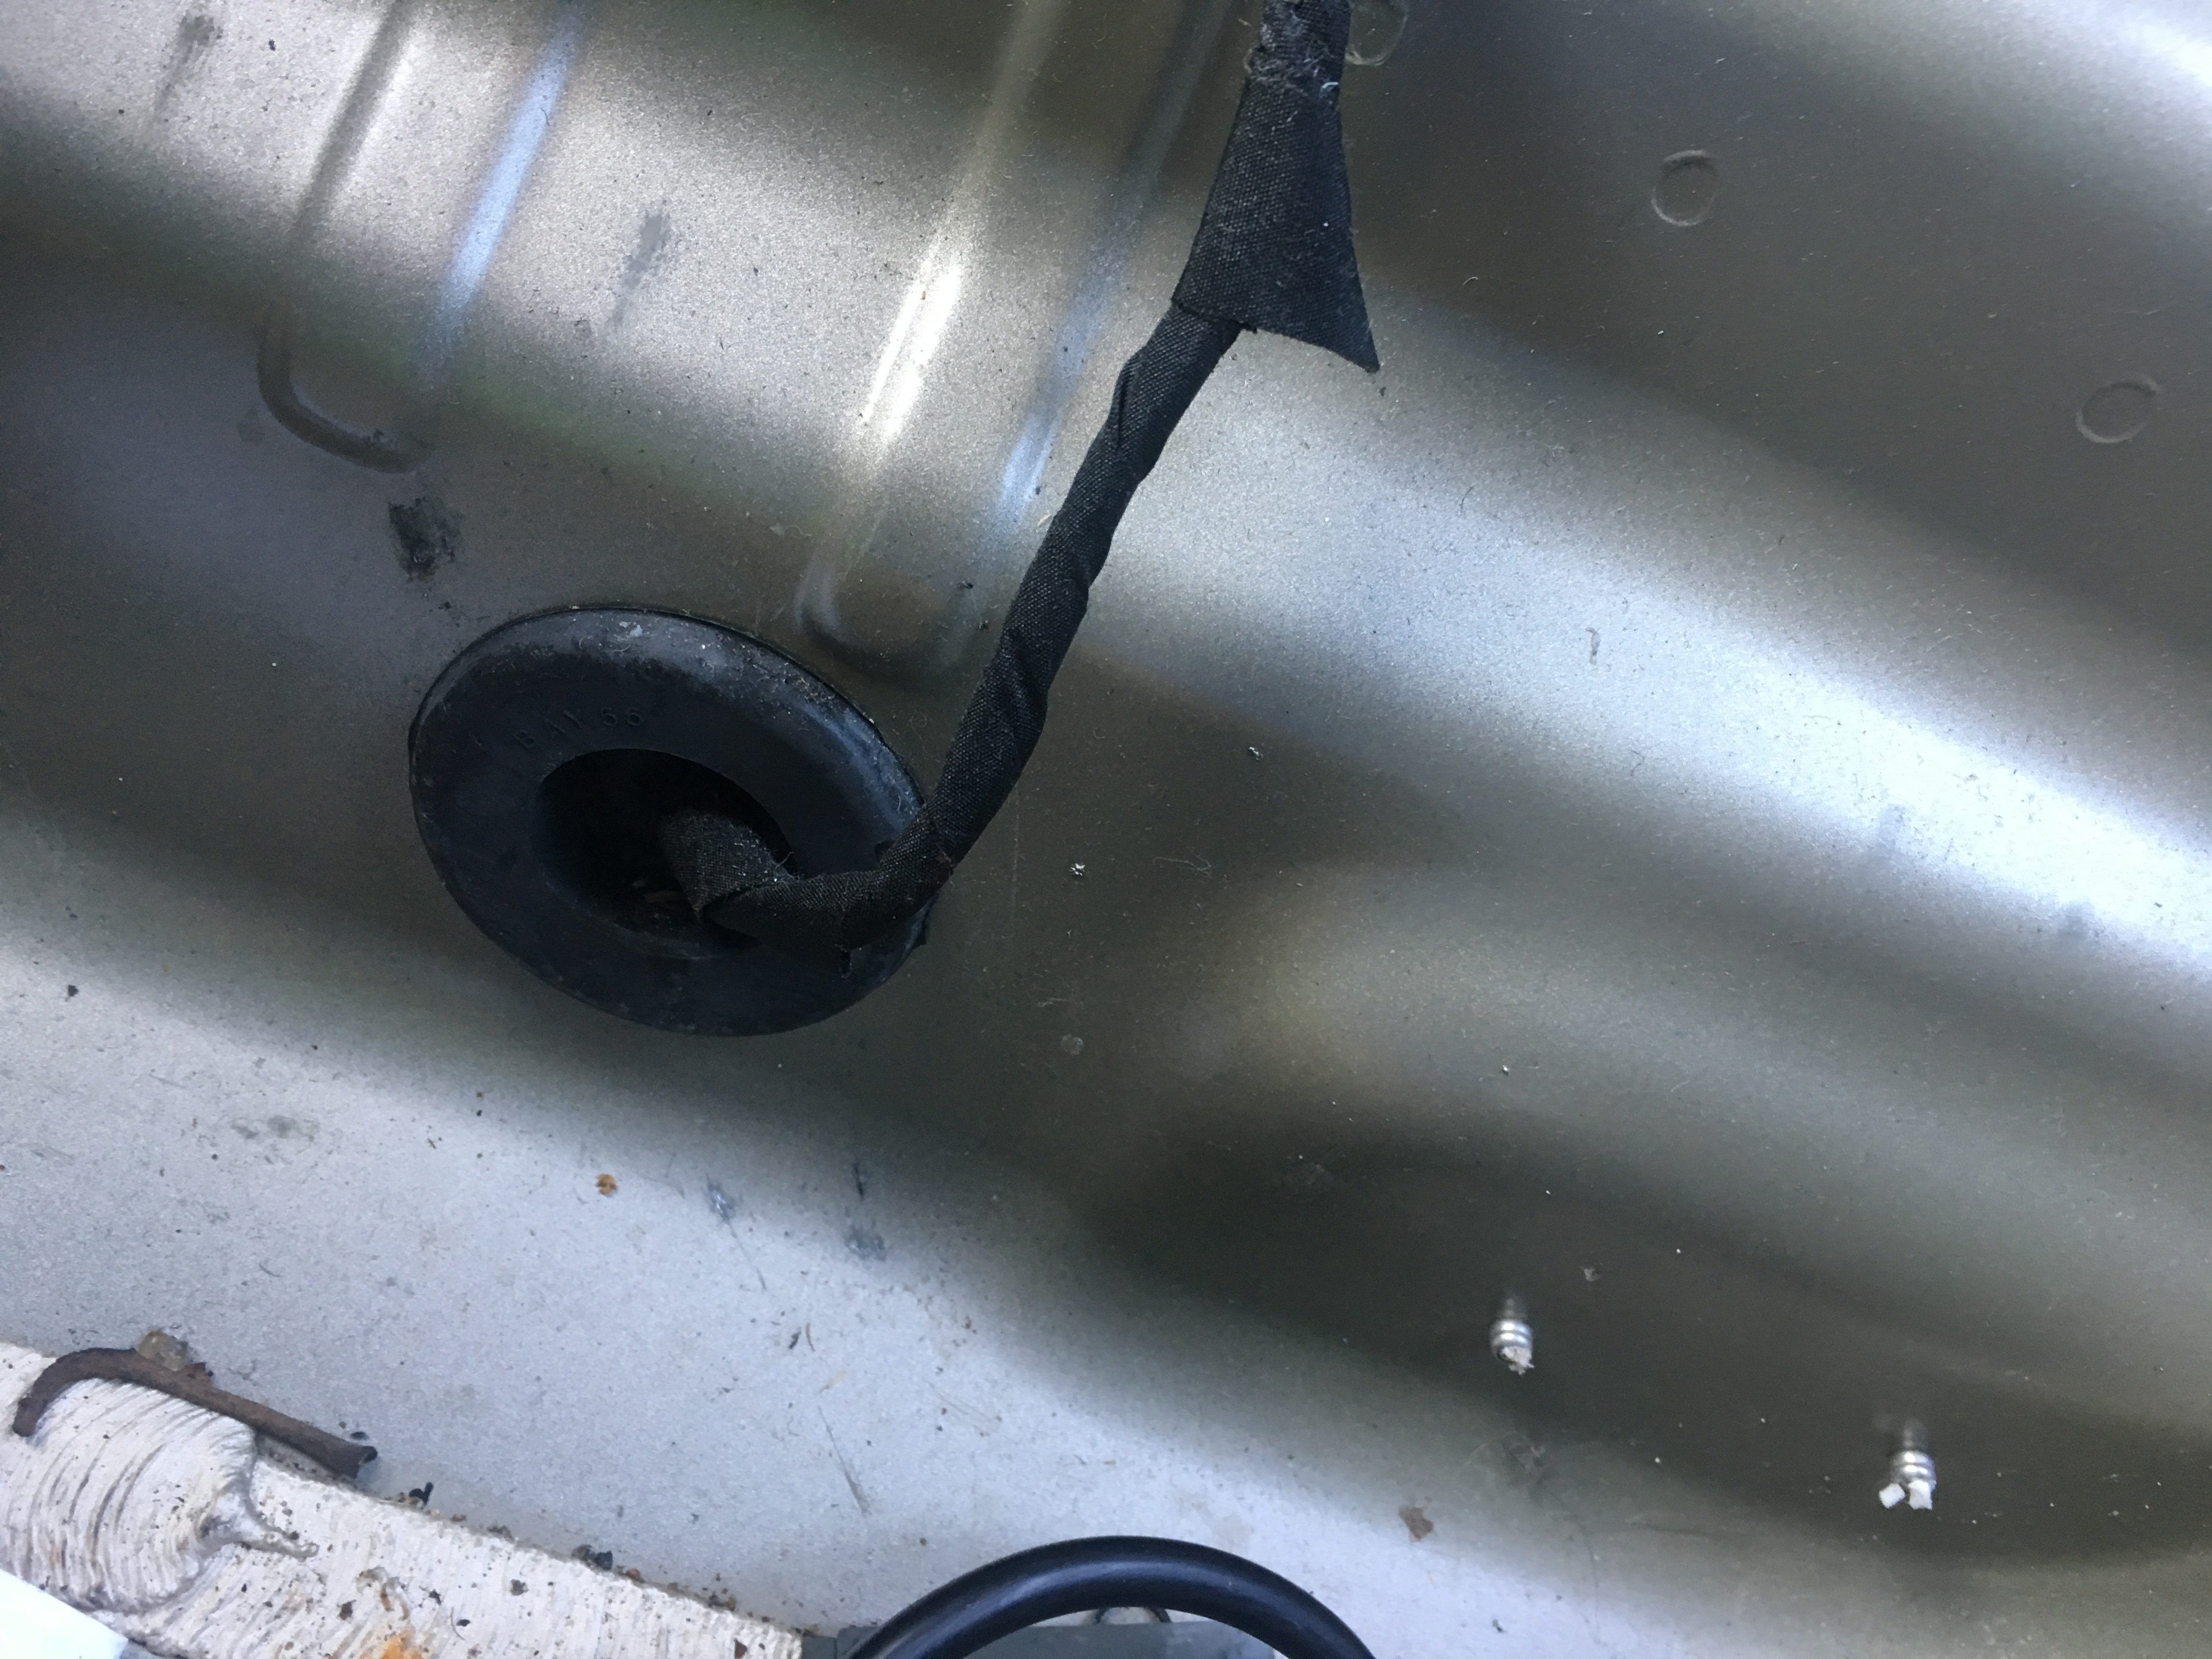
  • Run the new wires through the holes provided, and cover with electrical tape.
  • The new cords will simply connect where the faulty wires were removed.
Step 3

Repair step

  • Coordinate the colored wires to keep the repair simple. Match the new wires to the existing wires through the splitter. Use a wire splitter to expose the wire.
  • Then simply connect the wires to the wires for reverse light.
Step 4

Repair step

  • The green wire is the camera connection or positive wire and the black is the ground.
  • This line should already be connected correctly because you should have only switched wires that connected to the camera.
Step 5

Repair step

  • Make sure that the reverse light is working properly when the car is in reverse.
Step 6

Repair step

  • Make sure the display is clear and working properly.